
Finding precisely what you need within a vast array of products can be challenging. Adding a WooCommerce product filter can serve as the ideal solution, streamlining the process and saving you valuable time otherwise spent manually searching through products.
Simplify your search and elevate your finds. If you are unaware of how to add WooCommerce Product filter to your website we have got you all covered.
This article provides a clear guide on adding product filters to your website using WooCommerce. It also highlights the advantages of incorporating a WooCommerce Product Filter, showing how it enhances user experience by making product searches easier.
Table of Contents
What is WooCommerce Product Filter?
When people shop online, they often prefer a quick and straightforward experience. Spending too much time searching for items can lower the likelihood of making a purchase, and users may become less engaged over time.
A WooCommerce Product Filter is there to solve the problem by enabling users to narrow down their search based on specific criteria effortlessly. With intuitive filtering options, such as price range, category, color, size, and more, users can easily refine their search results, resulting in a more satisfying shopping experience.
So, why should one add product filters to their site? Follow along with this article to know more advantages of WooCommerce product filter
Why You Should Add Product Filters in WooCommerce
The answer is simple adding a product filter can help users find what they have been looking for at an instance. But what are the other advantages of incorporating a WooCommerce product filter to your website? Let’s break down the points here:
User experience
When users can quickly locate their desired items without any difficulty, it creates a positive user experience. This enhanced experience can result in higher revenue for the company, ultimately boosting sales over time.
Adding a product filter increases the conversion rates
The product filter on your website is fantastic for boosting conversion rates with each purchase. It’s a game-changer because it helps shoppers discover the ideal product tailored to their needs. This not only saves them time spent browsing but also creates more chances for sales!
Make your store stand out in the crowd
The product filter plugins often allow customization options where one can tailor the filters to match their branding as well as design aesthetics.
How to Add WooCommerce Product Filter to Your WooCommerce Website?
There are a few steps that you can try to add a WooCommerce Product Filter to your e-commerce website. The easiest way you can add a WooCommerce Product filter is by installing a plugin.
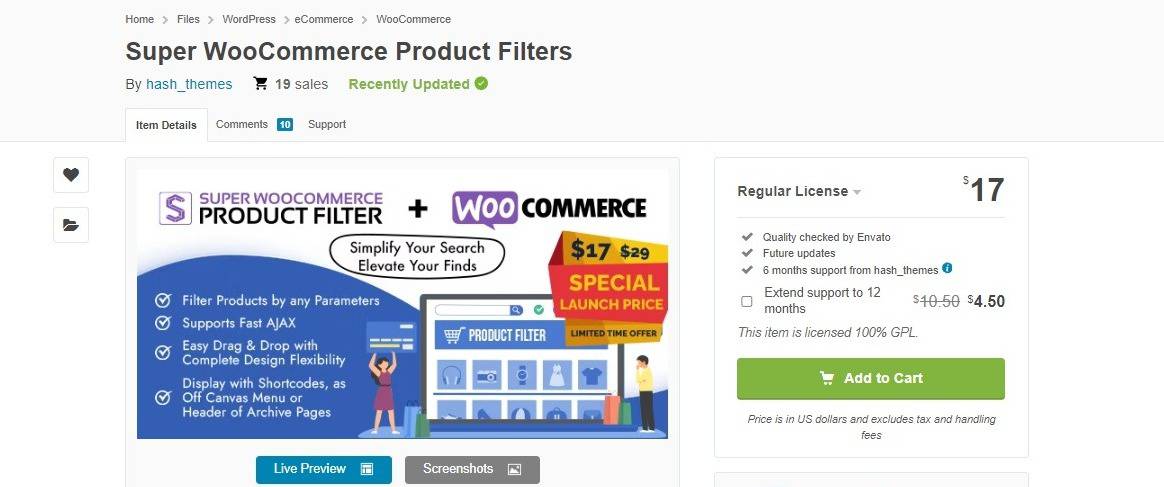
To demonstrate installing a plugin we have chosen Super WooCommerce filter plugin in this article:
Install and Activate Super WooCommerce Product Filter
The installation of Super WooCommerce Product Filter is a simple process of uploading a .zip file.
Here is the Purchase link if you need it.
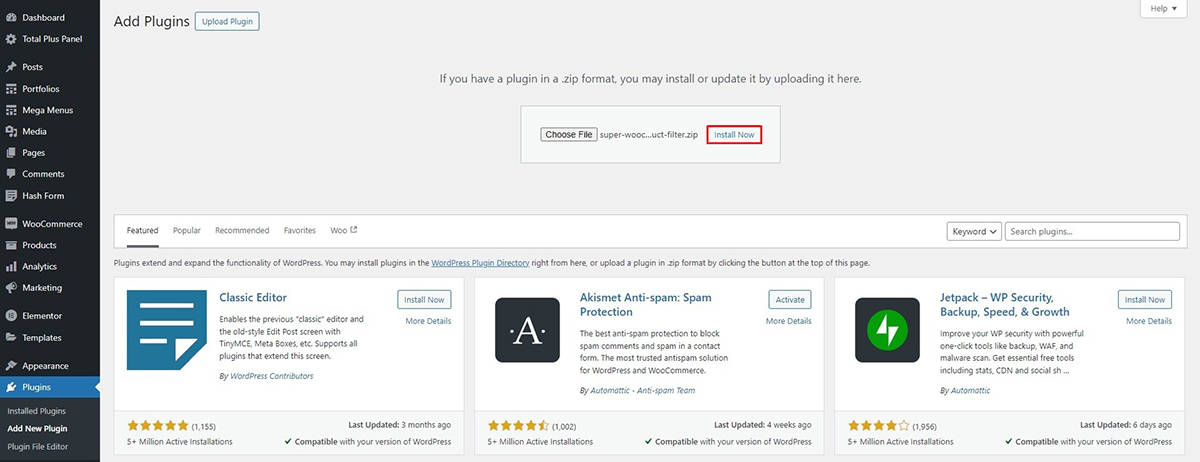
After you have purchased the plugin
- Go to Dashboard > Plugins > Add New Plugin.
- Upload the .zip file that you have recently purchased and click on Install Now.
- Wait for the plugin to be installed and click on Activate Plugin.
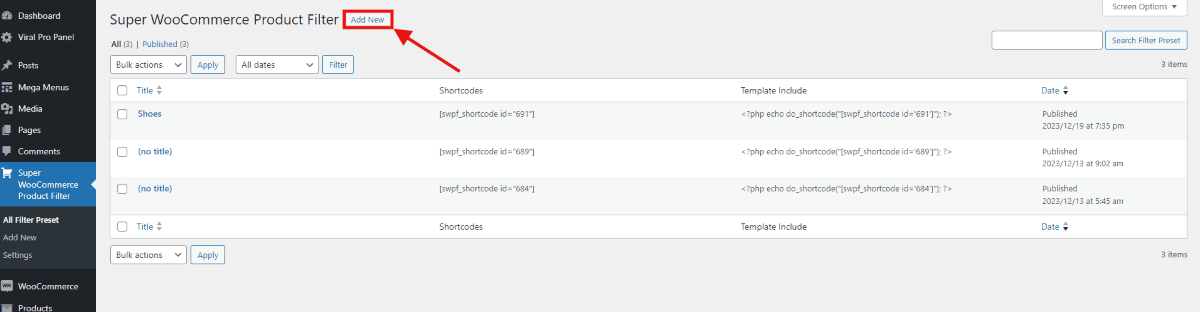
Super WooCommerce Product Filter is a versatile tool for enhancing your online store’s browsing experience. It empowers you to seamlessly integrate various filtering methods, including category, attributes, product tags, price range, and reviews.
To initiate the process, navigate to the Dashboard > Super WooCommerce and select Add New Filter to begin adding product filters to your store.
Once you’ve set up a product filter, it’s vital to include attributes, tags, and categories. These help customers easily find what they’re looking for. Let’s start with the process of adding them one by one.
Create Product Attributes
In WooCommerce, product filters are typically based on product attributes such as price, color, size, category, etc. Go to Products > Attributes in your WordPress dashboard to create and manage product attributes.
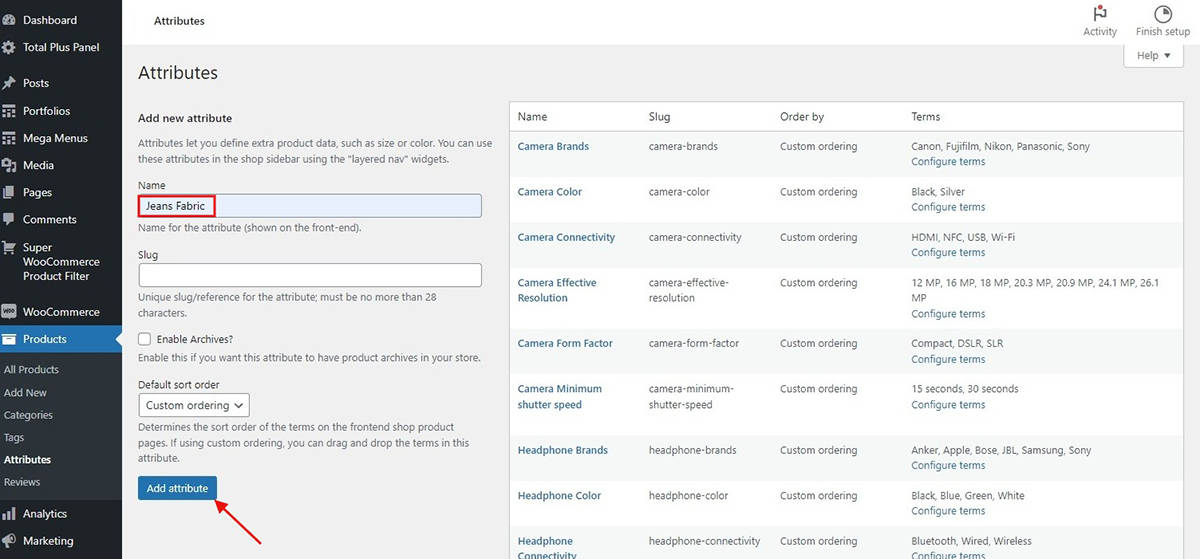
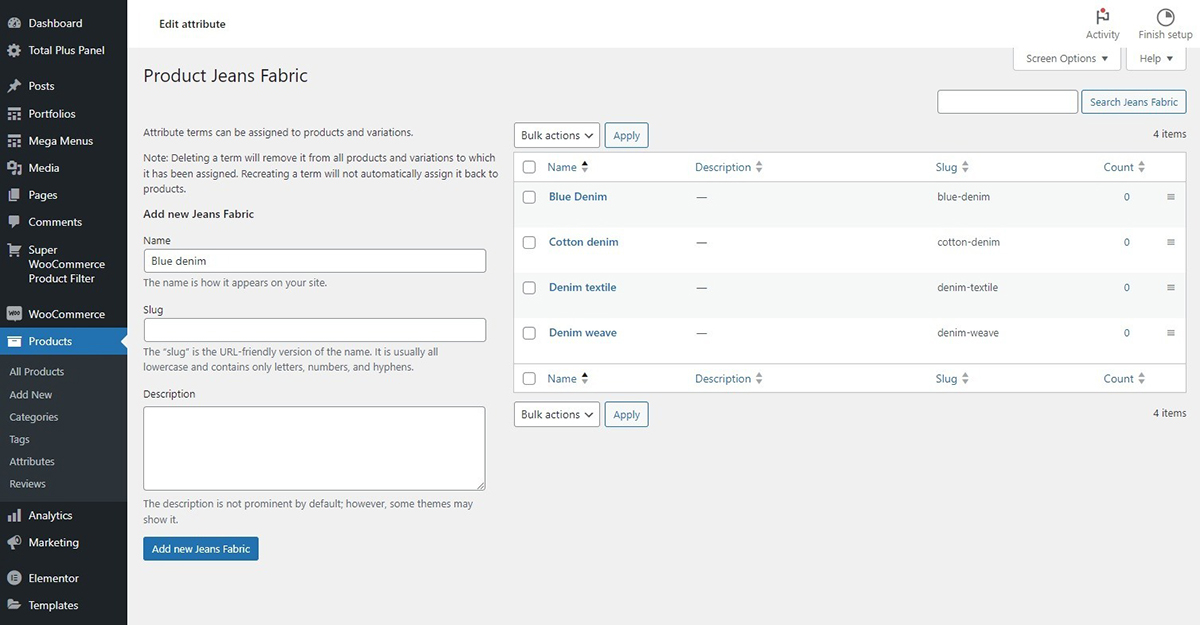
To begin, specify the attribute name and select the desired order type. Then, add the slug and click Add Attributes. After you have created the attributes scroll down to add terms to the attributes that you have recently created.
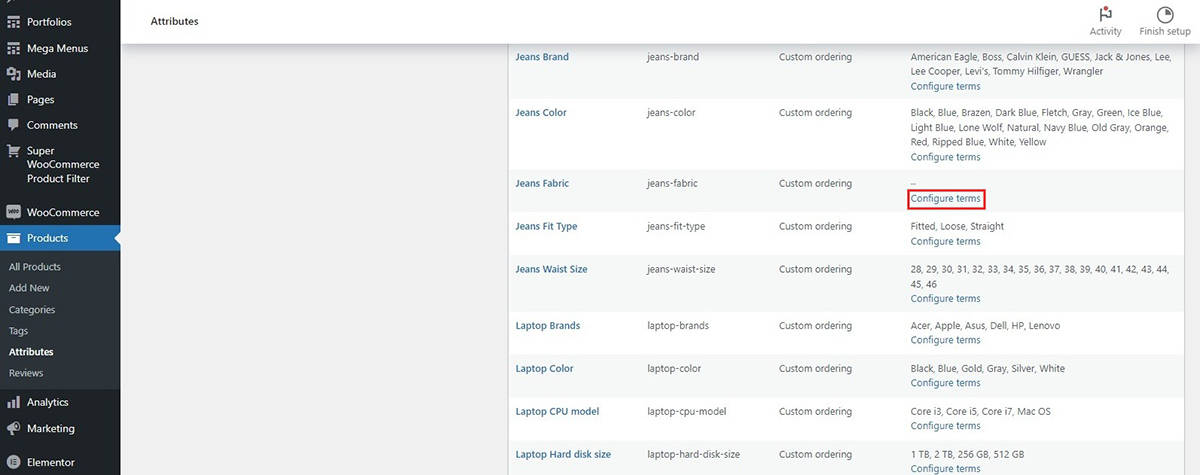
This further allows you to set specific terms for the attributes you’ve created, enabling users to easily find products by searching for relevant keyword terms.
Now, let’s add these attributes to the product and see how they appear. For this:
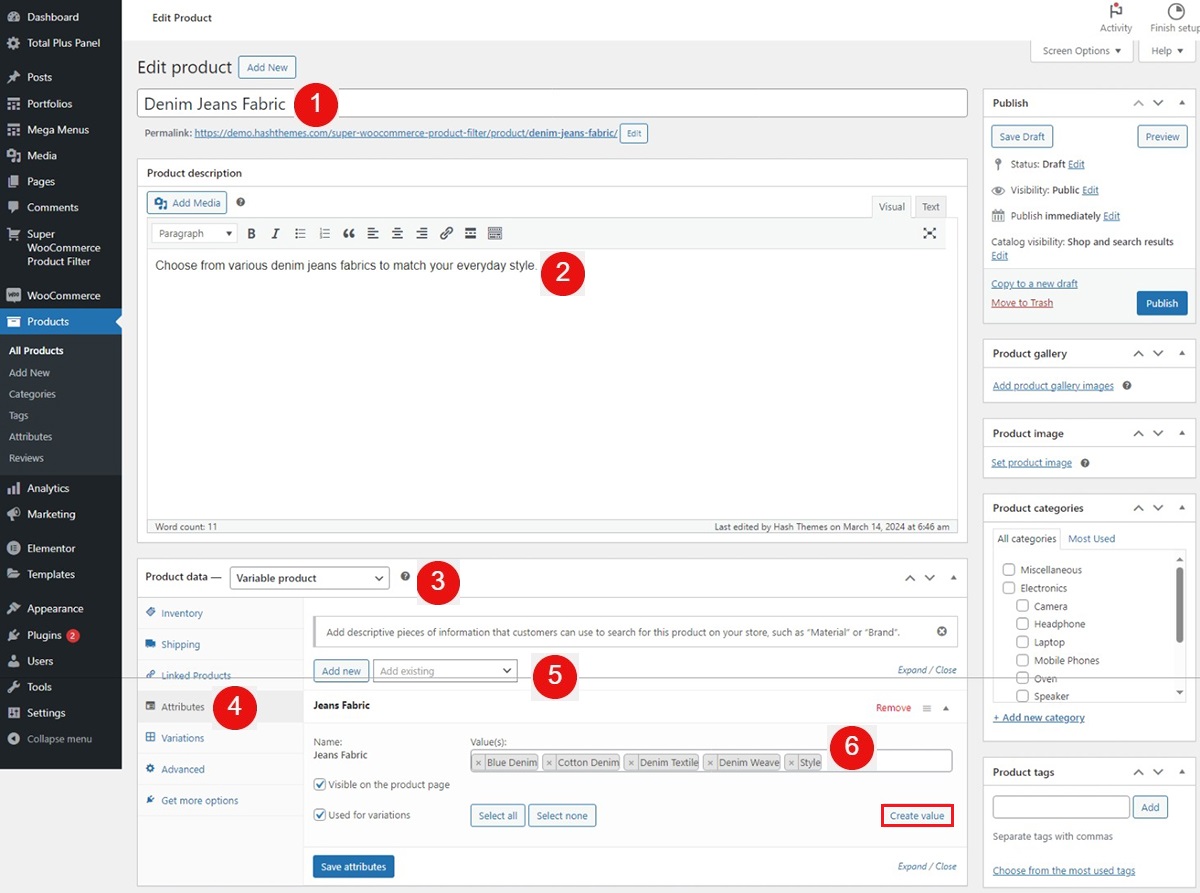
- Go to Dashboard > Products > Add New
- Give your product a title and description.
- From the Product data, select Variable Product.
- Navigate to the Attributes section, and add the attribute that you have recently created. For instance, we have created the Jeans Fabric.
- Now, add the values that you have created for your product. If you want to proceed to add more values to the existing ones simply click on Create Value and add them to the existing ones.
- After you have set the values click on Save Attributes.
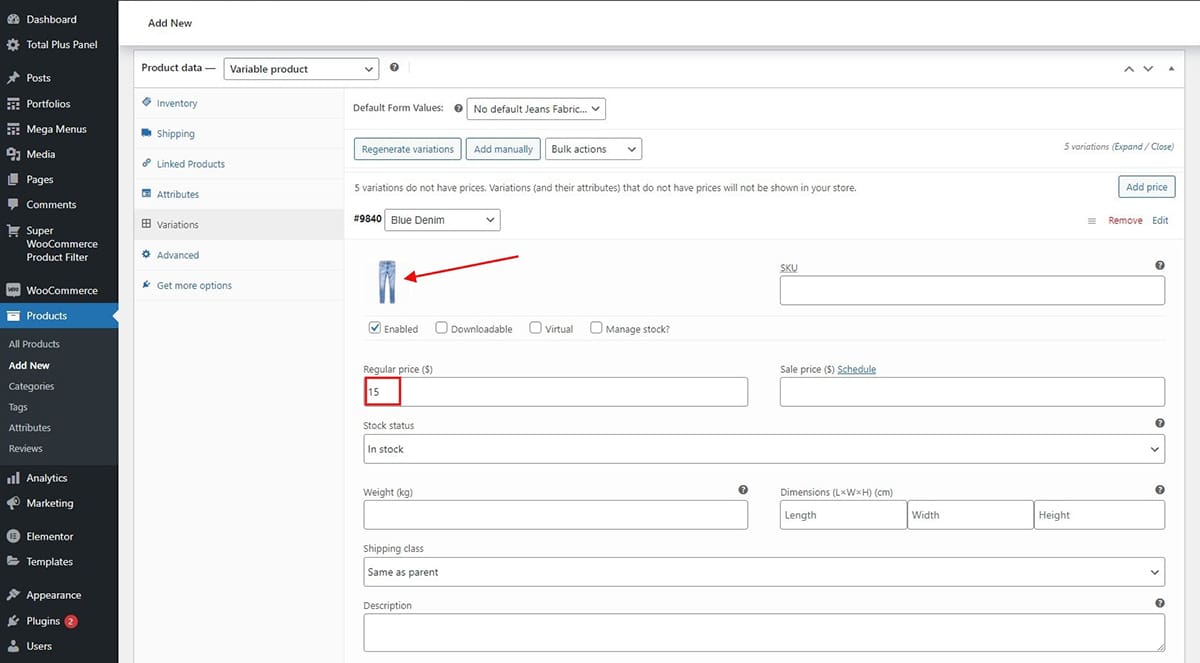
Next, we are going to create variations for the attributes that we have added to the products. For this:
- Click on Variations and generate variations for your products.
- Next, you’ll be asked to include a photo and price for the product. For instance, let’s add the price and image for the Blue Denim option. You can then repeat this process for other variations, adjusting the denim price range as needed.
- Click on Save Changes after you have added the price variations.
Select the category you wish to show your product attributes and choose the product image and click on Publish.
Let’s have a look at the variations of the product attributes that we have created.

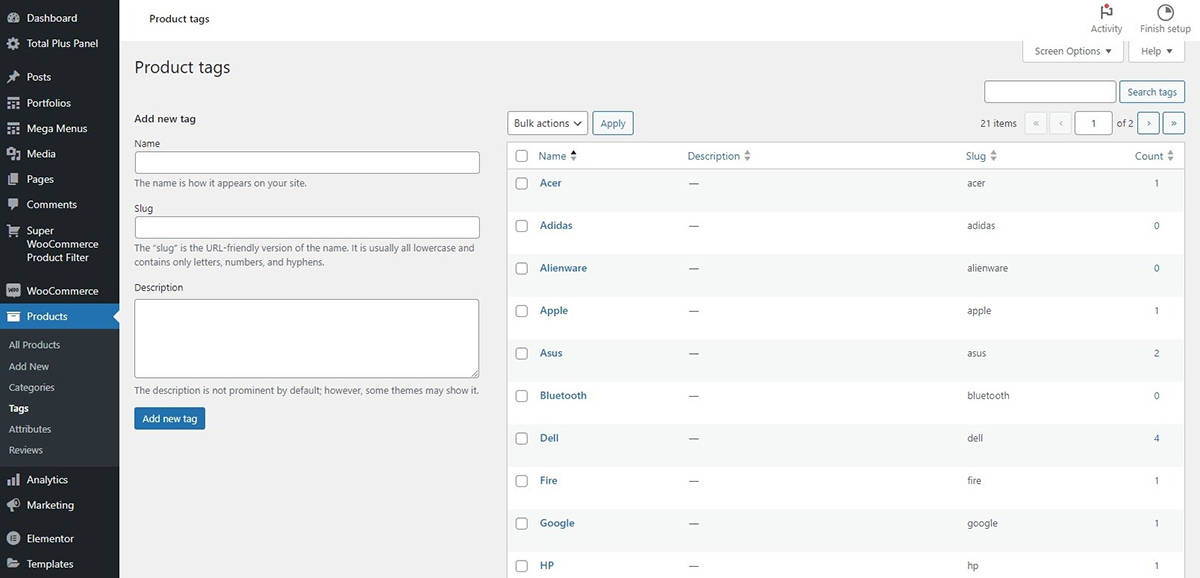
Create Product Tags
Product tags facilitate the categorization of products through descriptive keywords, enabling users to sort and search for items based on these tags.
To create the product tag go to Dashboard > Products > Tags.
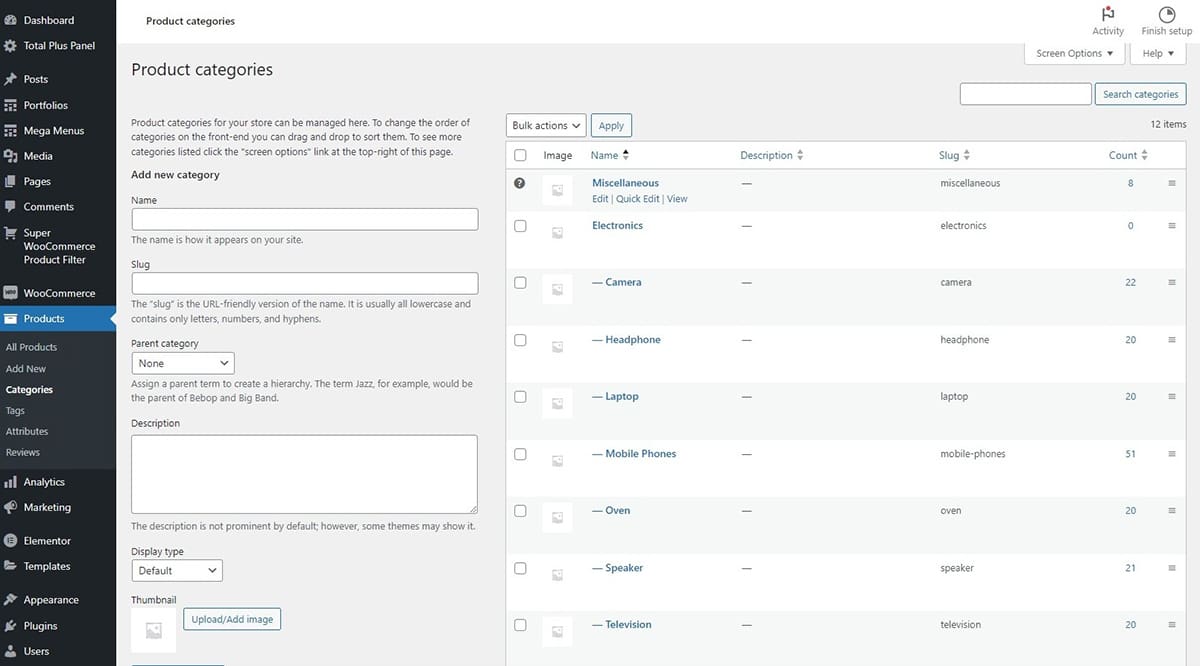
Create Categories
A product category streamlines and categorizes items, facilitating the shopping journey for customers on a website and enabling employees to promptly find specific products as required.
To create product categories go to Dashboard > Products > Categories.
How to add Product Categories and Filters on your Website using Shortcode?
To show products into your WooCommerce site, you’ll need to utilize either shortcodes or widgets to add them. To add product categories on your website you can either choose to add shortcodes using Gutenberg or Elementor. Below, we’ll provide step-by-step guidance on how to seamlessly add categories into your website.
How to Add WooCommerce Product Categories using Gutenberg
In this section, we will teach you how to add product categories using Gutenberg. Follow these steps:
- Go to Dashboard > Pages.
- Click on Add New Pages.
- Give your page a Title
- To add a shortcode, begin by inserting a two-column layout. Click on the “+” sign and select the column option with a wider left section and a narrower right section.
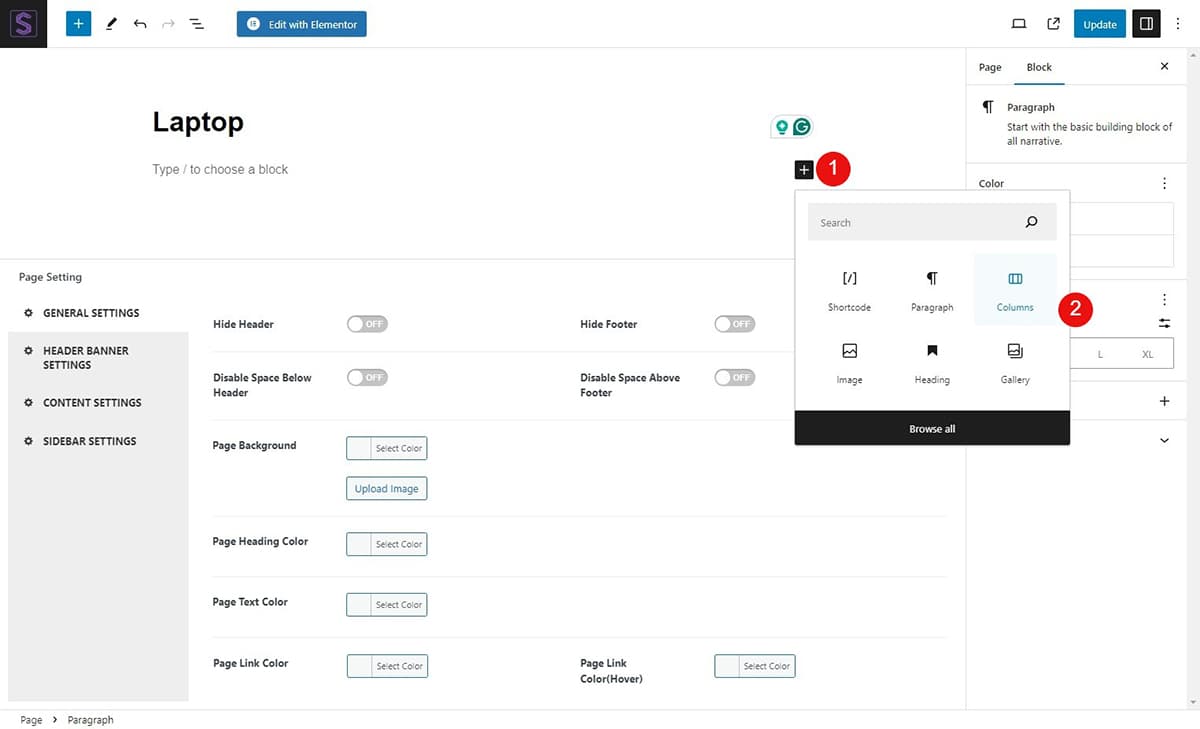
- Once you’ve set up the columns, the following step involves inserting the shortcode for your products. To do this, select the column that has a greater width. Then, in the search widget field, type and search for Shortcode.
- Add the shortcode for the product. For example, we’re setting up laptop items with specific rows and columns.
Note:
- Similarly after adding the product shortcode select the next column and now add the shortcode for the product filter.
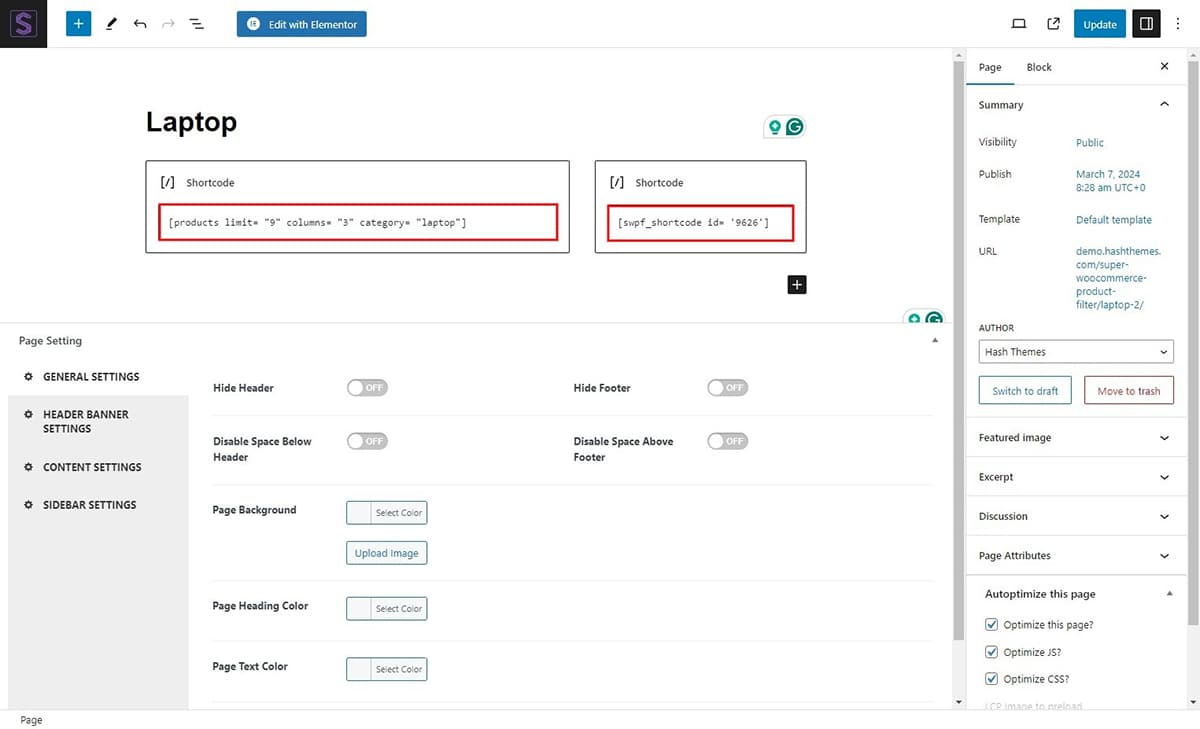
Note: You can get the shortcode from WooCommerce websites, allowing you to easily copy and paste them as needed.
After you have successfully added the shortcodes to both your columns let’s have a look at the page.
How to Add WooCommerce Product Categories using Elementor
Now, moving forward with adding product categories using the Elementor page builder. Follow these steps:
- Go to Dashboard > Pages.
- Click on Add New Pages.
- Give your page a Title and click on Publish.
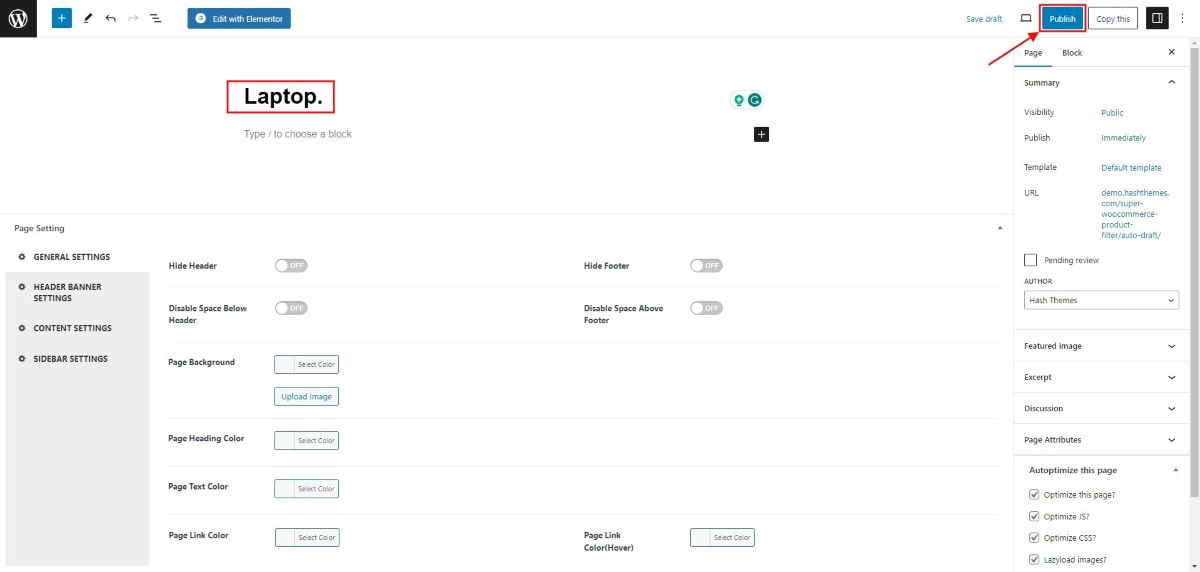
- To add the shortcode, click on Edit With Elementor.
- You will be redirected to the Elementor page where you will need to Add the Widget to add the shortcode.
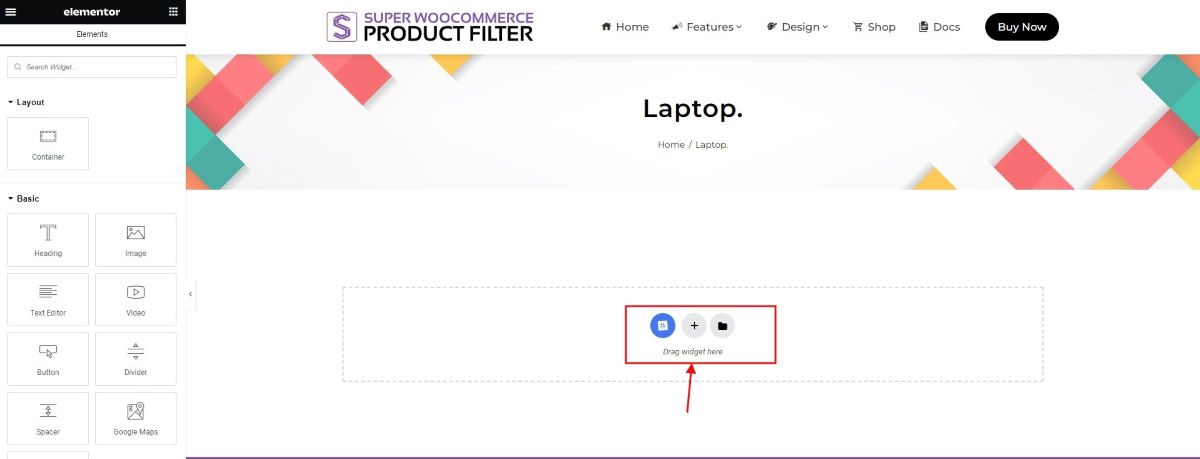
- Click on the “+” to add your desired columns.
- Once you’ve set up the columns, the following step involves inserting the shortcode for your products. To do this, select the column that has a greater width. Then, in the search widget field, type and search for Shortcode.
- Add the shortcode for the product. For example, we’re setting up laptop items with specific rows and columns.
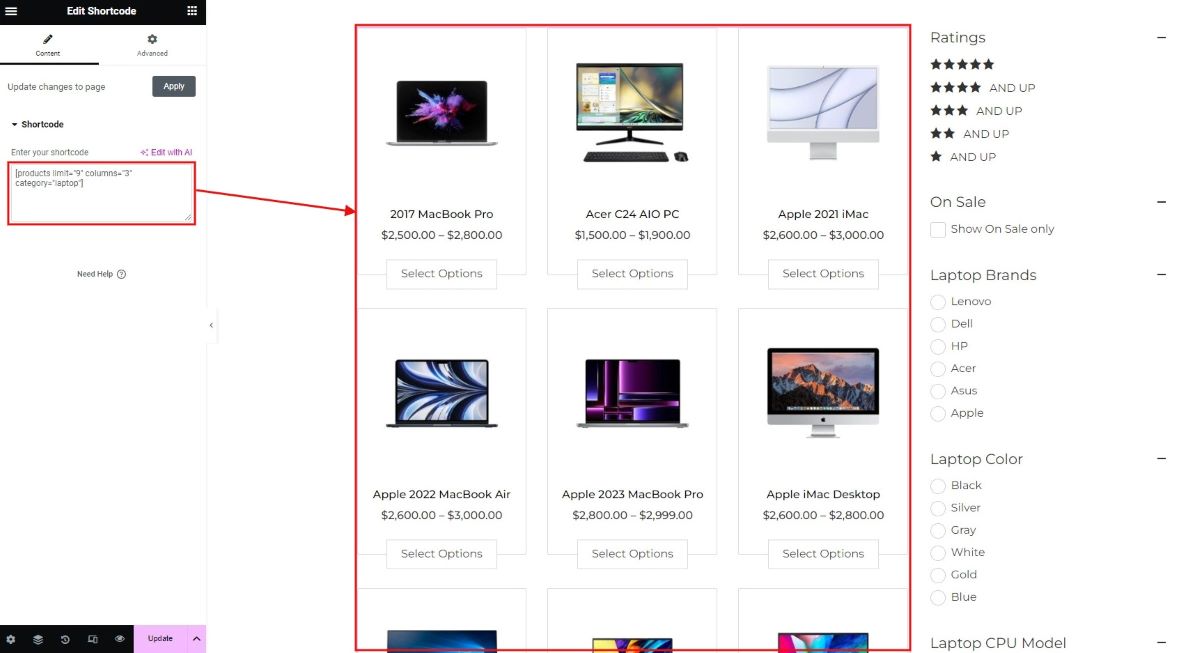
Note: You can get the shortcode from WooCommerce websites, allowing you to easily copy and paste them as needed.
- Now, let’s move on to the next step, which is adding the shortcode filter for the product. Since we’ve selected the Laptop product for demonstration, we’ll copy the shortcode filter designed for it.
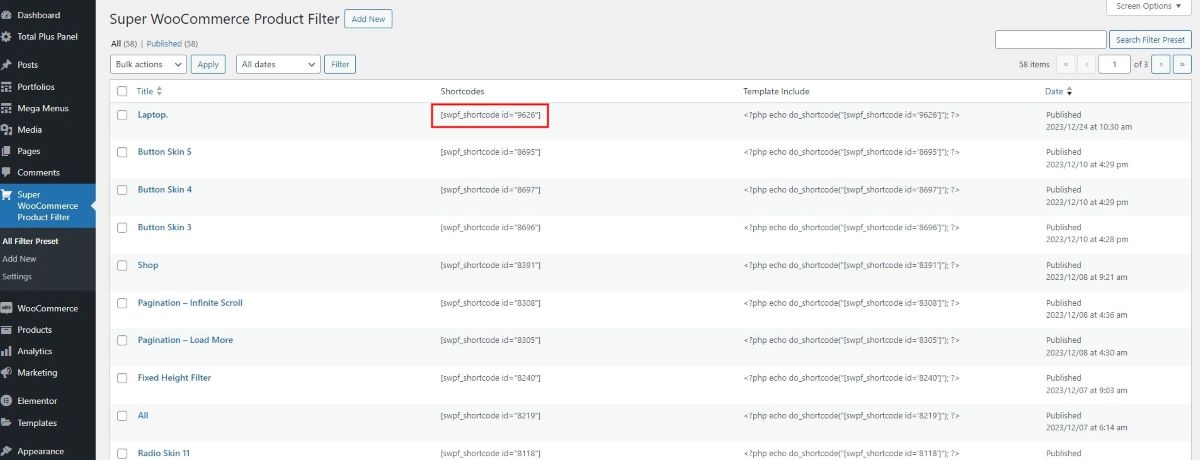
- To copy the shortcode, navigate to Dashboard > Super WooCommerece. Then, click on the product associated with the shortcode you want to copy. You can see a column with the product shortcode. Copy the Shortcode.
- Now, repeat the process of adding a shortcode. To do this, select the column that has a smaller width. Then, in the search widget field, type and search for Shortcode.
- Paste the shortcode that you have recently copied for the product.
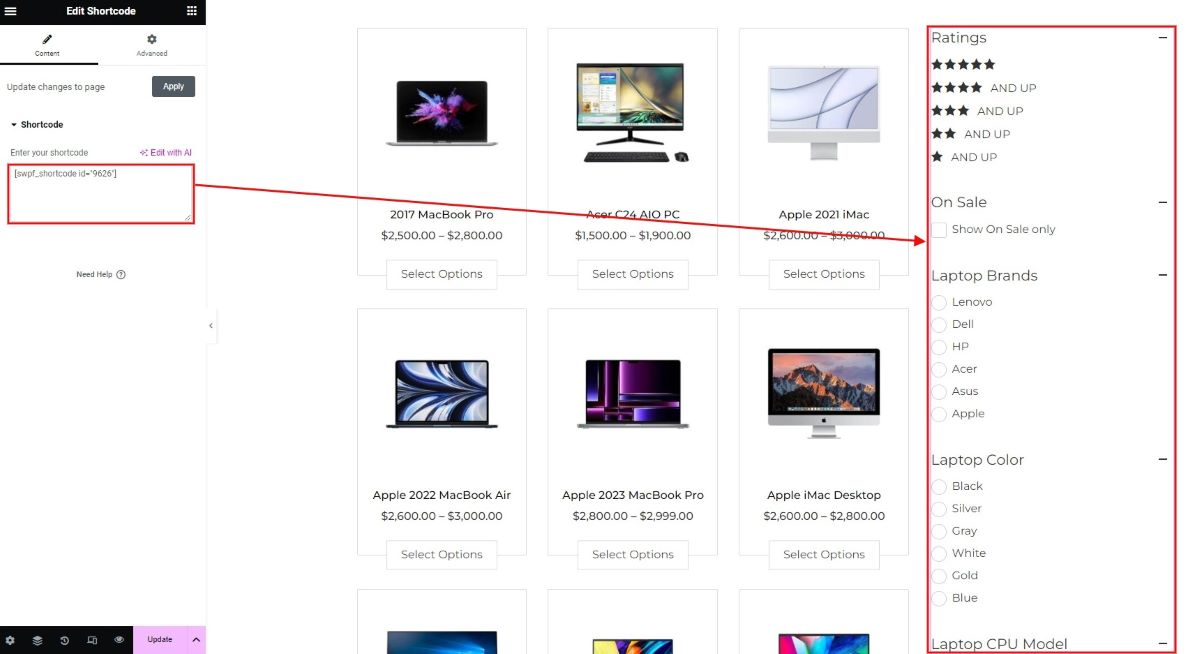
- Click on Update to save the changes.
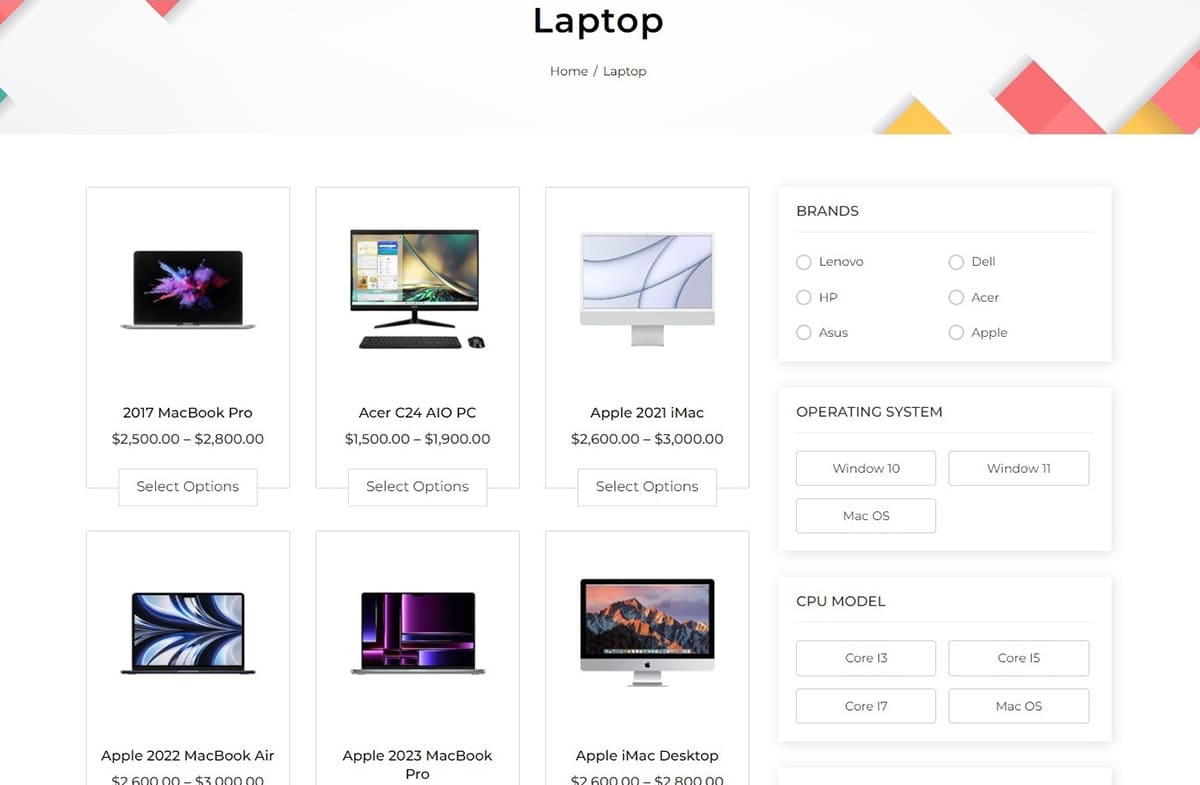
- You’ll notice that the products, along with their corresponding filters, are now displayed on your website.
Customize your filter
With Super WooCommerce Product Filter, you have the flexibility to personalize your product filter to your exact specifications. You can easily make adjustments to the filter you recently added, including modifying display options, display types, sorting options such as order by and order type, and much more.
Let’s demonstrate some of the customization features of the product filter.
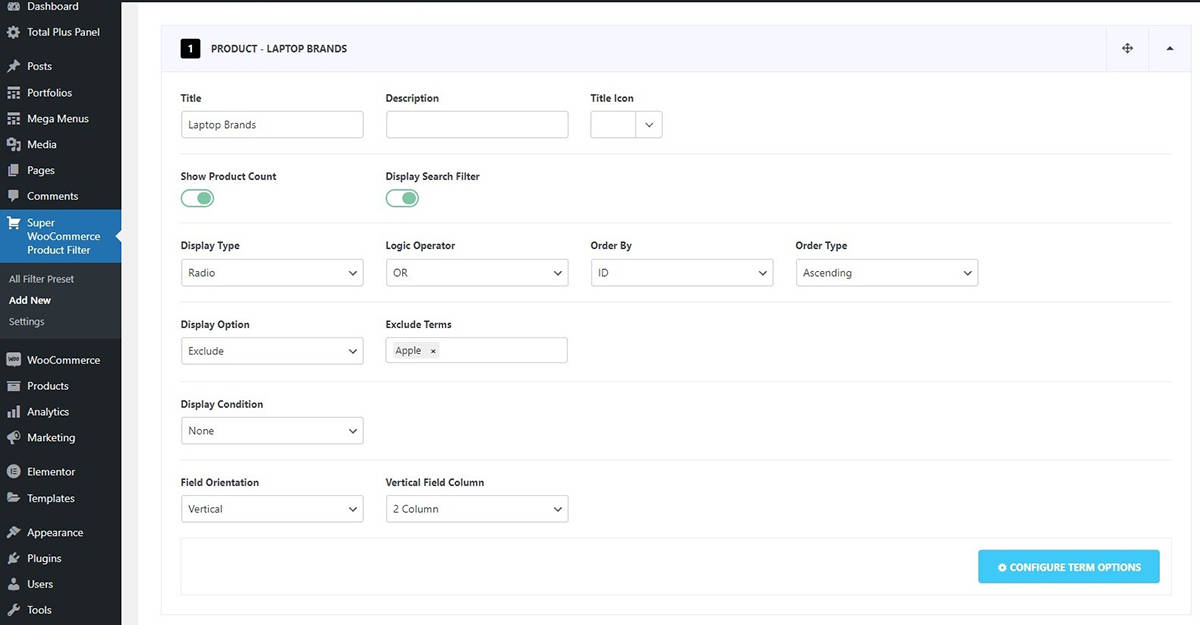
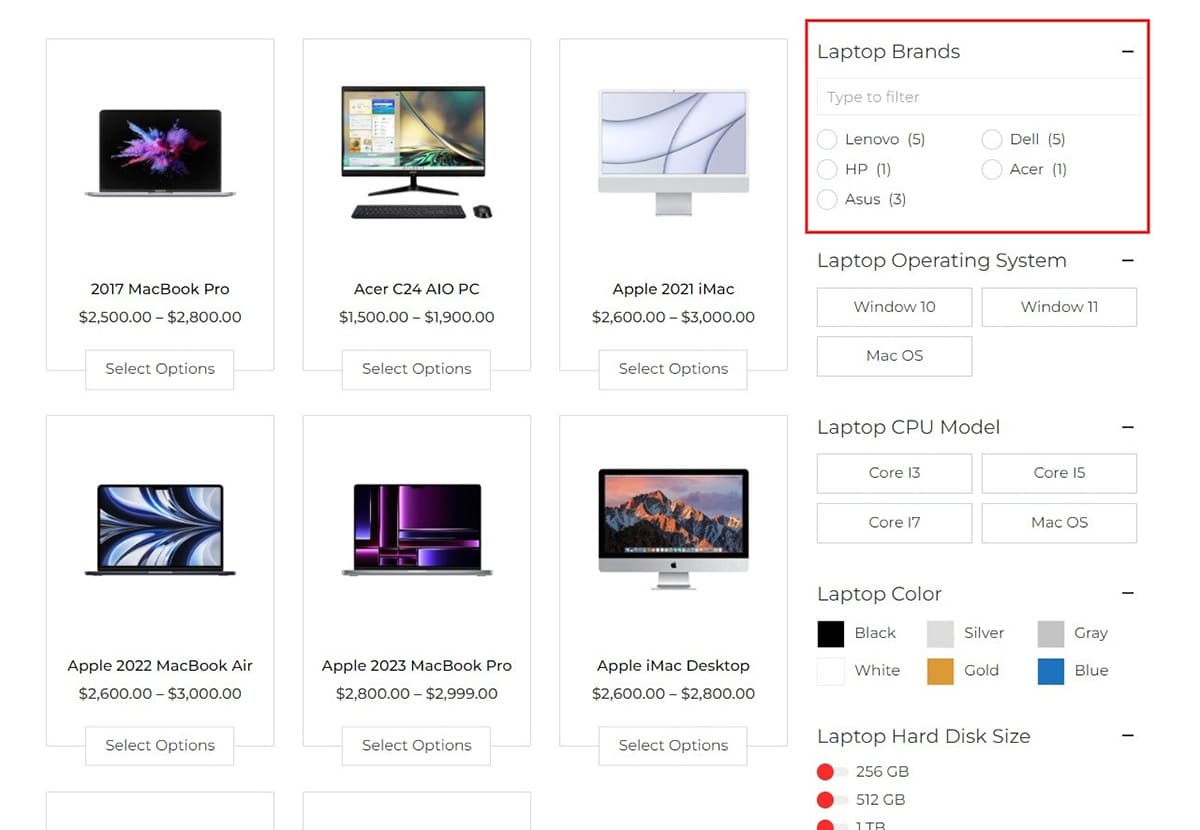
Here you can see that we have taken Laptop Brands to configure the its settings further. You can add a short description which is optional and can choose the title icon as well.
Enabling the Show Product Count option reveals the available item count, while the Search filter lets users input relevant keywords and locate desired products.
Within the Display type section, you have the flexibility to select from a range of button styles, including Radio, checkbox, dropdown, multi-select, button, toggle, color, and image. Additionally, designate the logical operator to display items based on AND or OR, and define the order by and order type preferences.
The Display Options feature enables you to showcase all items, include specific items, or exclude particular items from being displayed.
Choose between Vertical or Horizontal Field Orientation, and select one of three column options.
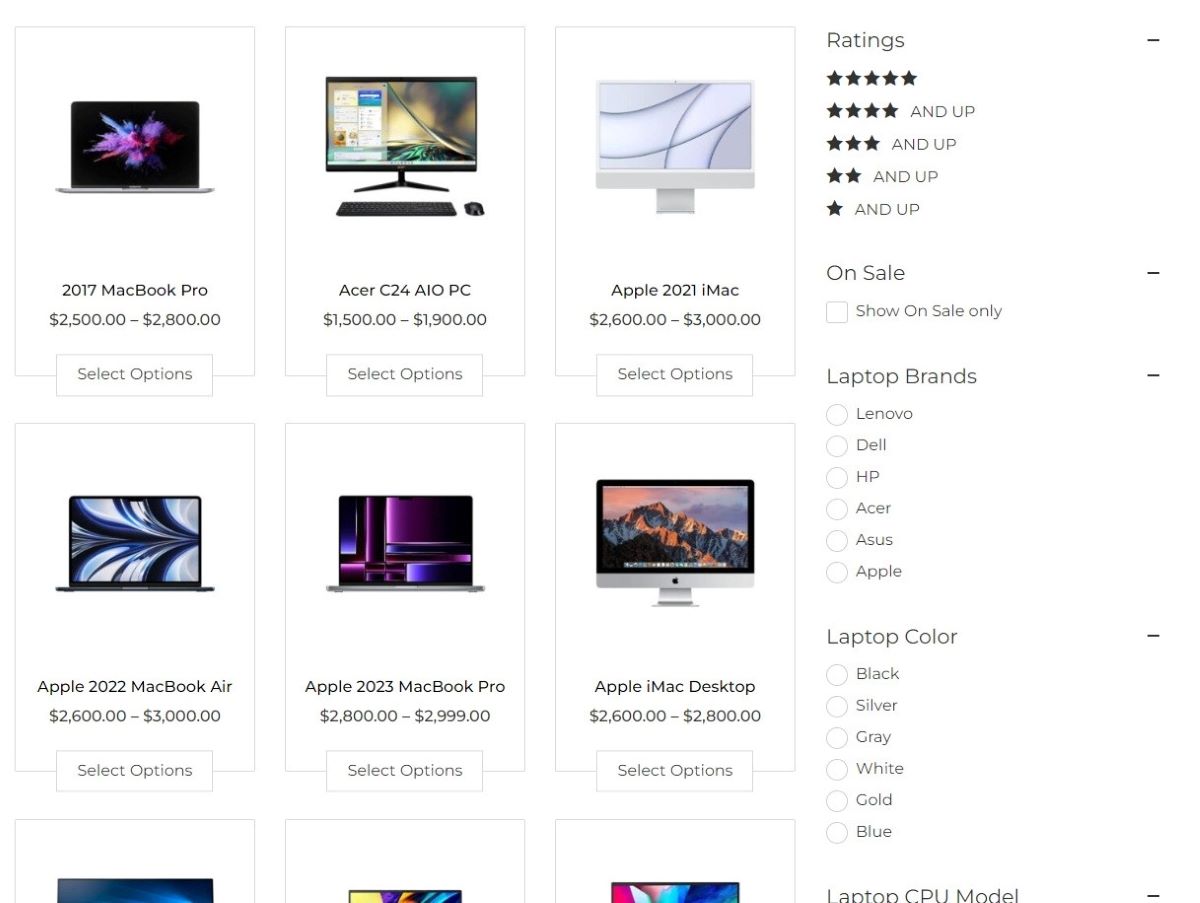
Let’s have a look at the front end of the changes that we have made.
Notice the configurations that we have made in the settings are seen in the filters.
You can enhance your filters by incorporating custom colors and images, making it easier for users to distinguish between options and find precisely what they’re seeking.
Let’s add color variations to the filter section.
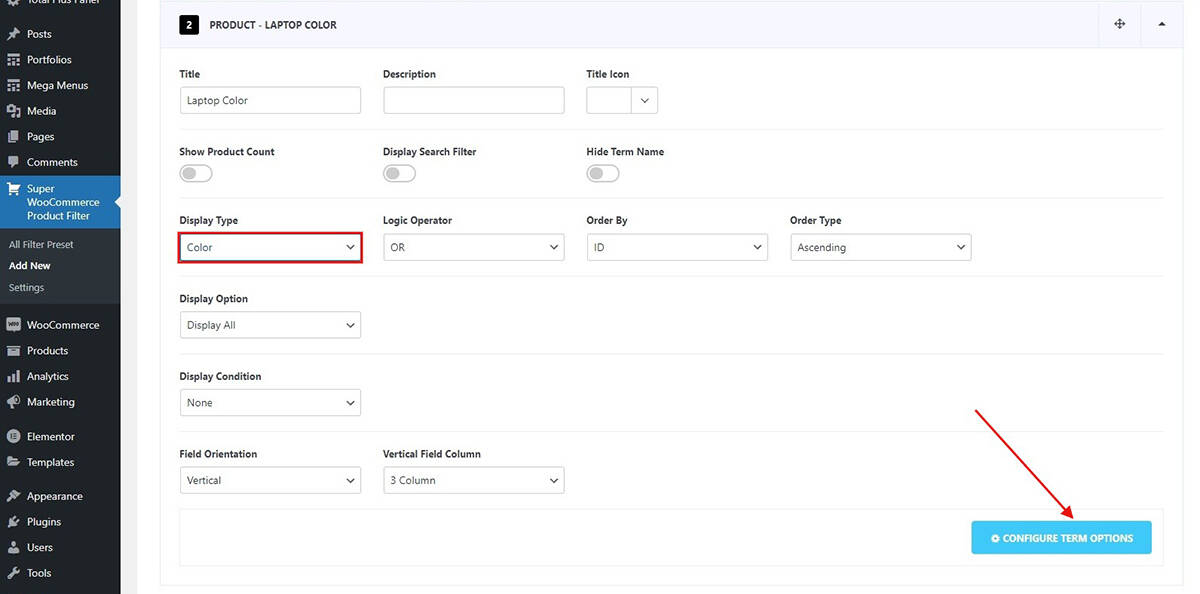
The process is much like what was described earlier, but here you’ll need to pick Color as the Display Type to incorporate different color choices. After selecting Color, proceed by clicking on Configure Term Options.
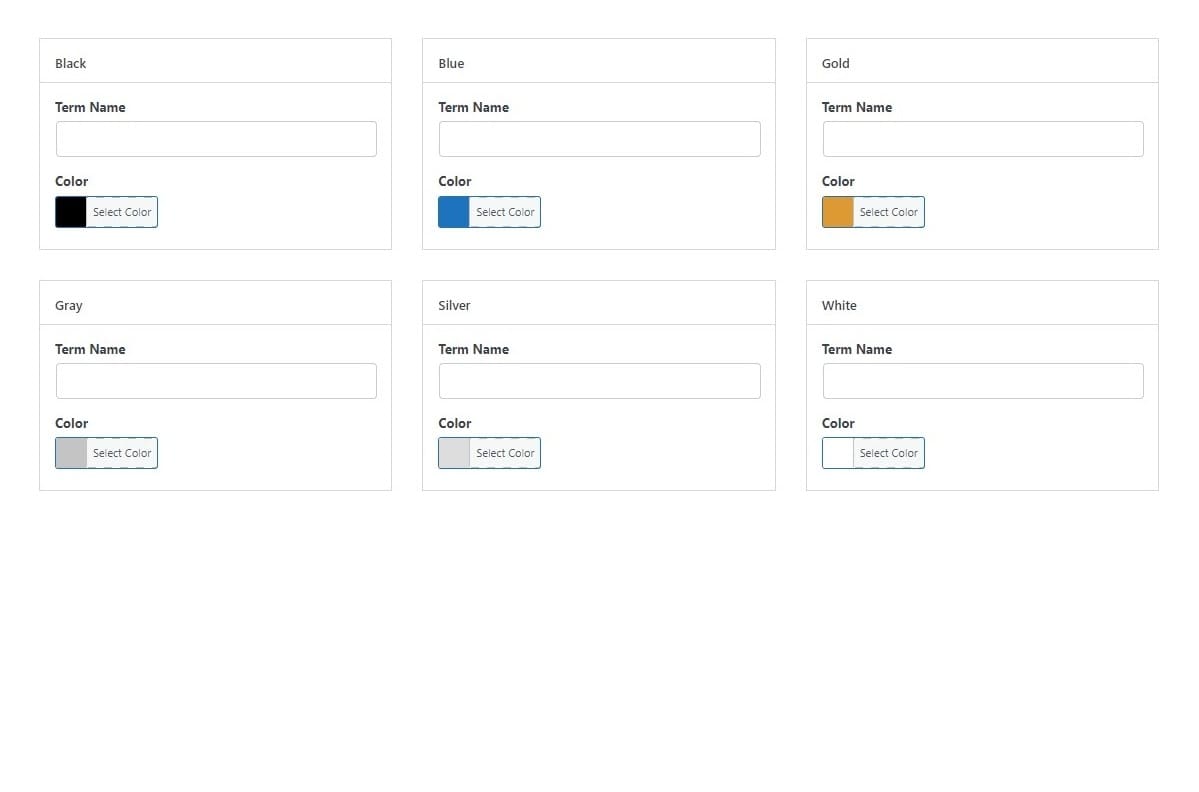
Here, you can choose from available colors for your product and specify precise term names if you want to define colors more accurately.
After you have made the necessary changes make sure you click on Update to save the changes. Let’s have a look at how the changes appear on the front end.
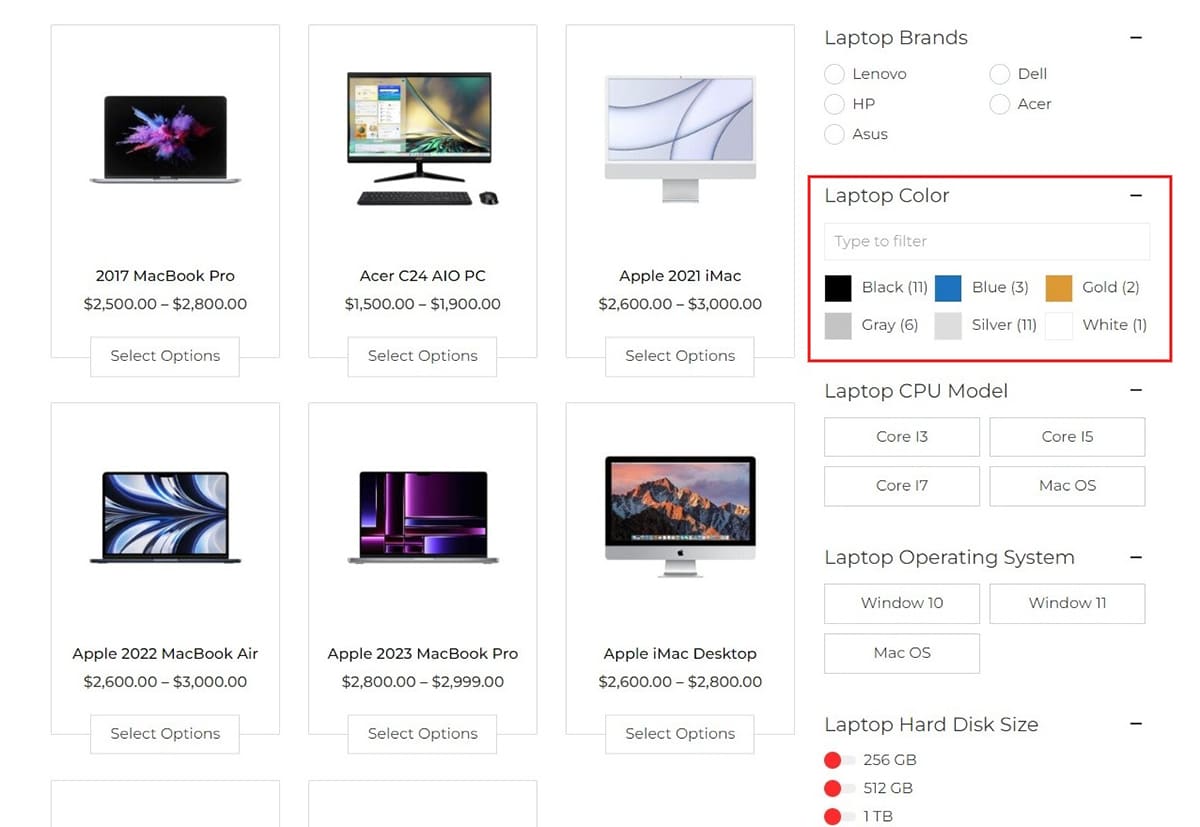
We’ve set up the filter to display the search bar and product count together. You have the option to hide the names of specific colors you’ve selected. But, this can be helpful for users who might not immediately recognize certain colors.
With the same process, you can add images to your filters and customize the filter section more easily.
Moreover, you can tweak the fonts, colors, ratings, radio buttons, checkbox styles, and more design elements of your filters in the Design section. Just click on the Design tab to access these customization options.
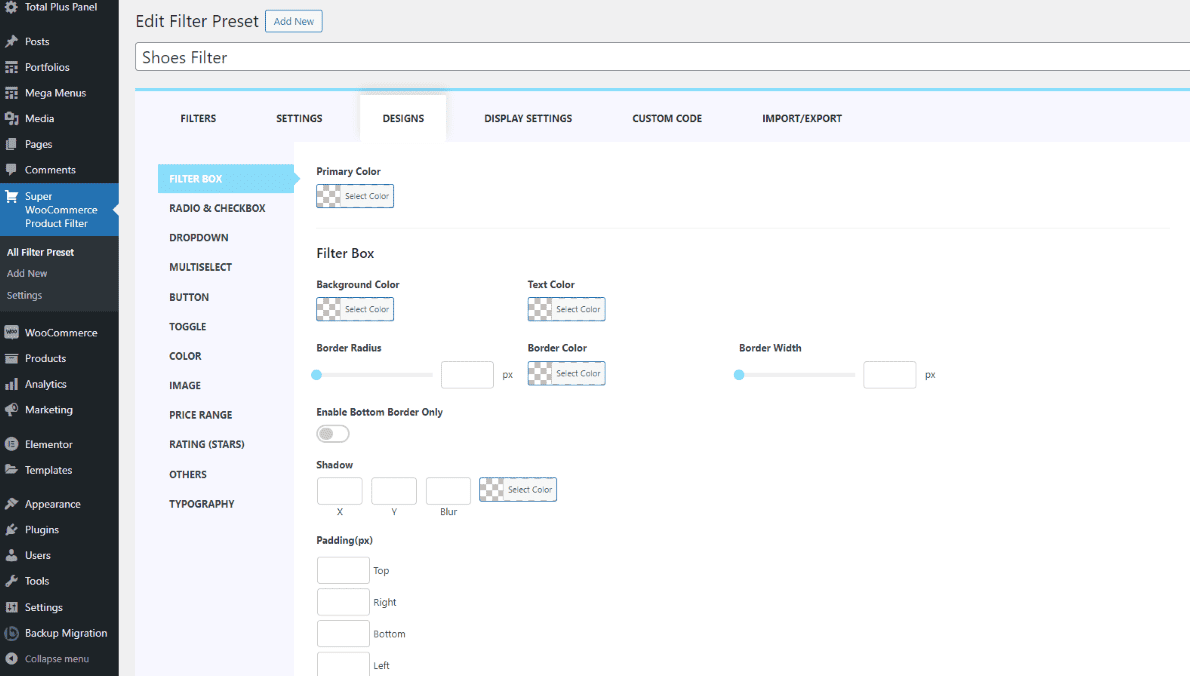
Here you have the liberty to make the changes according to your preference.
Test the Filters
Once everything is set up, visit your website and test the product filters to ensure they work correctly. Try filtering products based on different attributes to see if the results are displayed as expected.
By following these steps, you can successfully add WooCommerce product filters to your e-commerce website, making it easier for customers to find the products they’re interested in.