
Adding a live chat feature on your WordPress website can be a great way to show your availability. Your potential customers when visiting your site might have some general inquiries or pre-sales questions regarding the products or services that you offer on your site. And answering their queries instantly via live chat can be a good way to persuade them to make a purchase.
Apart from that, live chat can also be used as a support forum to instantly reply to the client’s queries as well. It will not only make your support stronger but can also increase the credibility of your business.
By default, WordPress does not offer a live chat feature on its website. So, you will have to integrate it using the 3rd party plugin or software that can be found on the web.
In this article, we will be using 3 different plugins to show you how to add live chat on WordPress website i.e. 3CX Live Chat plugin, Crisp Live Chat, and Tawk.To live chat.
Table of Contents
How to Add Live Chat on WordPress Website Using 3CX Live Chat?
The first thing you need to do is install and activate the 3CX Live Chat plugin on your WordPress website.
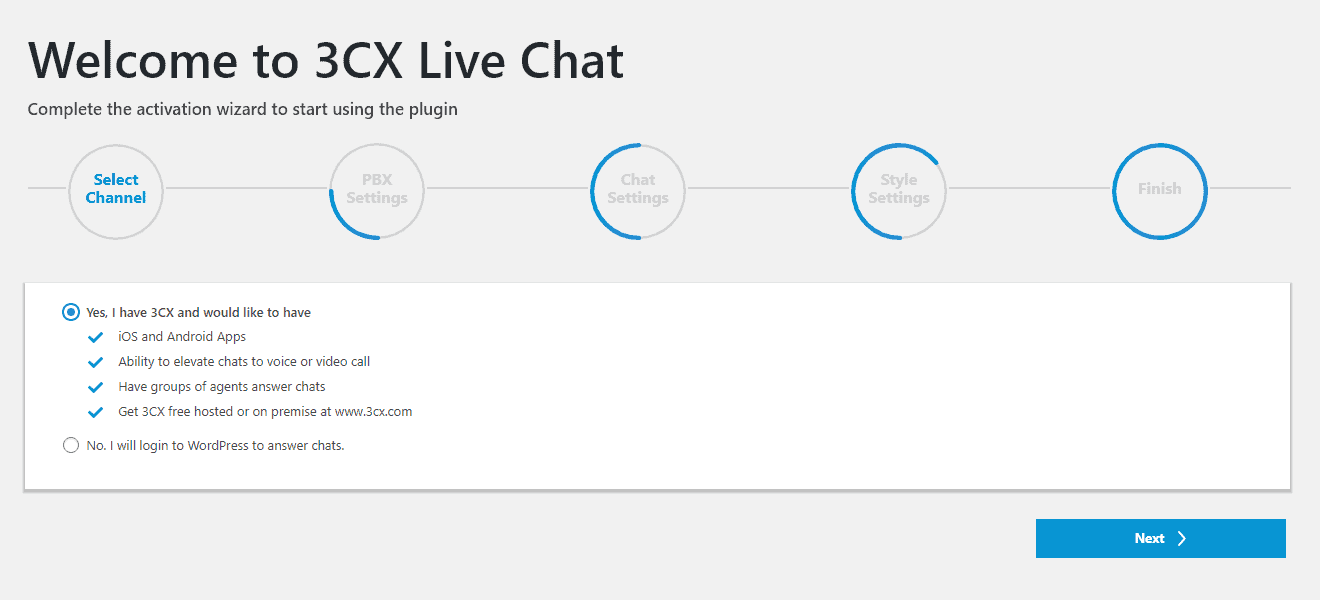
Upon activation, you will be directed to the activation wizard to configure your plugin.
The first part of the activation wizard includes channel selection where you can choose any of the 2 channels available. The first one is the 3CX channel where you can have an android and IOS app, that provides the ability to elevate chats to voice and video calls, have a group of agents answering calls, and a free 3CX hosted. The second channel is to log in to the WordPress website to chat. Here, we will choose the second one.
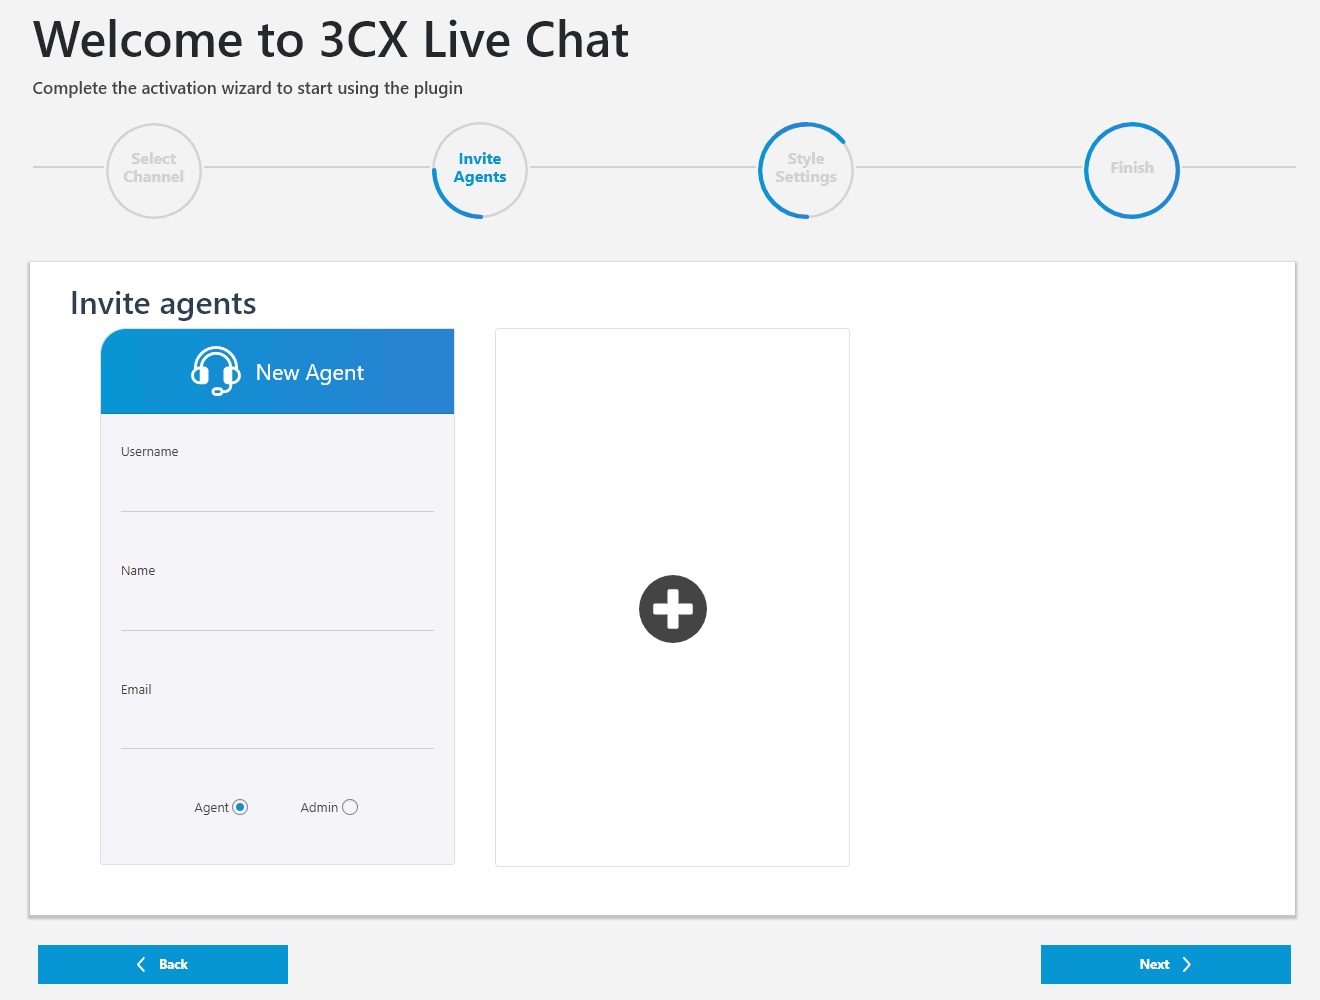
Once you choose the channel, a set of options will appear for that channel. The first option is to Invite Agents that will allow you to invite the agent (support team) of your website. Add as many agents as per your need and click on the “Next” button to continue.
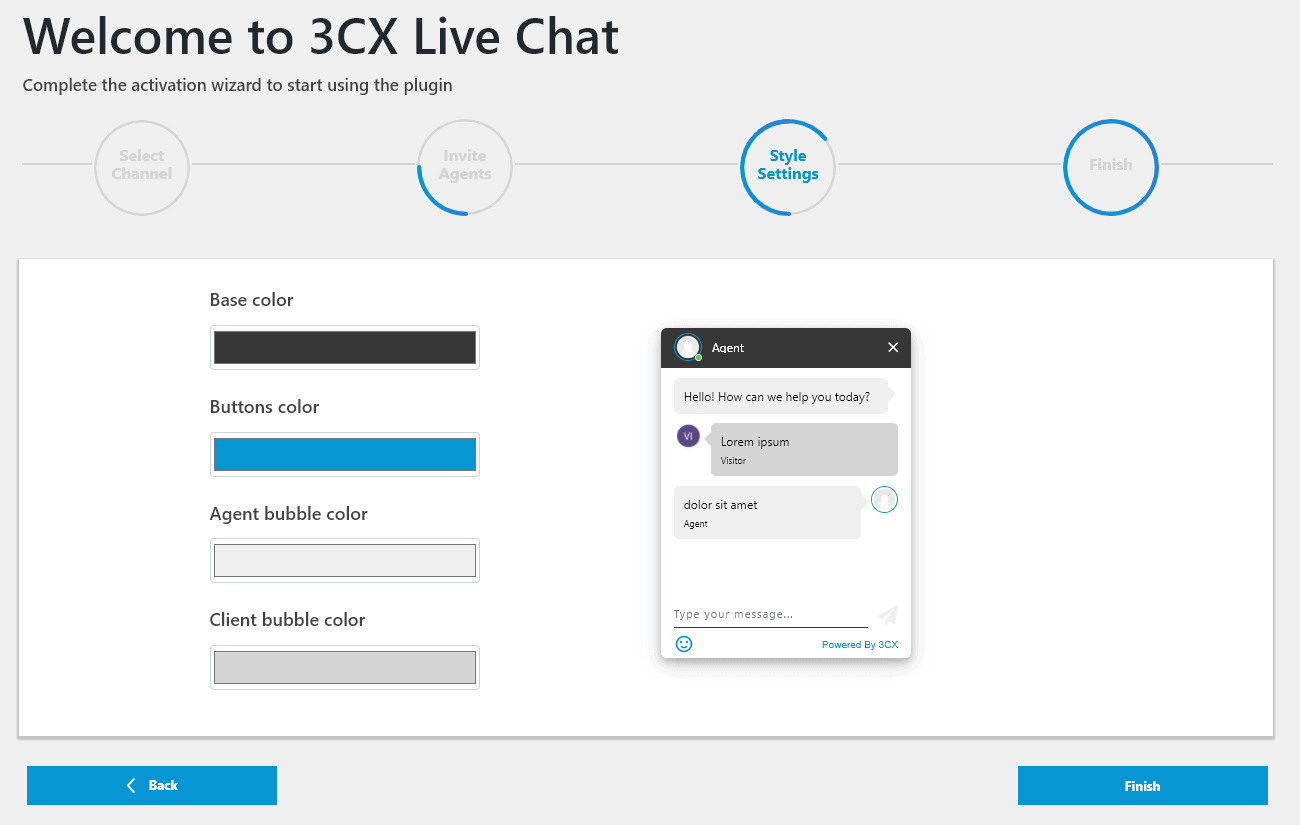
Another is a styling option that allows you to pick the most suitable colors for your style box. Style Up your chat box and click on the finish button.
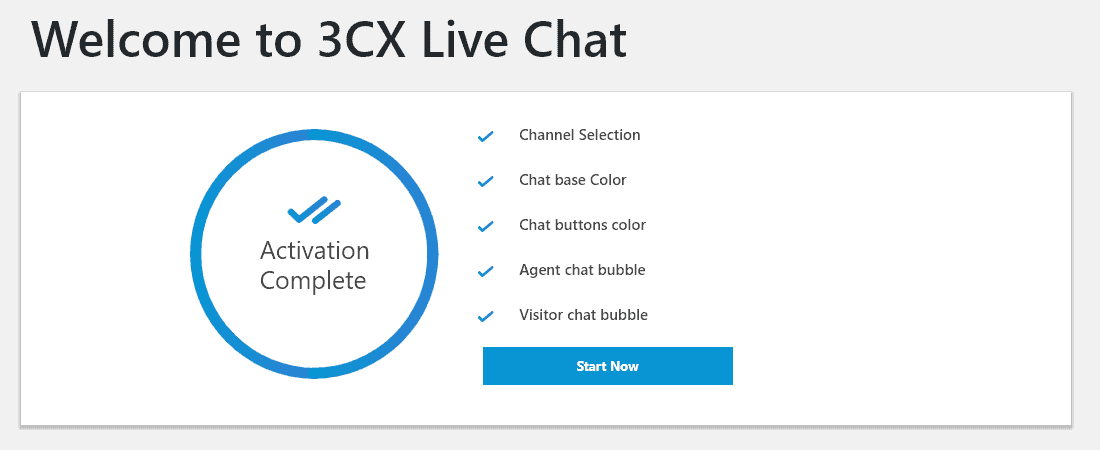
You will be directed to the page like the one below in the screenshot. Click on start now to continue.
Now, visit your homepage and check if the chat button is working properly or not.
How to Add Live Chat on WordPress Website Using Crisp Live Chat plugin?
The first thing you need to do is install and activate the Crisp Live Chat plugin on your WordPress website.
Upon activation, you will see Crisp Settings appear in the left menu of your WordPress dashboard. Click on it.
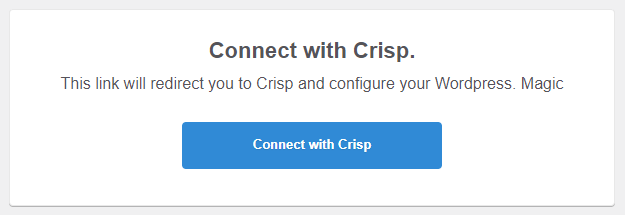
A popup containing the redirect magic link will appear. Click on Connect with Crisp button to continue.
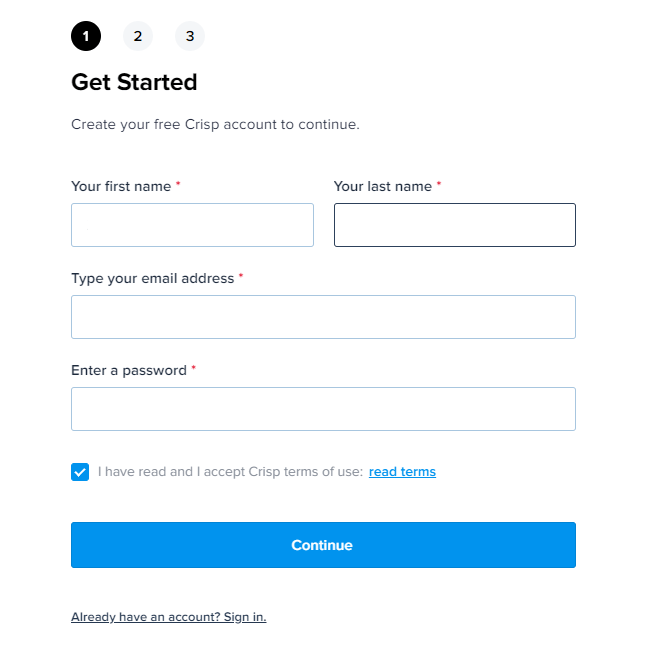
You will be redirected to the Crisp official website where you need to sign up for an account. If you already have a Crisp account you can skip this step and directly sign in. If you follow the steps below:
Enter your first and last name, email address, and password. Then, click on the Continue button.
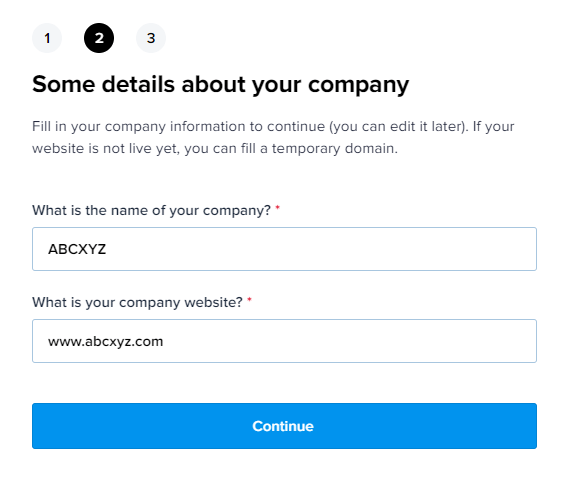
Now, give your company name and the URL of your company website and click on the Continue button.
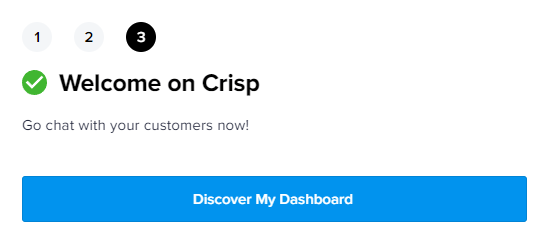
After that, click on the Discover My Dashboard button to continue.
Once done, visit your website and you will be able to see the Crisp chat button on your website.
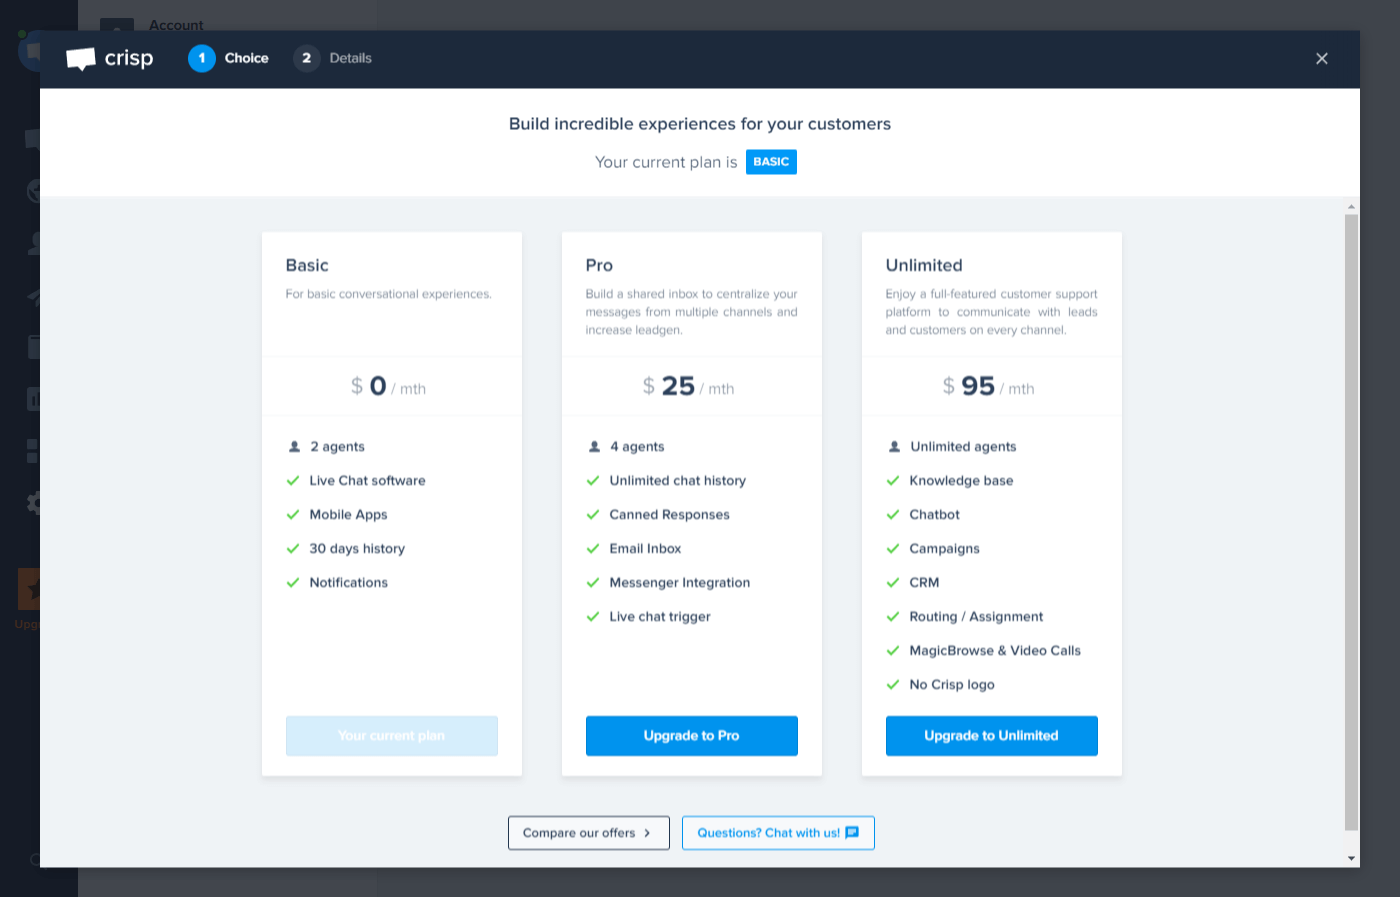
Crisp has 3 different pricing plans. By default, the Basic plan (free plan) will be active. You can upgrade to the paid plan at any time for additional features and functionalities.
How to Add Live Chat on WordPress Website Using Tawk.To Live Chat?
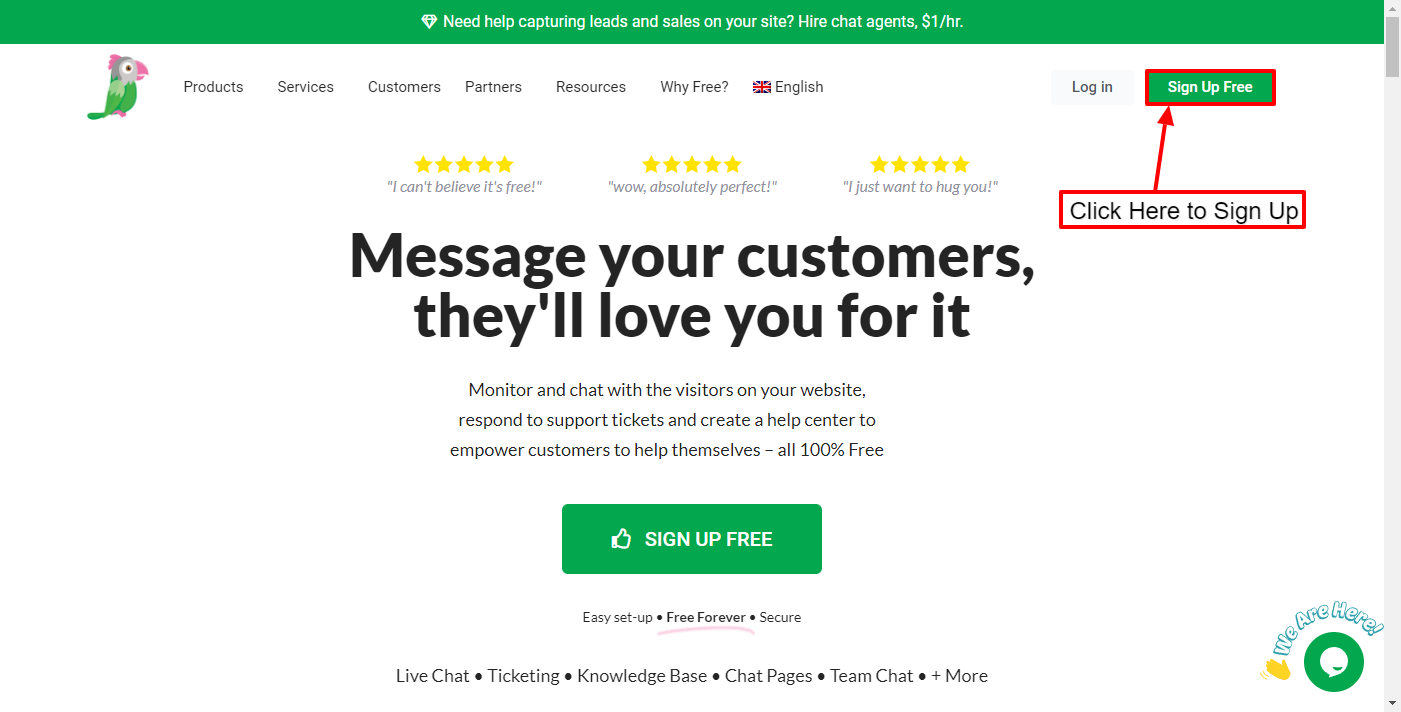
The first thing you need to do is sign up for Tawk.To account. To sign up for the Tawk.to account, visit its official website and click on the Sign Up Free button.
Note: if you already have Tawk.to account, you can directly sign in and install WordPress plugin.
Enter your name, email address, and password. Then, click on the Sign Up for Free button.

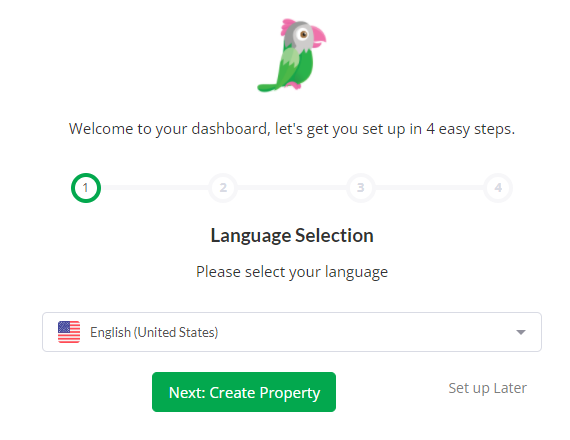
Now select the language that you want and click the Next: Create Property button.
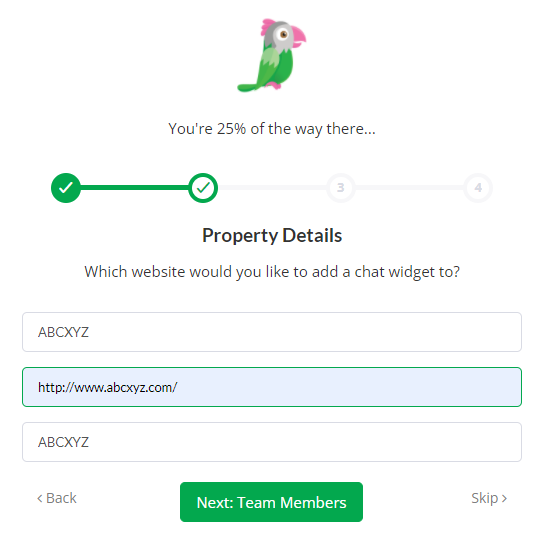
Then, fill up your property detail i.e. Site Name, Enter Site URL, and Widget Name. Once done, click on the Next: Team Members button.
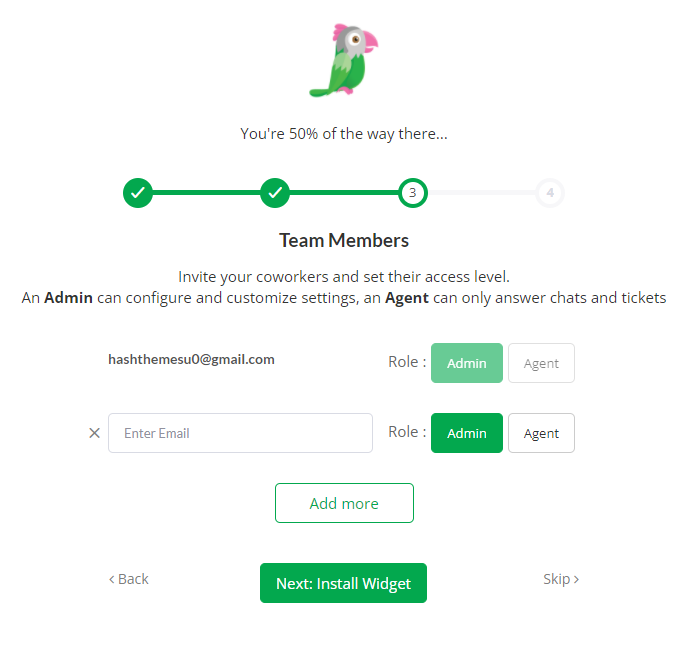
You will land on the Team members tab where you can insert your support team members. If you are running your website along and do not have any team, leave it as it is. Then, click on the Next: Install Widget button.
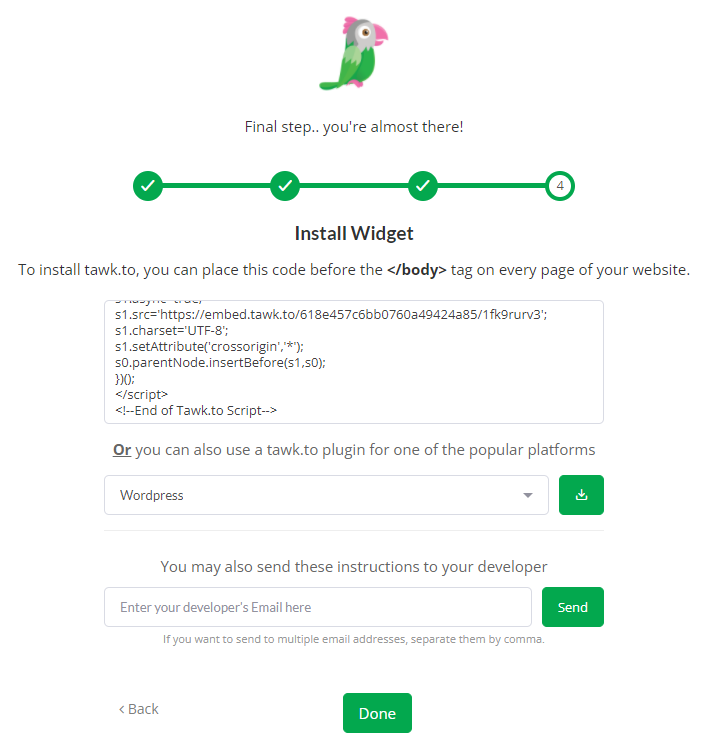
Now, the widget is installed, and it’s time to add your WordPress website.
Login to your WordPress dashboard and install and activate the Tawk.To Live Chat on your WordPress website.
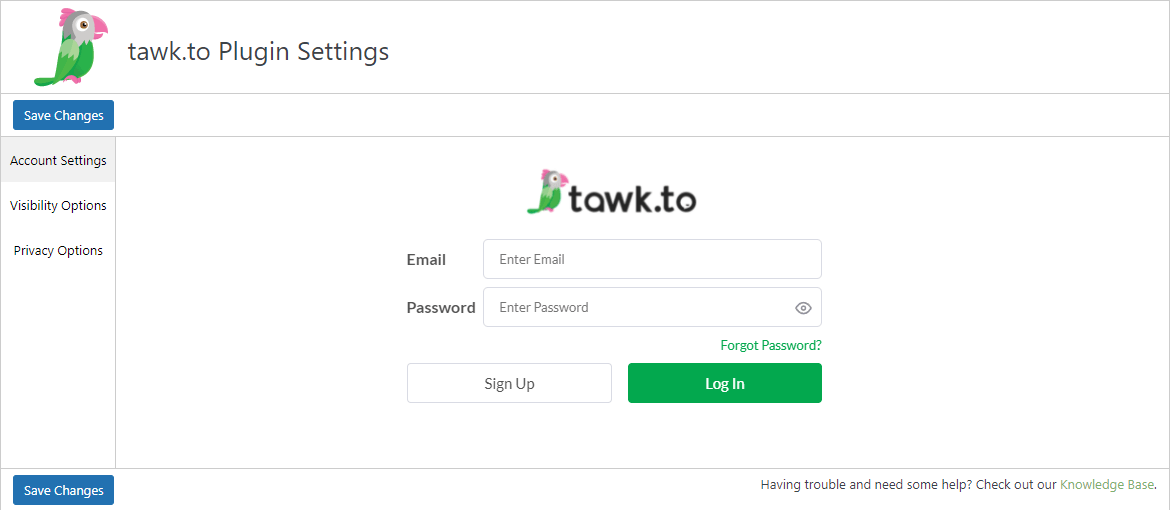
Then, go to Settings >> Tawk.to and enter the credential that you have used to create your account.
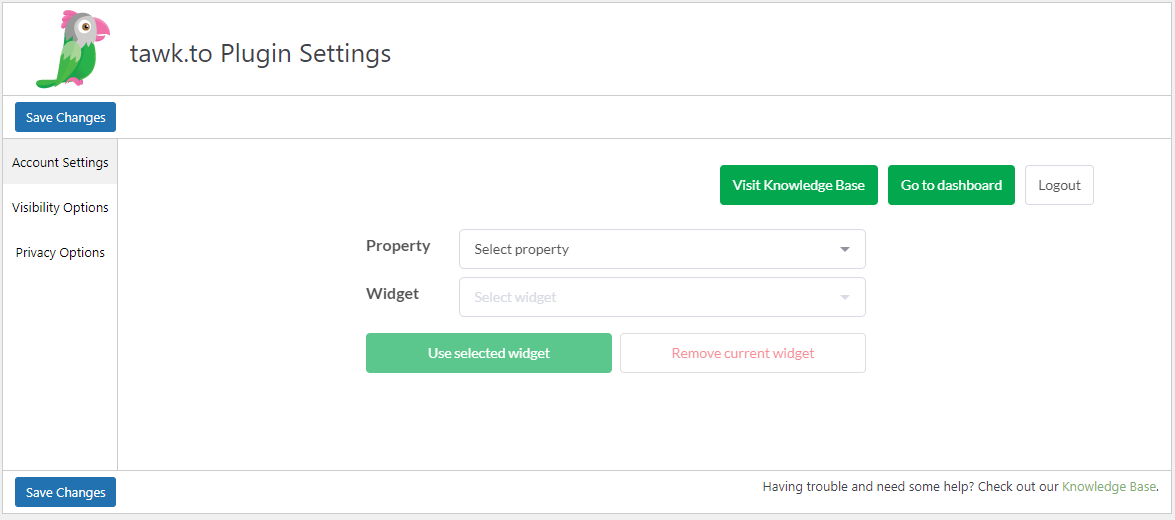
After that, select the property and widget that you have created and click on the Use selected widget button.
Then, visit your website and you can find Tawk.to widget.