
In this article, we will discuss how to install Google Analytics in WordPress website. But before going through the setup process, here are some of the information that you need to know about Google Analytics and why you should consider using such a thing on your WordPress website.
What is Google Analytics?
Google Analytics is a free web analytics tool that can track and report website traffic. This will help you to know the taste of your traffic and allow you to determine what type of content you should focus on your website. In many ways, it can benefit a web owner to plan the future of the business.
Here are some of them below:
Identify the Source of Traffic
Through Google Analytics you can identify the sources where the traffic has entered your website. It may be via promotional posts from social media or via referrals etc. Besides, you can also view the location (country) of your visitors. This will help you to carry out further promotions by targeting the audience.
Better Understanding of Your Audience
When an audience lands on your website, Google Analytics will automatically track all the interactions he/she has done. This will help you to understand your audience better.
Create the Content As Per Audience Taste
As Google Analytics will help you to track down the pages and posts that are mostly viewed, you can find and create similar content to boost the traffic rate.
Know About Conversions and Sales
If you are running an eCommerce website, Google Analytics will help you to track the revenue generated from sales and conversions.
Improve the User Experience of your Website
From Google Analytics, you can track down the behavior of your visitors as well as the device that your visitors used to visit your website. You can analyze them to improve the user experience of your website.
How to Sign Up with Google Analytics?
As Google Analytics is a free tool, all you need is a Google Account to Sign Up.
The signup process is quite simple, and you can follow the following steps to sign up for Google Analytics:
Step 1:
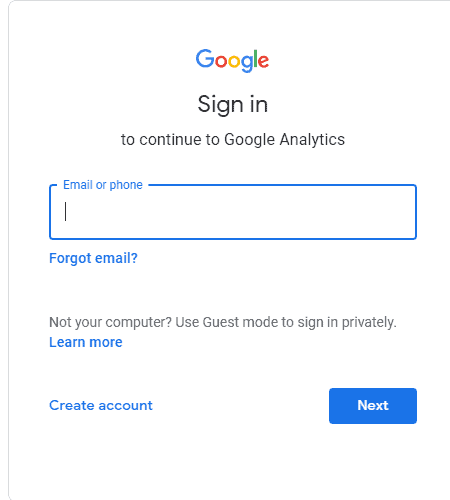
The first thing you need to do is visit the Google Analytics Website. You will be told to sign in to your Google account. If you already have a Gmail account, you can log in using that. If you don’t have a Gmail account, you can go ahead and create your Google Account.
Step 2:
Once you have signed in to your Google account, you will be directed to the screen like the one below. This is where you will sign up the Google Analytics from Google Accounts.

Click on the Start Measuring button.
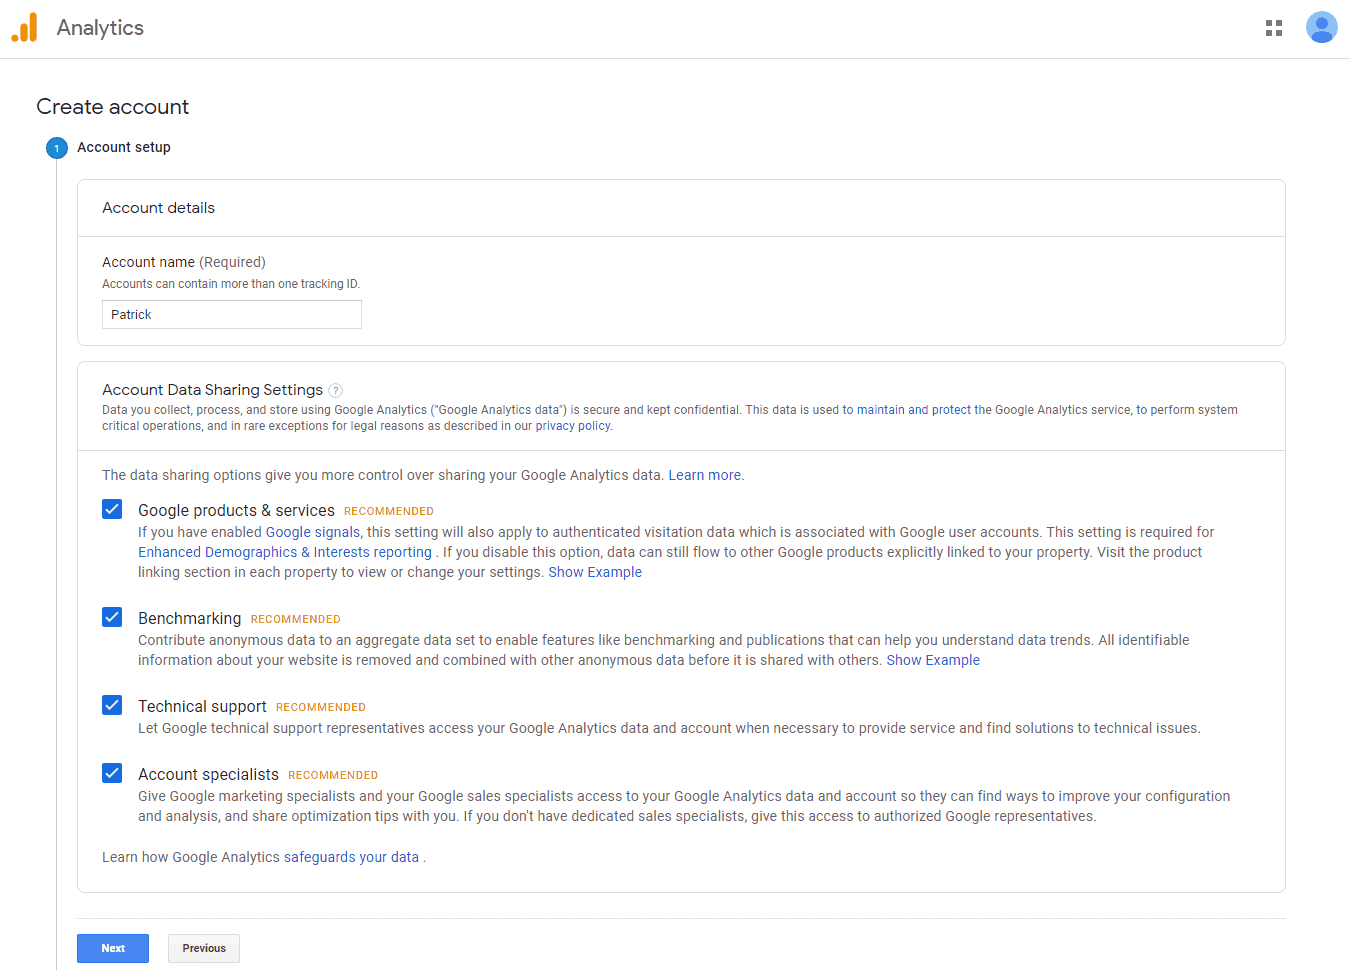
After that, you need to enter your account name for Google Analytics.
Step 3:
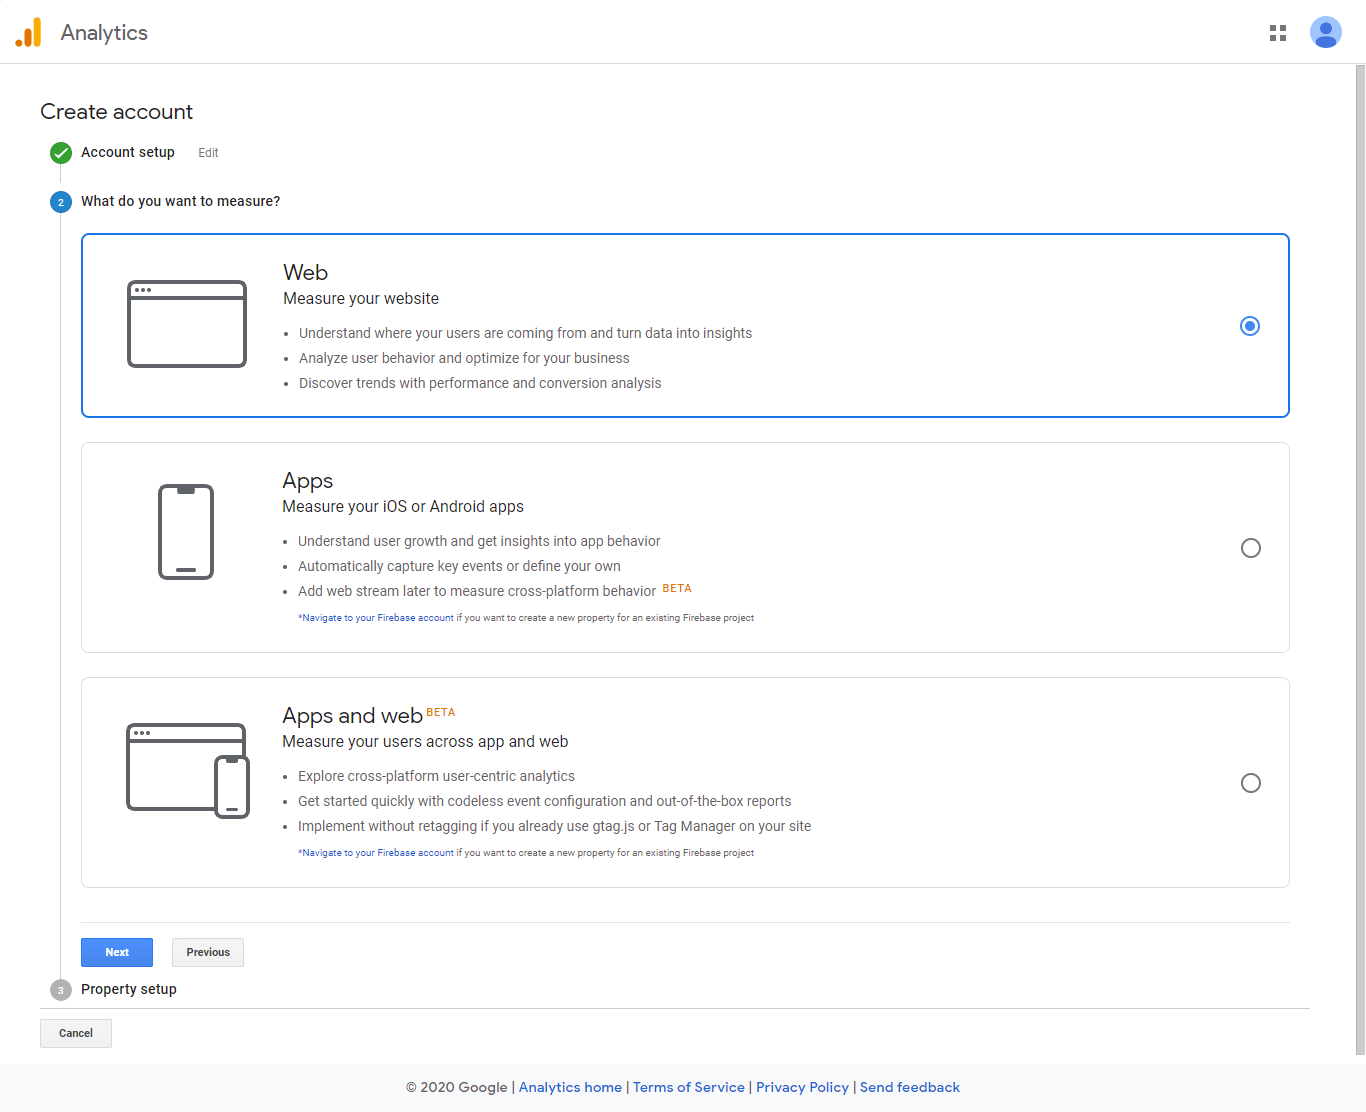
On the next screen, you will be given a choice to select Web, Apps or Apps and Web. Select Web.
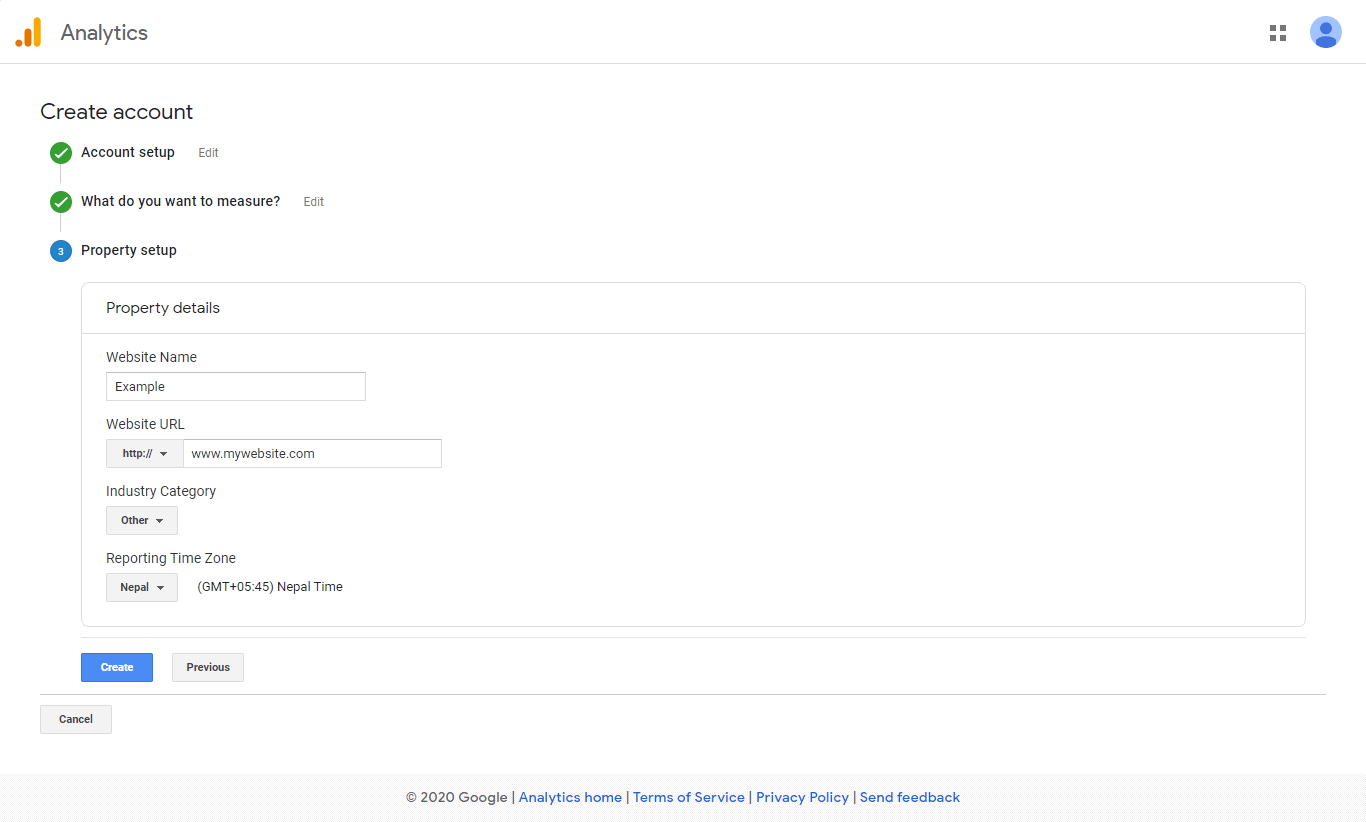
After that, you will need to enter your website name, URL, industry category, country and time zone.
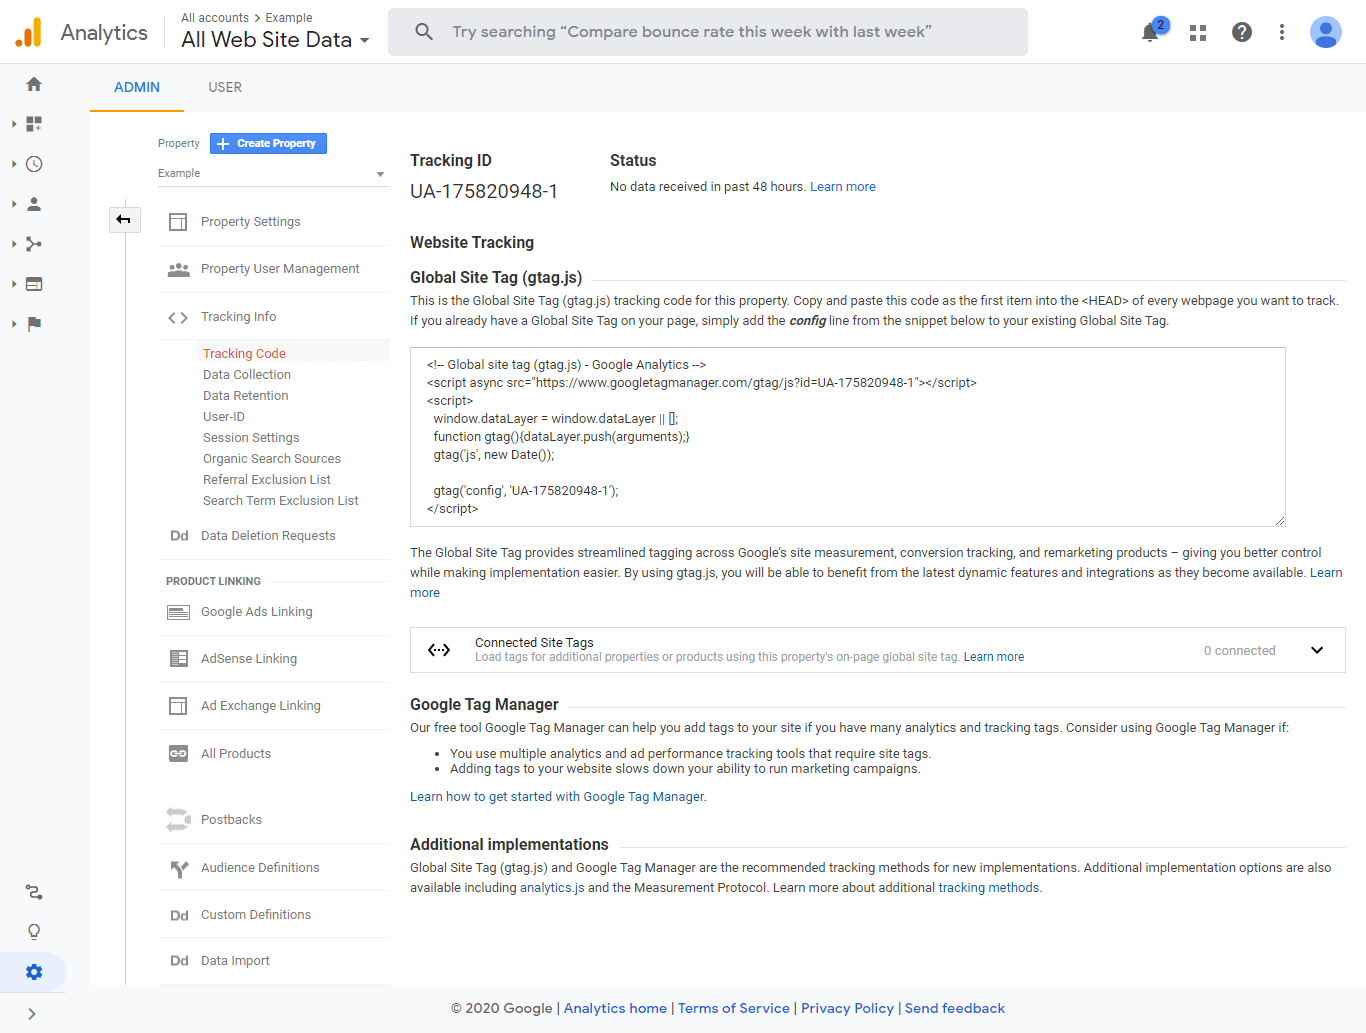
Step 4:
Now, you will be presented with the Google Analytics code. You can copy that code as it might be required depending upon the method you choose while installing Google Analytics on your WordPress website.
How to Install Google Analytics in WordPress website?
If you are a WordPress user, there are different ways to install Google Analytics on your website. We will be discussing 2 different steps i.e. using WordPress plugin and without using WordPress plugin.
Installing Google Analytics By Using WordPress Plugin
This method is suitable for the non technical users and non coders. It is simple and easy to carry out.
If you search on the web, you can find many WordPress plugins that will integrate Google Analytic on your WordPress website.
Here, we will use MonsterInsights plugin to show you how to set up Google Analytics from WordPress plugin.
Step 1:

The first thing you need to do is download and install the MonsterInsight plugin from WordPress.org. Once the plugin is installed, activate it.
Step 2:
Upon activating the plugin, you will be directed to the welcome page of the plugin. You can view the full guide of the plugin (documentation) or launch the wizard. Besides, you can also view the features available on the plugin.
To proceed, click on Launch the Wizard button.
Step 3:

Now you will need to choose the category to describe your website. You will have a choice either to choose a business, publishing or eCommerce website.

After that, you need to connect MonsterInsights to your Analytics account.
Choose the Google Account. Then, click on allow button
After that click on “Complete Connection” button.
Step 4:
You will be logged out of your website. Login to your website again. You will be directed to recommended addons that you can install if you are using the paid version of MonsterInsight.

Then, click on the “Finish Setup and Exit Wizard” button.
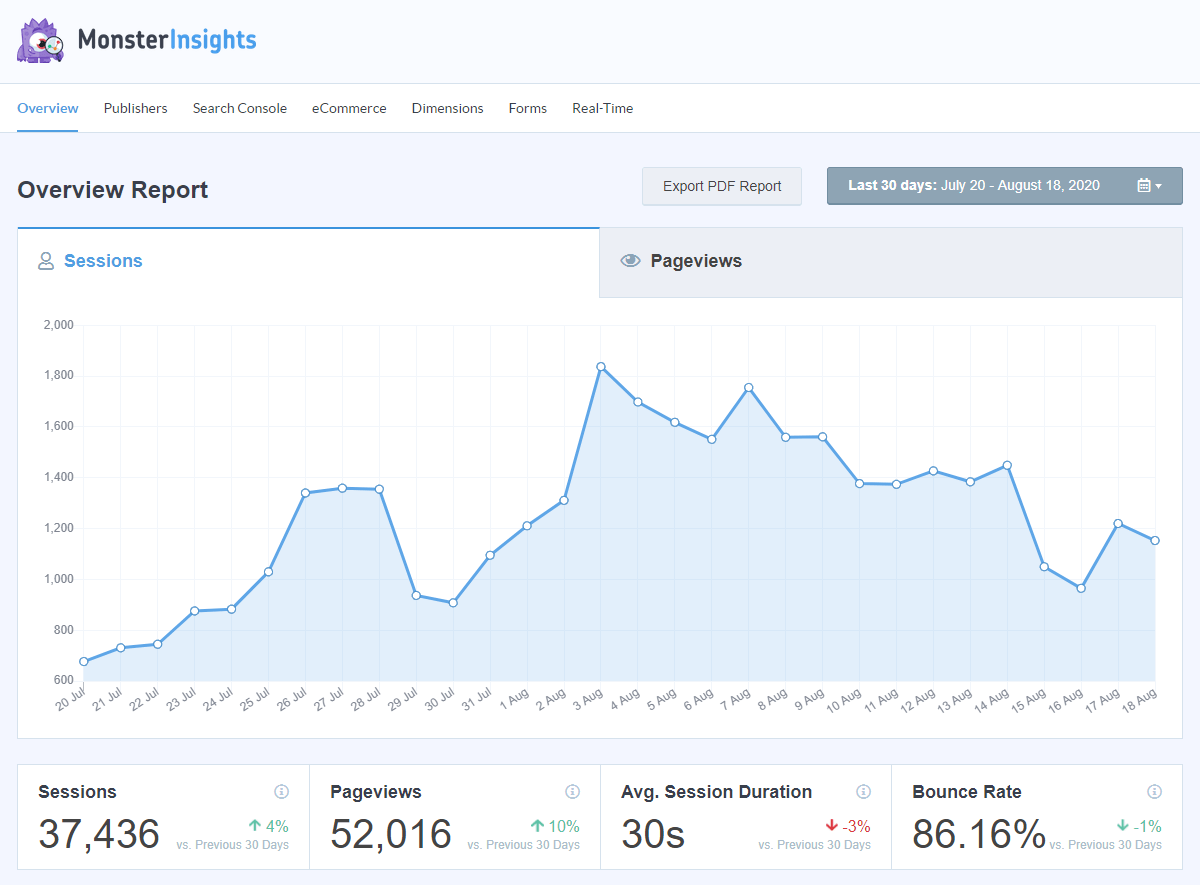
Now, go to Insights > Reports to view the analytics of your website.
Adding Google Analytics without Using WordPress Plugin
In the above method, you need to install the WordPress plugin. However, if you don’t want to install the plugin, you can use this method. But this method required a fair chunk of coding knowledge. So, if you are a non coder, we recommend you to follow the above step.
The first thing you need to do is login to your WordPress dashboard. Then, navigate to the Theme Editor from the Appearance menu.
There, open the theme function (function.php) from the right column.
Paste the given code snippet to the file.
add_action('wp_head','my_analytics', 20);
function my_analytics() {
?>
<!-- Global site tag (gtag.js) - Google Analytics -->
<script async src="https://www.googletagmanager.com/gtag/js?id=UA-26575989-48"></script>
<script>
  window.dataLayer = window.dataLayer || [];
  function gtag(){dataLayer.push(arguments);}
  gtag('js', new Date());
  gtag('config', 'UA-26575989-48');
</script>
<?php
}
Then, click on the Update File button to save changes.