
In this article, we will discuss how to create a multilingual website from Total using the Polylang plugin. It will allow you to create a website that can be viewed in several languages. This will play a great role in expanding the reach of your website and generate conversions from non-english speaking zones.
Total – Brief Description

Total is a premium multipurpose WordPress theme that comes with tons of features to create any type of website. The theme contains 5 slickly designed demo websites that can be imported and installed in a single click. It comes with 18 different home page customizer sections with multiple variations of layouts to display your homepage in different styles. You can easily enable/disable any of these sections or reorder them using the drag and drop process.
Total is a fully translation-ready and multilingual WordPress theme. That means you can easily localize your website by translating the theme contents into the local language as well as building a website that can be viewed in multiple languages.
Setting Up Polylang on your WordPress Website
Now that you have got the basic info of the theme let’s install the Polylang plugin on your WordPress website. In order to carry out this process, you will need to have the Total WordPress theme installed and activated on your website.
The first thing you need to do is install the Polylang plugin. It is available on the WordPress.org repository. Download its copy and install and activate it on your website.
Adding Languages for your Website
Upon activating the plugin, you can see a new settings section – “Languages” on the left menu of your dashboard. Click on it.
By default, Polylang contains 90+ different languages to choose the language of your website.

Click on the “Choose the language” drop-down to select your first language. We have chosen the English language. However, if you don’t want the English language on your site, you can choose another language on your website.
Once you have selected the language, other columns will be automatically filled according to your chosen language.
Similarly, select the 2nd language for your website. We have chosen Español (Spanish) as our second language.
Setting Up Default Language
After you have selected your languages for your website, you will need to set the default language for your existing content.

To set the default language of your website, hover over the star symbol and click on it.
1) Translating Existing Posts and Pages
Now that you have selected the language for your multilingual website, let’s translate the existing posts and pages of your WordPress website.
To translate the existing post, go to Posts > All Posts.
Now click on the “+” sign below the Spanish flag.
It will take to the next post. Enter the correct translation for the post that you want to translate. If you do not know the correct translation, click on Google Translation to find out the correct one.
Once you have written the correct translations, click on the “Publish” button to make your post live.
After the article is live, your translated post will be added to your Post list with the tick symbol.
Apply the similar step to translate other posts as well.
You can translate the existing pages of your WordPress website in the same process.
2) Translating Existing Categories and Tags
To translate the categories of your website, go to Posts > Categories. You can see the “+” sign in below the Spanish flag the same as the one in the post list. Click on it.
You will be asked to give the category name. This is for the Spanish version. So, give the correct Spanish translation of your category.
Once done, click on the “Add New Category” button.
Now your translation category will be added to the category list.
Apply the similar step to translate other categories as well.
You can translate the existing tags of your WordPress website in the same process.
3) Translating Menu
Before translating the menu of your WordPress website, you need to create the menu first.
To create the menu, go to Appearance > Menu.
Now, click on the “create a new menu” link to start creating the menu. After that add different menu items.
Once you have added all the required menu items, set the menu location to “Primary Menu English” and click on the save menu.
Now to translate that menu into the Spanish language, click on the “create a new menu” link.
Then, add the menu items to your menu. For each item, add the translation to the Spanish language. If you don’t know the correct translation of menu items, you can take help from Google Translation.
Once done you have added all the translated text, set the menu location to “Primary Menu Espanol” and click on Save Menu button.
4) Translating Customizer Home Page Section Blocks
After you have translated the menu, let’s translate the customizer of the homepage section block.
Go to Appearance > Customize from your WordPress dashboard.
Then, click on Home Sections/Settings. These are the content blocks that we are going to translate.
Here, we will show you the translation of the Home slider section and you can follow the steps to similar translate other home page section blocks as well.
To translate the slider section of your homepage, go to Languages > Strings translations.
From here, you can translate the user-defined components such as site title, homepage sections, taglines, widgets titles, and many more.
Now, click on the “view all group” drop-down and choose the slider block and click on the “Filter” button.
The list of static components available on the category will be loaded.
The string column contains the strings of the default language. While the translations column contains translated strings.
You will need to manually enter the correct translation for each string. If you don’t know the correct translation, you can take help from Google Translate to find it out.
Click on “Save Changes” to save your translations.
Similarly, you can translate other category blocks as well.
5) Translating Widgets
Now that you have translated the string components for all category blocks, let’s translate the widgets.
To translate the widgets, go to Appearance > Widgets.
Drag and drop the available widgets in the widget area. Now choose language in which you want to display the widget.
Repeat the same process and choose the 2nd language that you have set on your website. In the widget component, enter the correct translation for each element.
6) Translating Image Captions
To translate the media file, go to Media > Library.
Click on the media that you want to translate.
Now click on “Edit More Details.”
After that, click on the “+” sign and add your translated title, alternative text, caption, and description.
Once done, click on the “Update” button.
Setting Up Language Switcher
Most of the multilingual websites display a language switcher to allow the visitors to easily switch to their preferred language. You can keep the language switcher in the navigation menu, sidebar or in the top header section.
Adding Language Switcher in Navigation Menu
To add language switcher in the navigation menu, follow these steps:
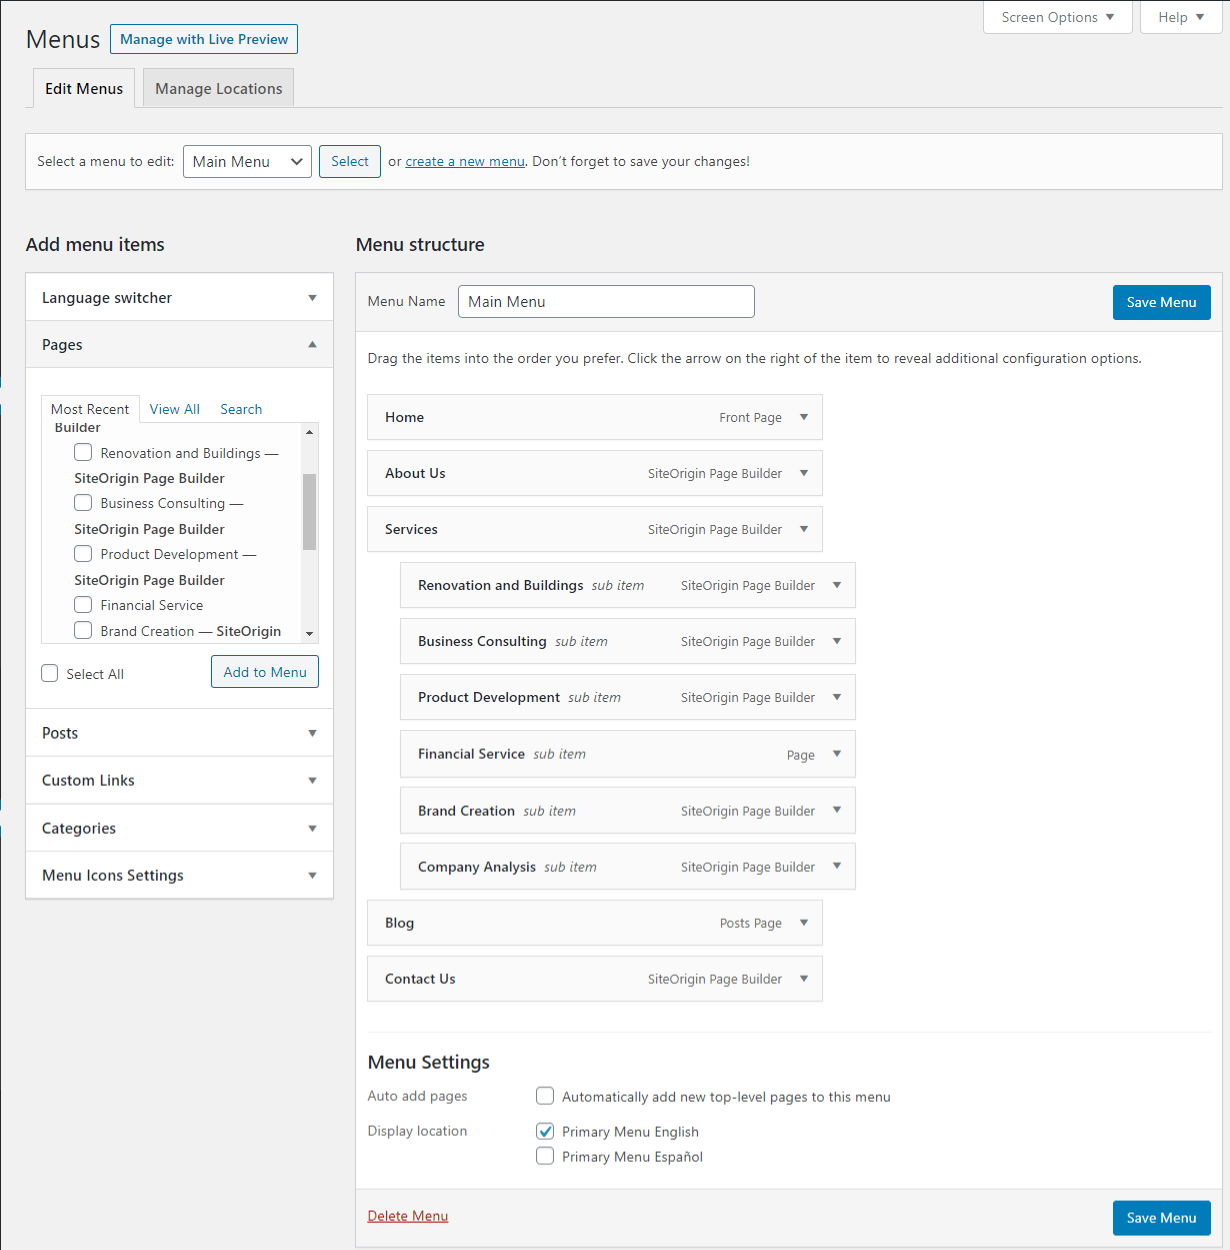
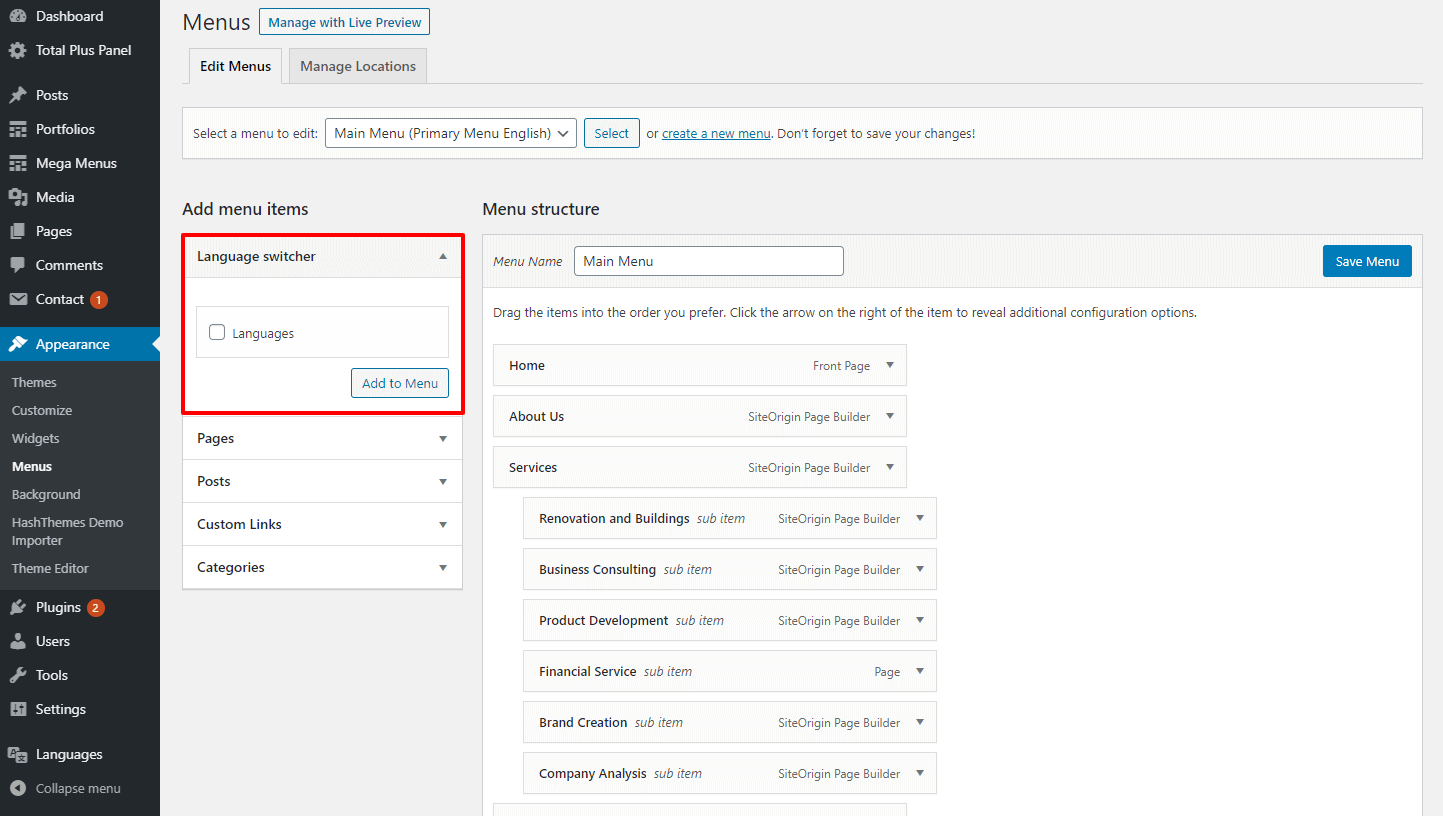
Go to Appearance > Menu.
Select the Primary Menu.
Click on Language Switcher Checkbox and click on the “Add to Menu” button.
Now, click on the Language Switcher dropdown and checkmark different options as per your requirement.
Once done click on the Save button to save changes.
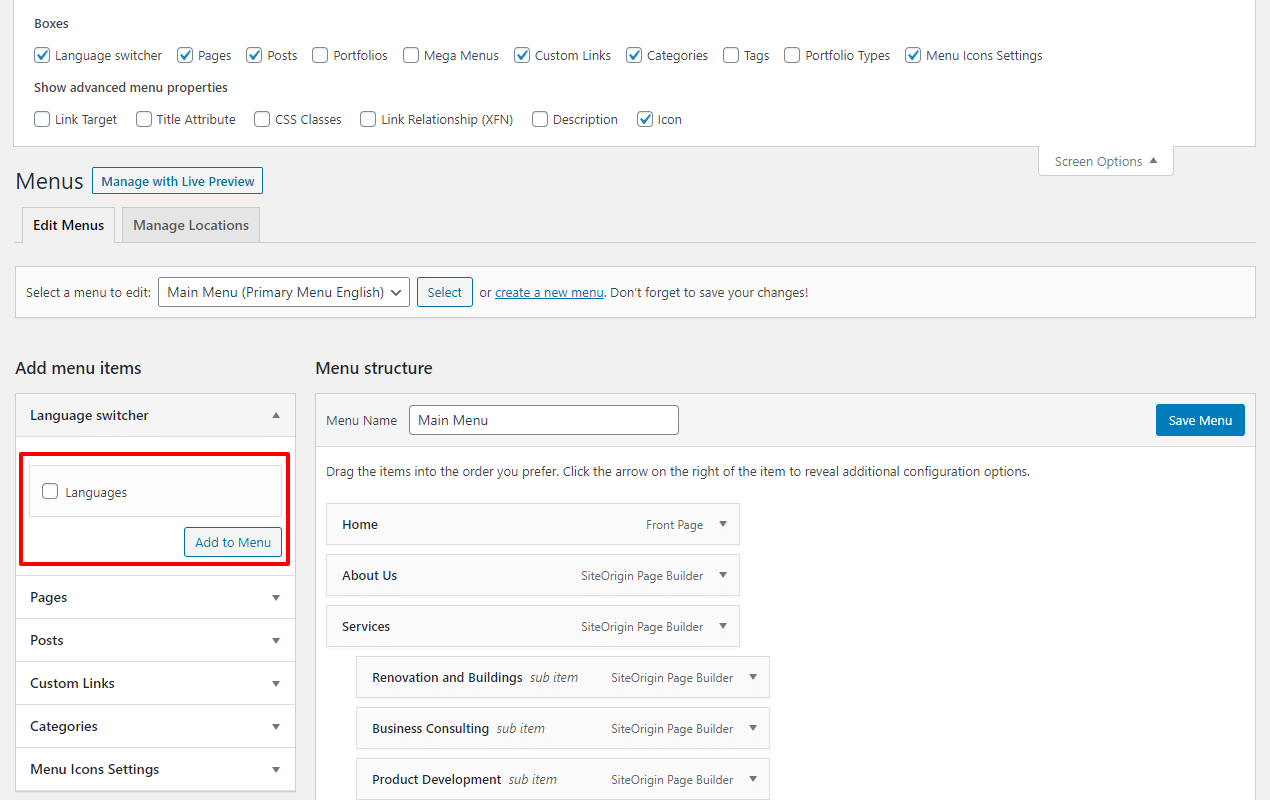
Note: Sometimes language switcher may not be displayed on the Menu Settings. If you have such a case, click on the Screen Option on the top right of your screen. Then, checkbox the Language Switcher option.
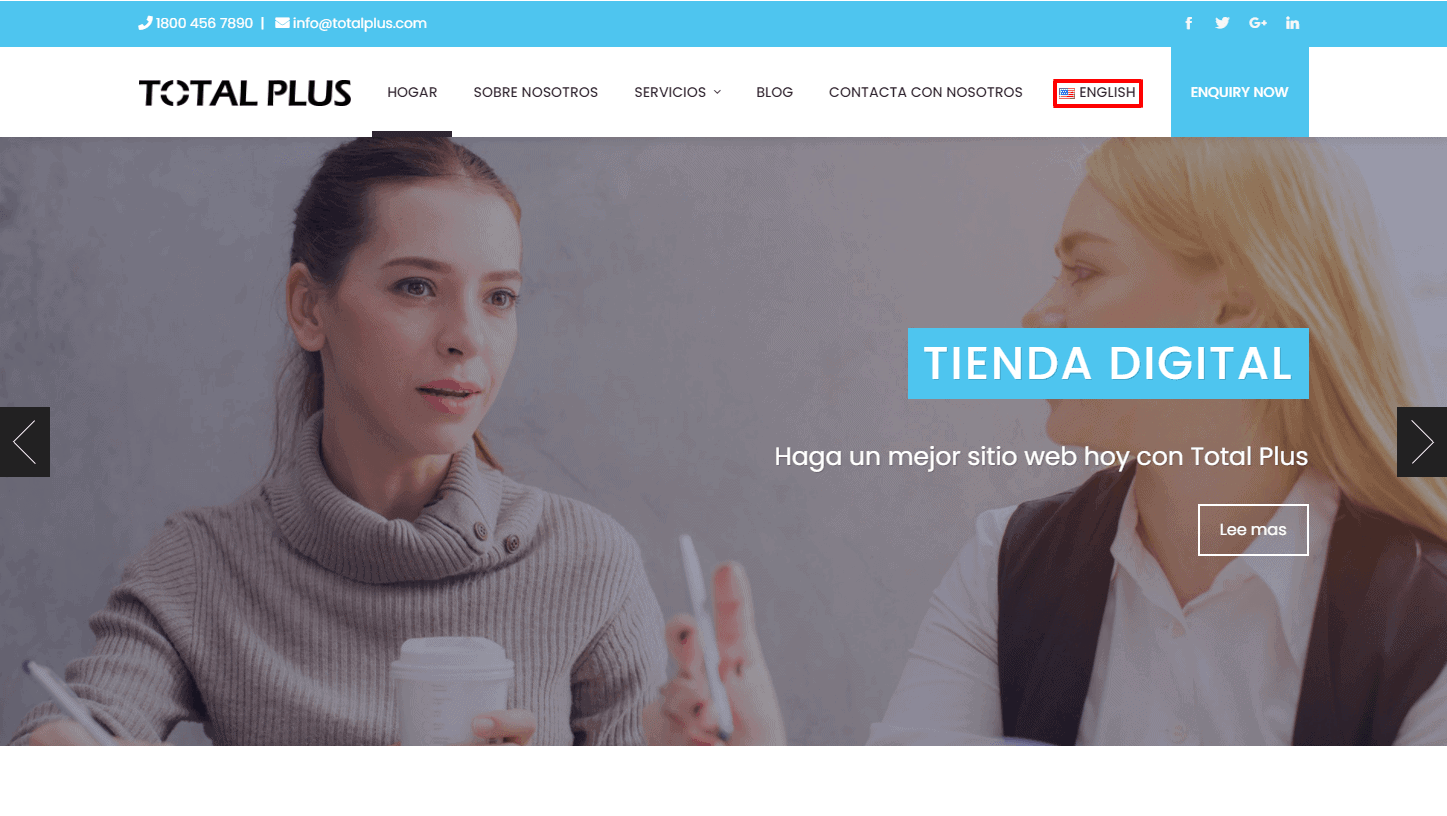
Once you have added the language switcher on the menu, please visit your website. Your website will be displayed as shown in the screenshot below.
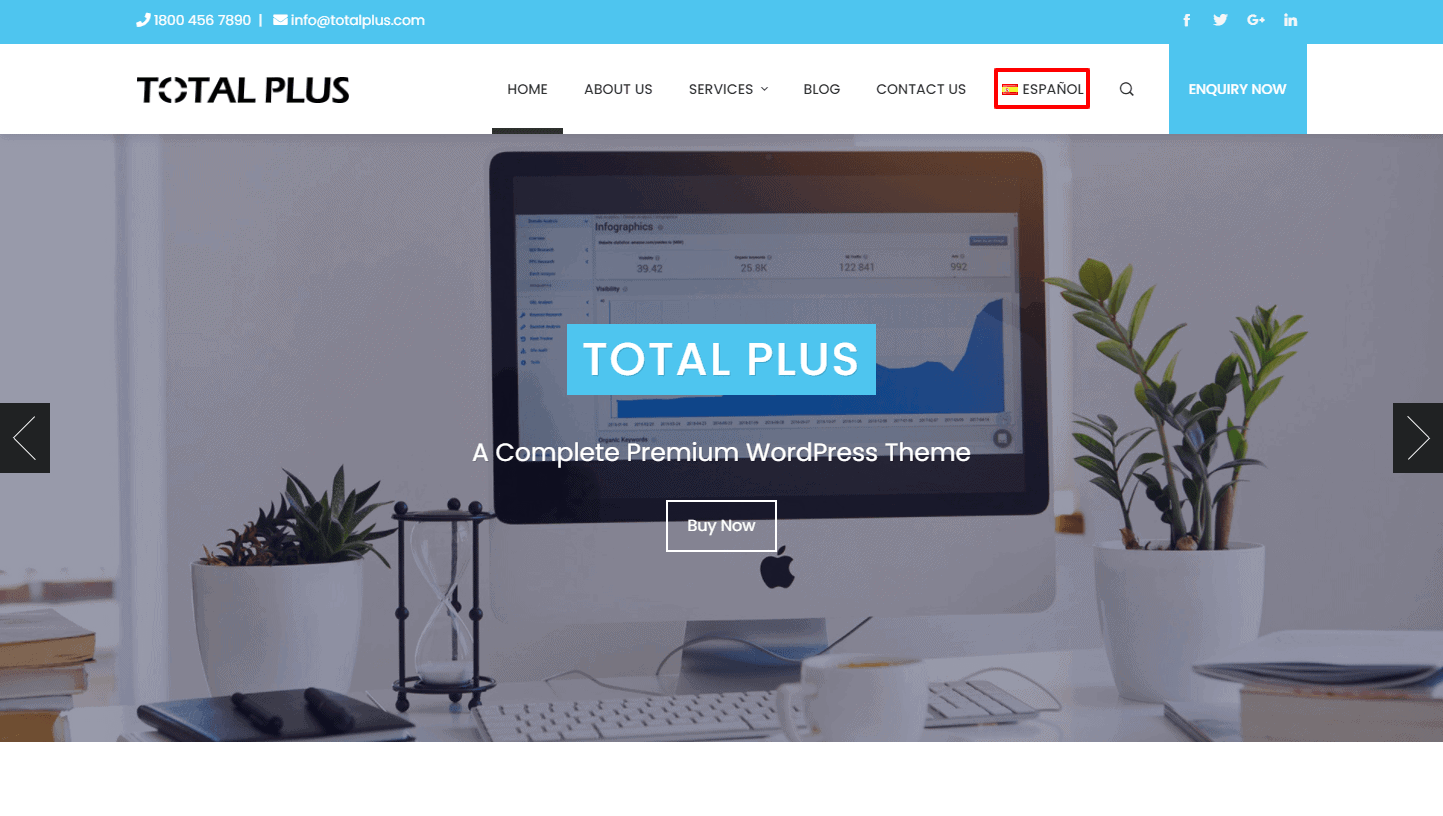
Click on it to switch to the other version of your website.
You can see the menu like the one in the screenshot below.
Adding Language Switcher on Widgets
You can also add a language switcher option in the widget area to enable your audience to switch their preferred language. You can place the language switcher option on either the sidebar widget or footer widget of your website.
To add a language switcher in the widget area, follow these steps:
Go to Appearance > Widgets.
Drag the Language Switcher widget and place it on your desired sidebar.
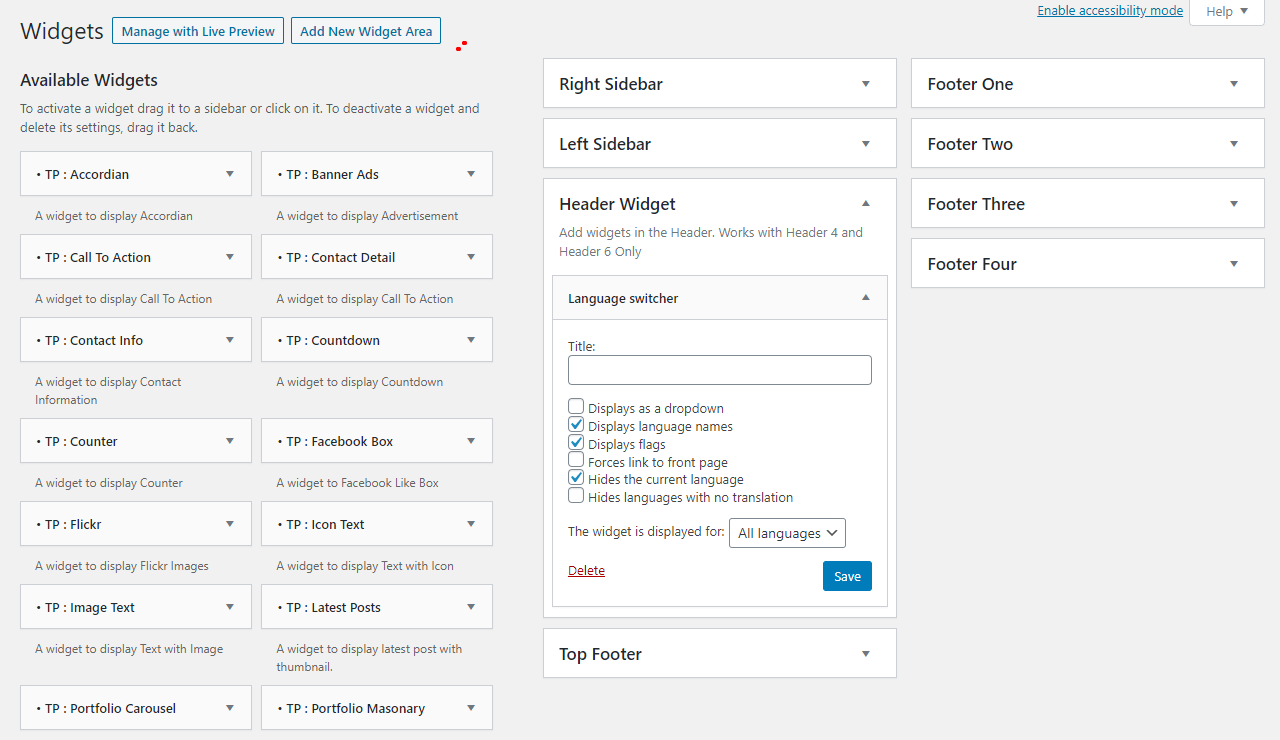
You can add a language switcher on multiple widgets.
Once done, click on Save to add the language switcher.
Note: Total comes with an option to create unlimited widget areas for the website. Therefore, you can create a widget area to specifically add a language switcher.
Adding Language Switcher on Top Header
Total comes with the option to add content in the top header of the website. You can utilize this option to add a language switcher on the Top Header.
To add a language switcher on the top header, follow these steps:
Go to “Appearance > Customize”.
Now, go to Header Settings > Header Options.
In the Top Bar tab, choose the menu or widget where you have placed the language switcher below the top header content.
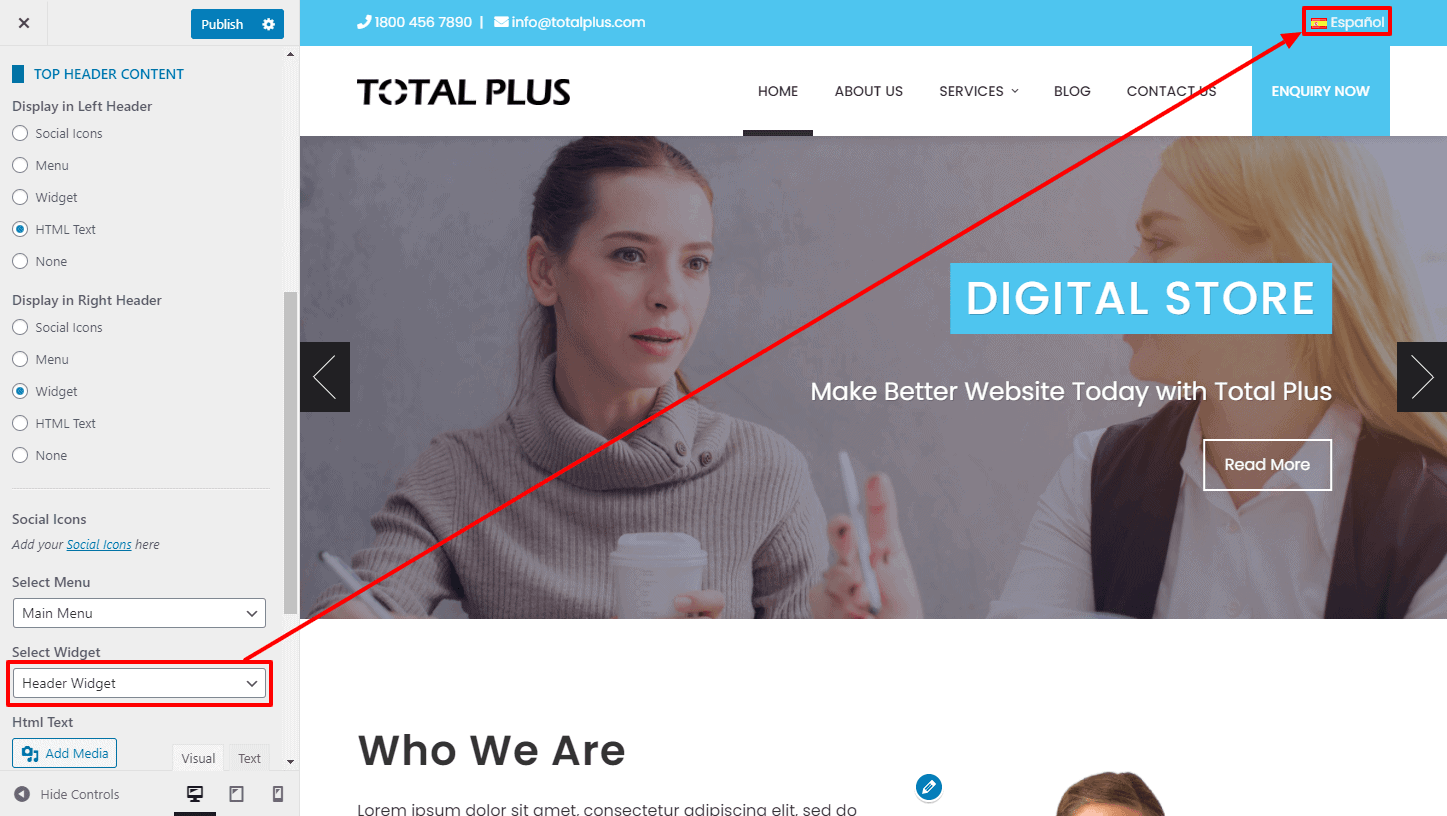
Once done, click on the “Publish” button to save changes.