
Adding a navigation menu on your WordPress website can be a great way to increase user engagement. You can place the links of different contents and direct your visitors into them. Doing so will help you keep your audience for a longer period of time on your website and decrease the bounce rate.
Create the First Navigation Menu on WordPress
By default, WordPress comes with an inbuilt option to create a menu on your website. Depending on your WordPress theme, you can add the menu to different locations.
Here is a short tutorial of how you can create a navigation menu by using the default WordPress settings:
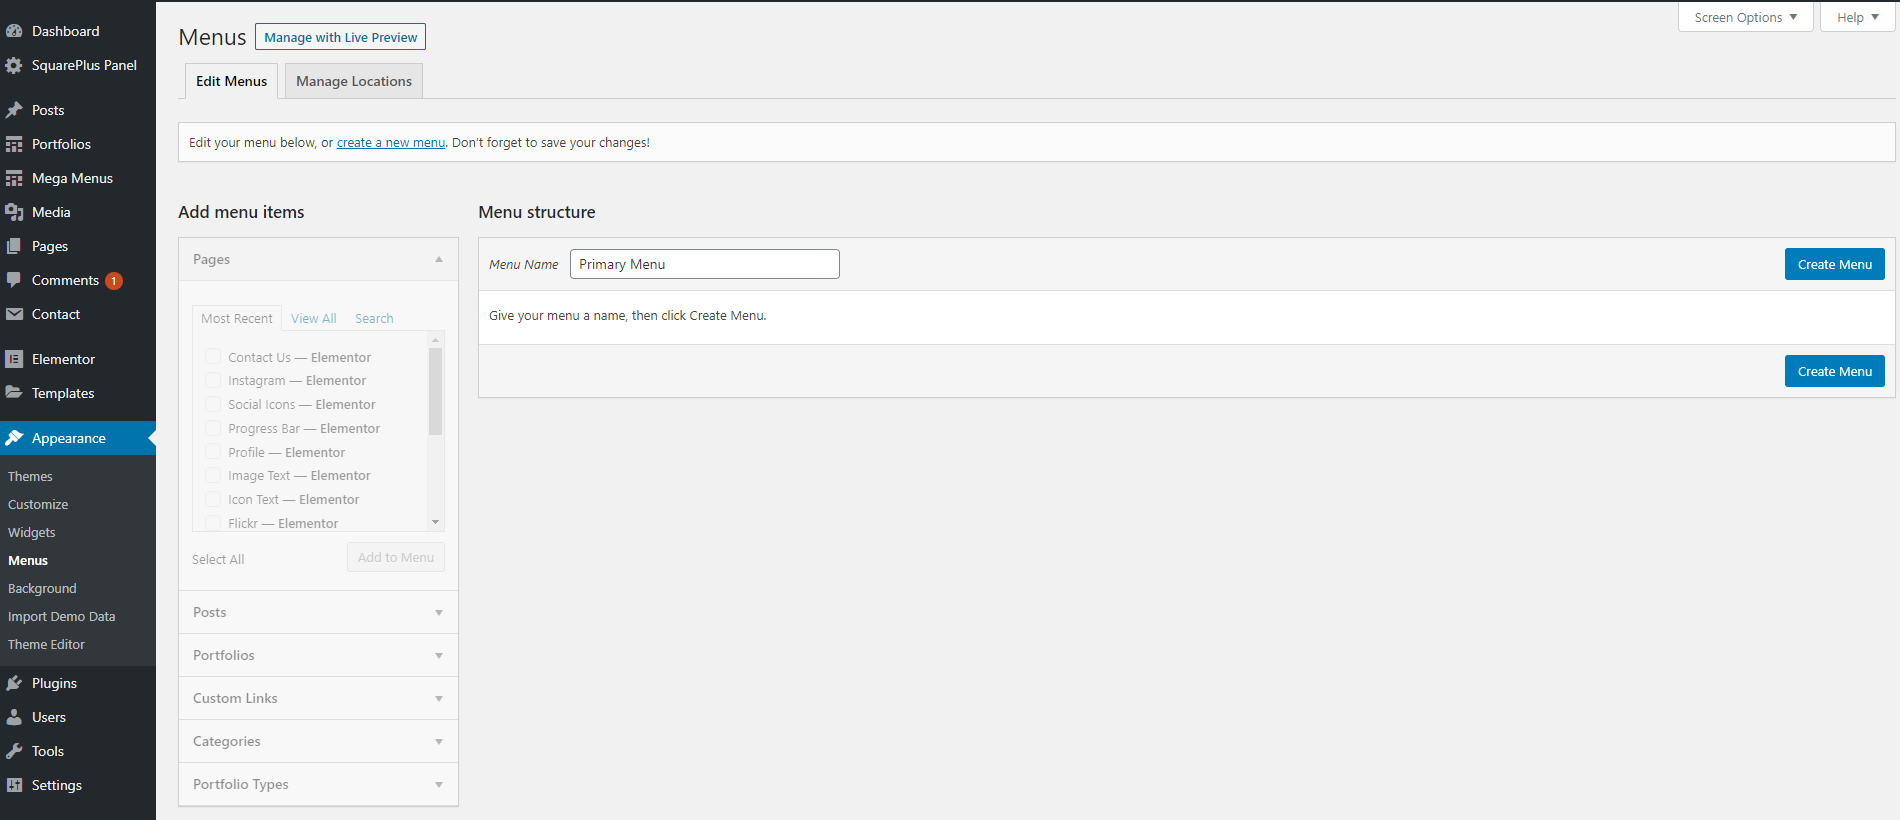
Step 1: Create a New Menu
Login to your WordPress dashboard. Then, go to Appearance > Menus. There, the first thing you need to do is give the name of your new menu. Then, click on “Create Menu”.
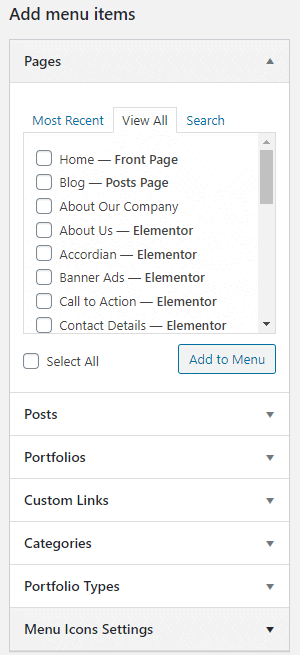
Step 2: Add Menu Items
Now, add different elements from the left side of the page. You can add various menu elements like the page, post, custom links, categories, etc.
Step 3: Setup Menu Structure
Once you have added all the required menu items, go to the menu settings to assign the menu display location. You can also tick the auto-add page setting to automatically add any new top-level pages on the menu.
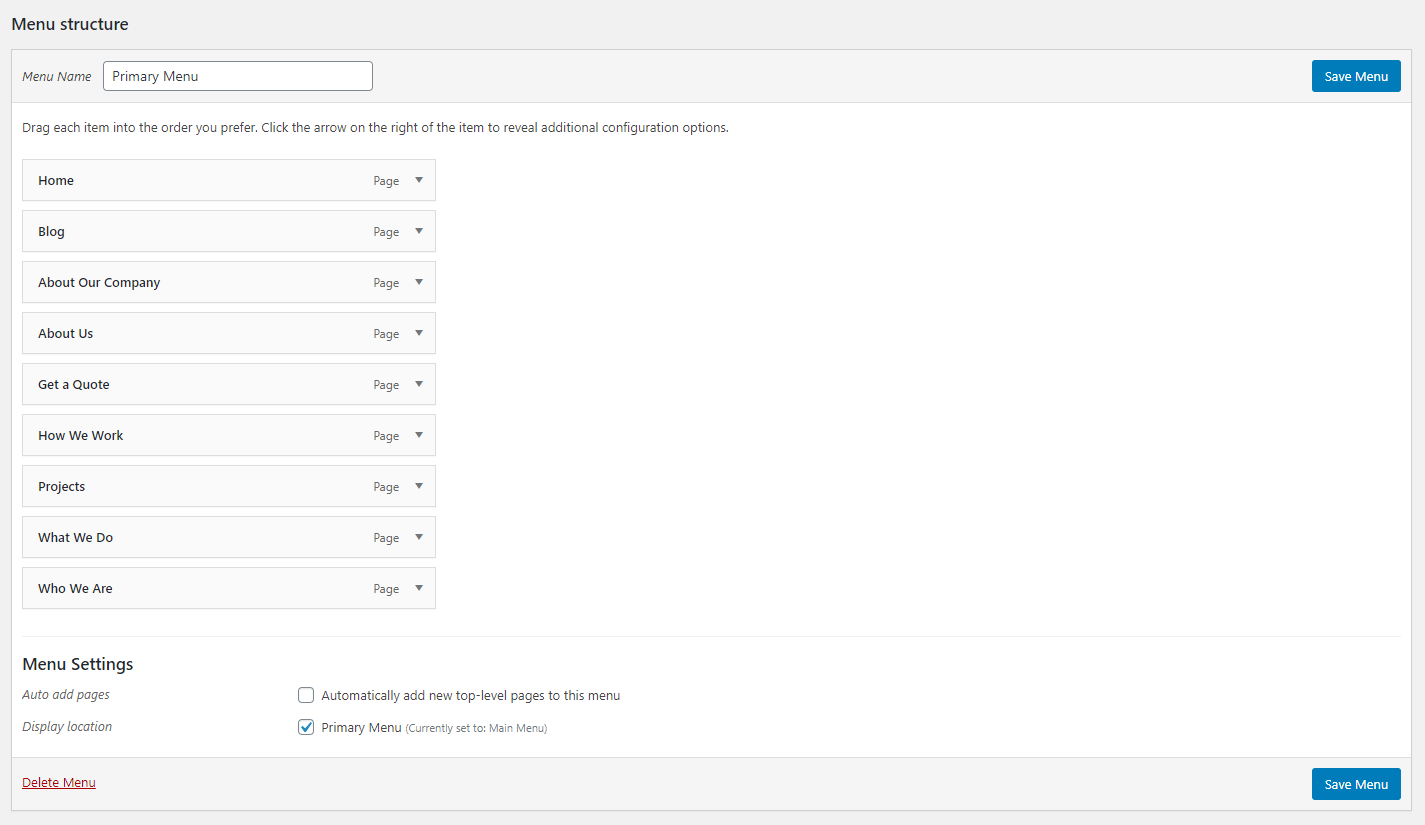
Finally, click on “Save Menu” to make your menu live.
You can also delete your menu by clicking on “Delete Menu”.