Here we will be guiding you on how to create a multilingual menu on Super Floating and Fly Menu plugin.
Making your website multilingual can greatly benefit users who don’t speak English as their first language. By tracking visitor demographics from different countries using Google Analytics tools, you can identify language preferences and tailor your website accordingly.
Let’s see how we can add a multilingual menu:
Process of Adding a Multilingual Menu on the Website
If you’re unfamiliar with how to add a multilingual menu into your WordPress site, you can easily achieve this by installing a plugin. For detailed guidance on setting up a multilingual menu, please refer to the following article: How to Create a Multilingual Website.
Now, let’s get started with adding a multilingual menu on the plugin Super Floating and Fly Menu.
Create a Multilingual Menu on Super Floating Menu
To create a multilingual menu on the Super Floating and Fly Menu we are using the Polylang plugin. Our Floating and Flying menu pligin is very compatible with this plugin. If you are unsure on how to add follow along with this article to add multilingual menu.
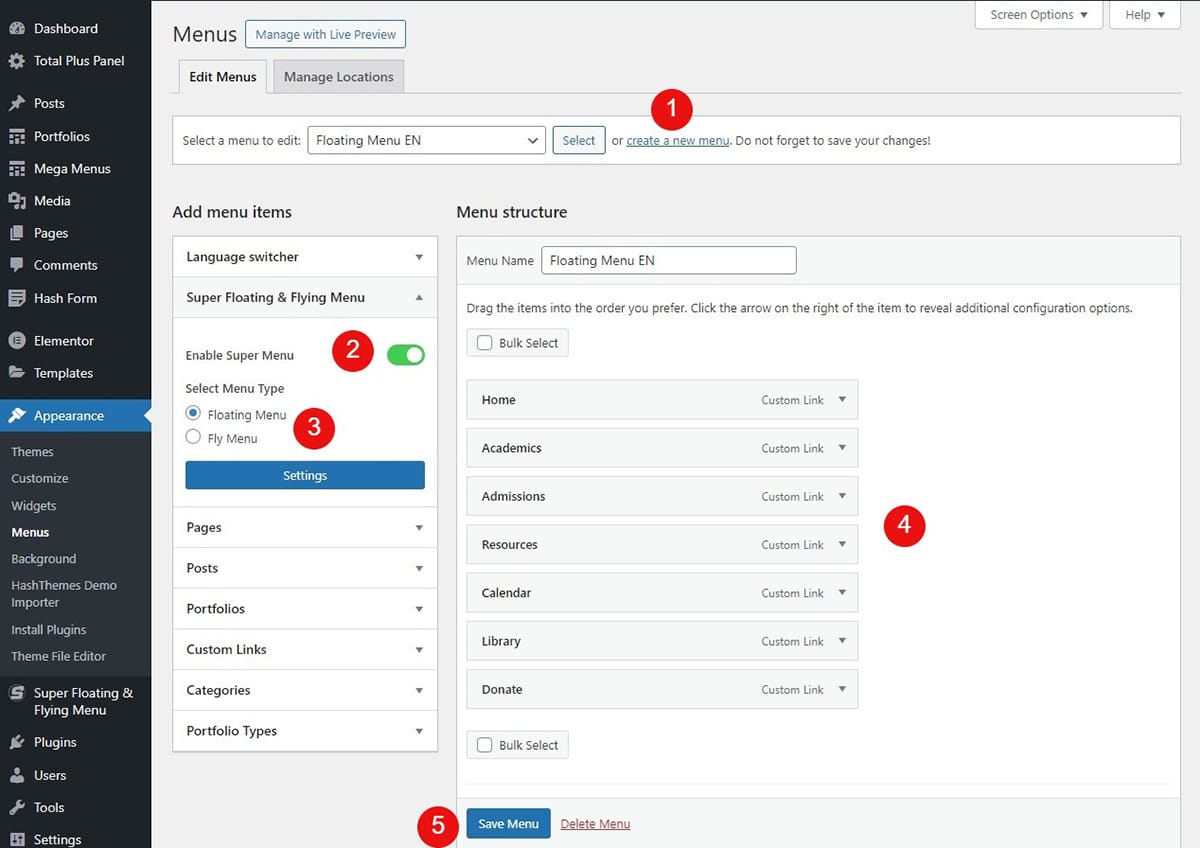
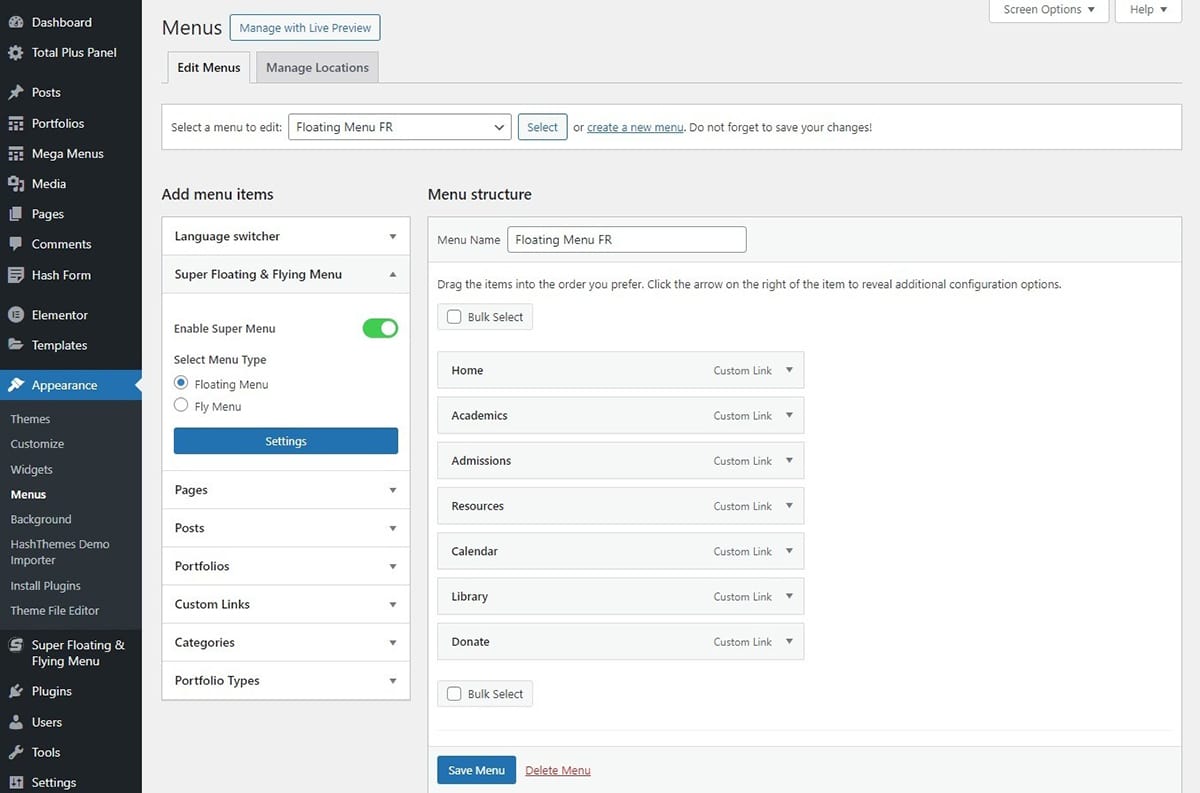
First, we will try adding multilingual menu on Super Floating menu. Before adding a multilingual menu you will have to create a new menu. For this:
- Go to Appearance > Menu
- Click on Create New Menu link
- Enable the Super Menu and select Floating Menu from the menu type.
- Then, proceed to add various menu items according to your site’s navigation needs. We have created a menu in English adding all the menu items that were required for our site.
- Click on Save menu to save the changes made.
For the menu that we have created in English we now need to select the Polylang language so that the Super Floating menu is displayed in the language that we have created. Follow these simple steps:
- Hover on to the left side of the menu, and click on Super Floating and Fly Menu.
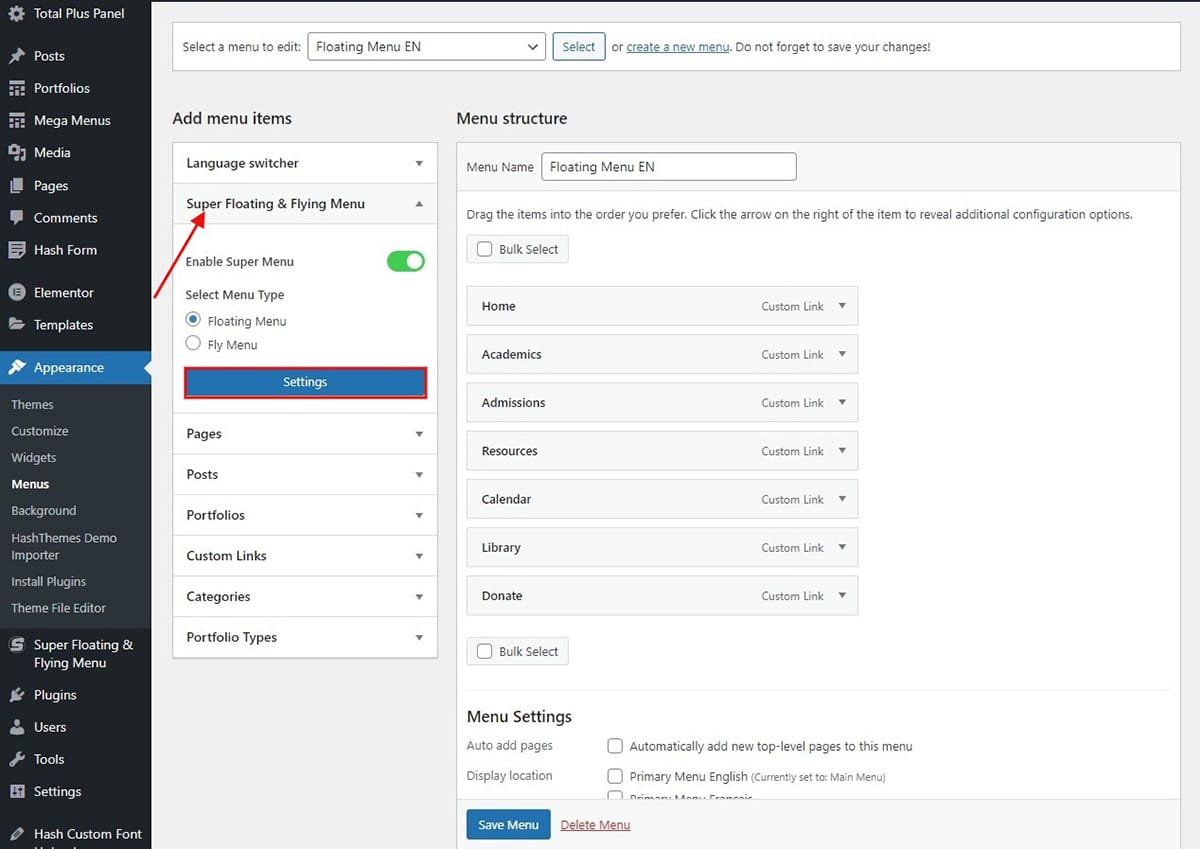
- Click on Settings. A pop-up will appear from various settings to be configured.
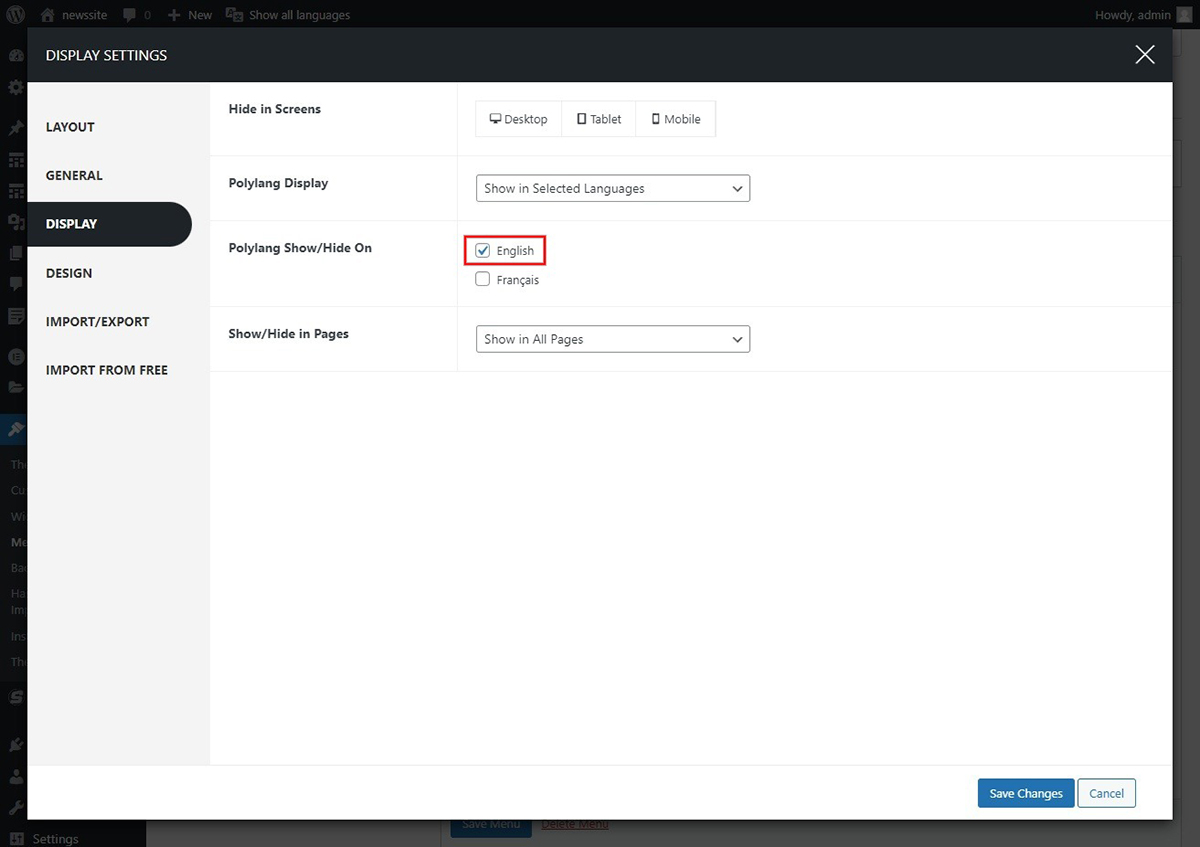
- Click on the Display tab.
- In the Polylang display section, select Show in selected languages. After that check mark on English language.
- Click on Save Changes.
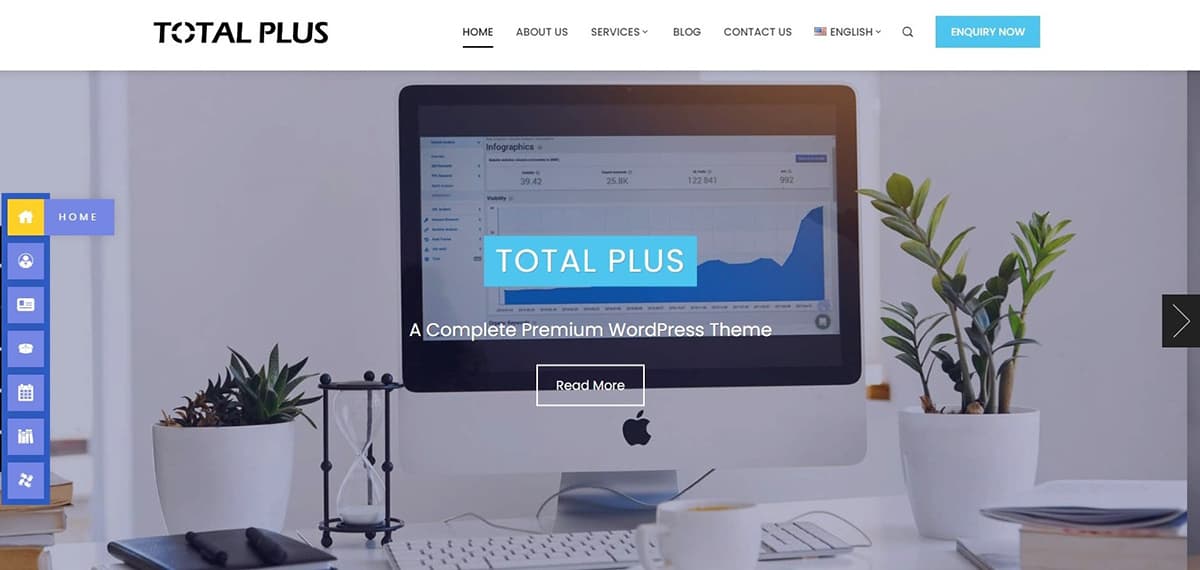
Given that you’ve established an English menu and opted for English as the language, the Super Floating Menu will be shown in English.
Let’s begin by demonstrating how to change the Super Floating Menu to another language. For our demonstration, we’ll switch the menu to French. To change the menu :
- Click on the Create New Menu link.
- Provide a title for your menu. Since we’re changing the menu to Chinese, let’s name it Fly Menu FR.
Note: To reduce the time needed to create a new menu, you can simply export the menu from the previously created one and import it into this menu. To export the menu that you created recently:
- Go to Super Floating and Fly Menu > Settings > Import/ Export tab.
- Export the English menu you’ve just made. Next, import this menu into the recently created French menu.
- After you have successfully imported the menu all the menu items will appear without having to create a menu again.
Now, let’s change the language to French.
To translate each floating menu item, you’ll need to manually adjust the language settings for each one. If you’re unsure about the translation, you can use Google Translate to help clarify any confusion.
To demonstrate let’s try changing the first menu item which is “Home” to French.
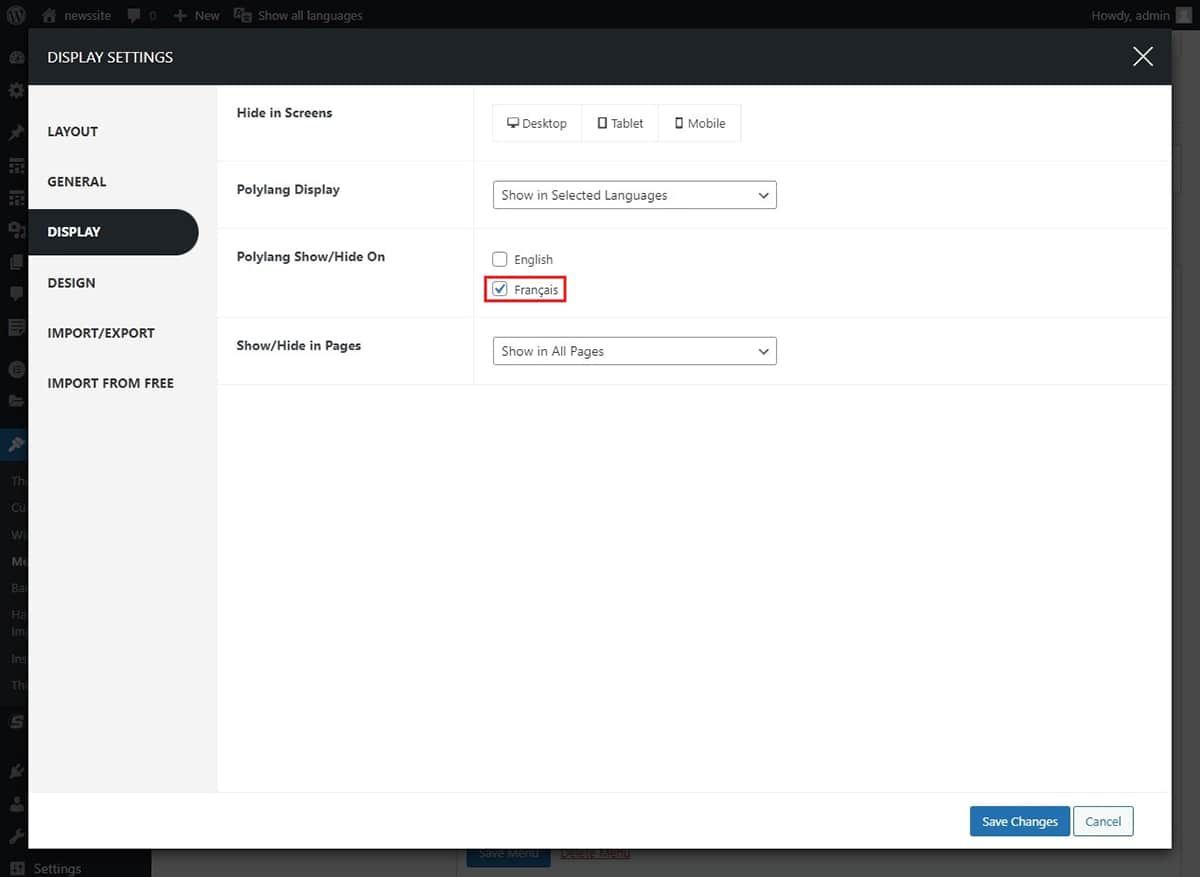
To make sure that the Super Floating Menu appears in the language that you have translated follow these steps:
- Click on Super Floating Menu > Settings > Display tab.
- In the Polylang display section, select Show in selected languages. After that check mark on Français language.
Let’s have a look at the changes in the website after you have translated the language.
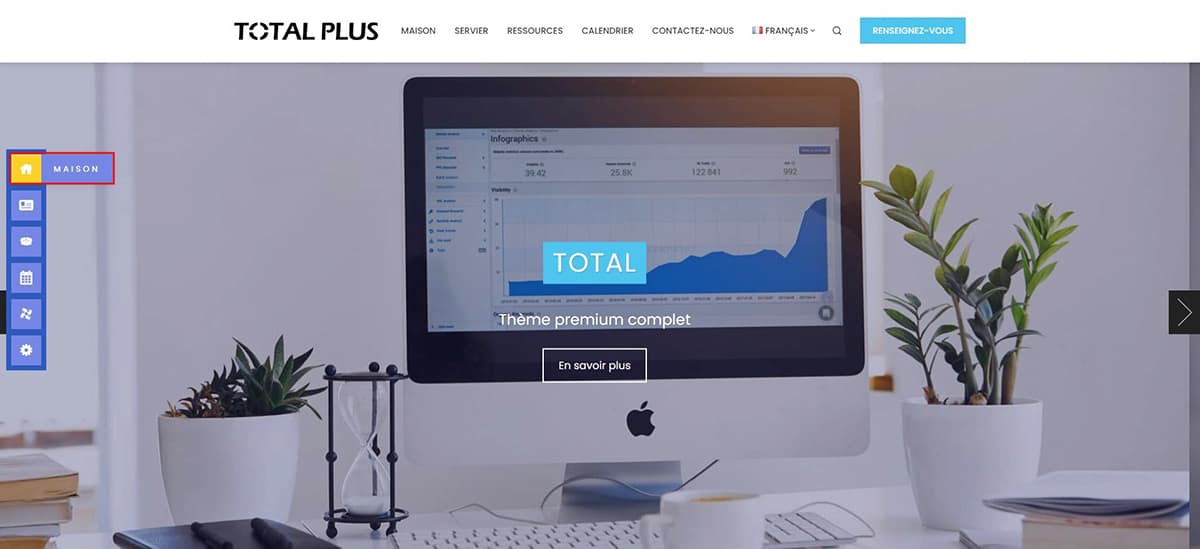
You can see that the Super Floating Menu has changed in the desired language. Following the similar process as much multilingual menu to your website.
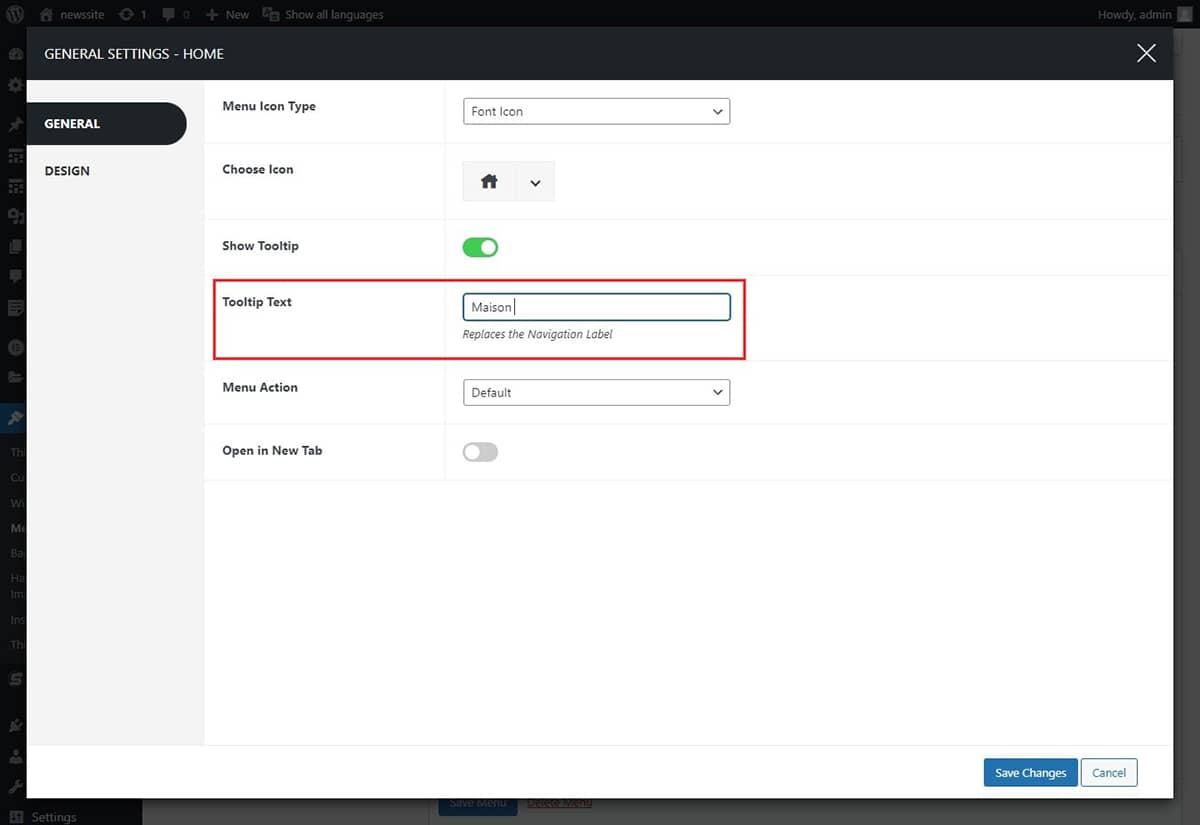
If you’re developing a multilingual application or website, you may need to provide translations for all text elements, including tooltip text. This means that if you’ve added tooltip text in one language (let’s say English), you’ll need to translate that tooltip text into another language (for example, Spanish, French, etc.) so that users of that language can understand it. To configure:
- Click on the menu you want to change the tooltip of. On the right side you will notice Super Menu settings.
- When you access the Super Menu settings, you’ll find the General tab. Here, you’ll notice the Tooltip Text option. When you modify this text while translating the menu, it substitutes the Navigation label.
- Click on Save Changes.
Repeat the same process for all the other text and then click on Save Menu.
Create a Multilingual Menu on Fly Menu
The process of adding a Multilingual menu on the Fly menu similar to that of the Floating menu. Follow the process to add a multilingual menu on fly menu:
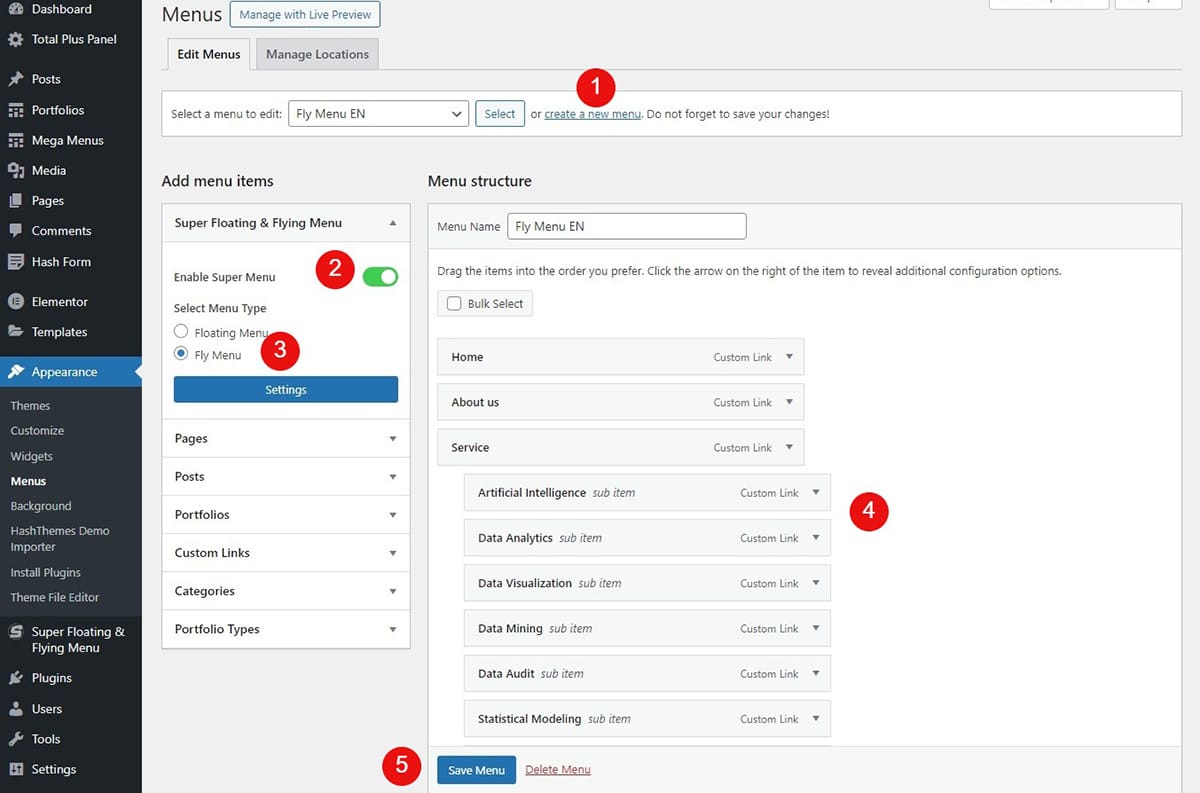
- Go to Appearance > Menu
- Click on Create New Menu link
- Enable the Super Menu and select Fly Menu from the menu type.
- Then, proceed to add various menu items according to your site’s navigation needs. We have created a menu in English adding all the menu items that were required for our site.
- Click on the Save menu to save the changes made.
For the menu that we have created in English we now need to select the Polylang language so that the Super Fly menu is displayed in the language that we have created. Follow these simple steps:
- Hover on to the left side of the menu, and click on Super Floating and Fly Menu.
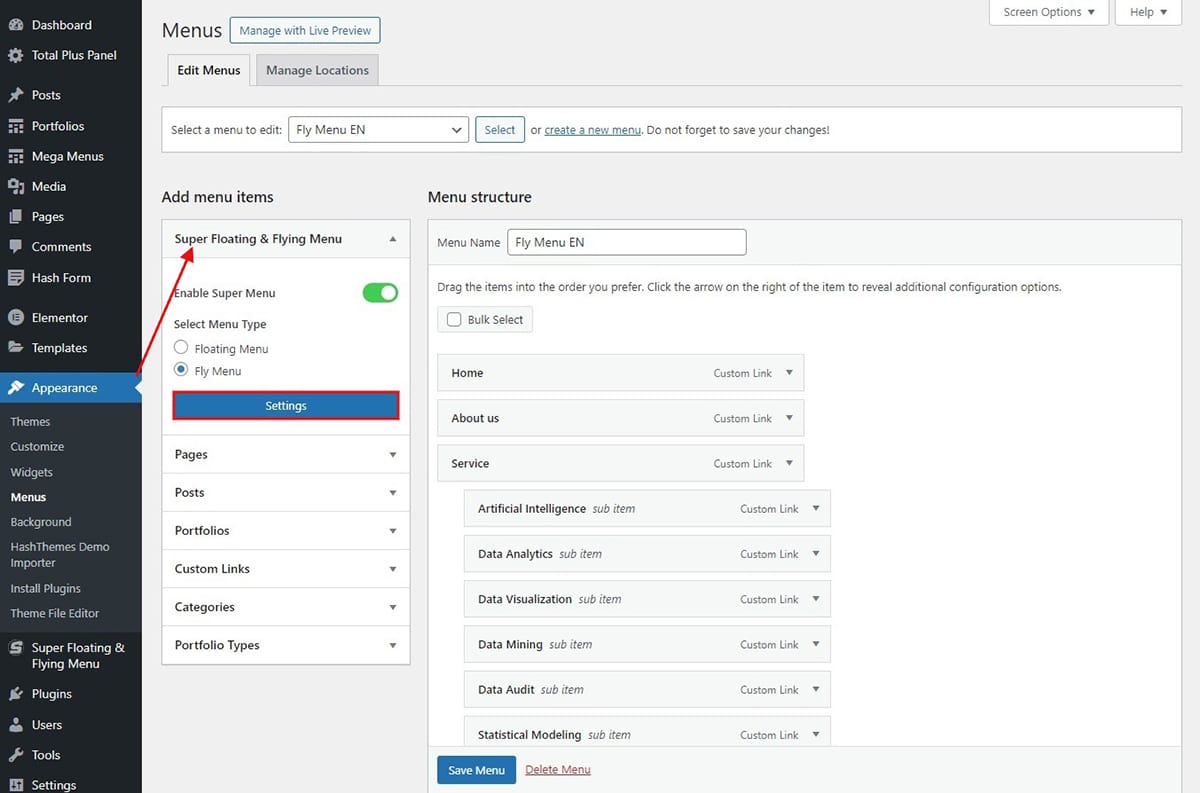
- Click on Settings. A pop-up will appear from various settings to be configured.
- Click on the Display tab.

- In the Polylang display section, select Show in selected languages. After that check mark on English language.
- Click on Save Changes.
Let’s have a look on how the Super Fly Menu looks on your website.

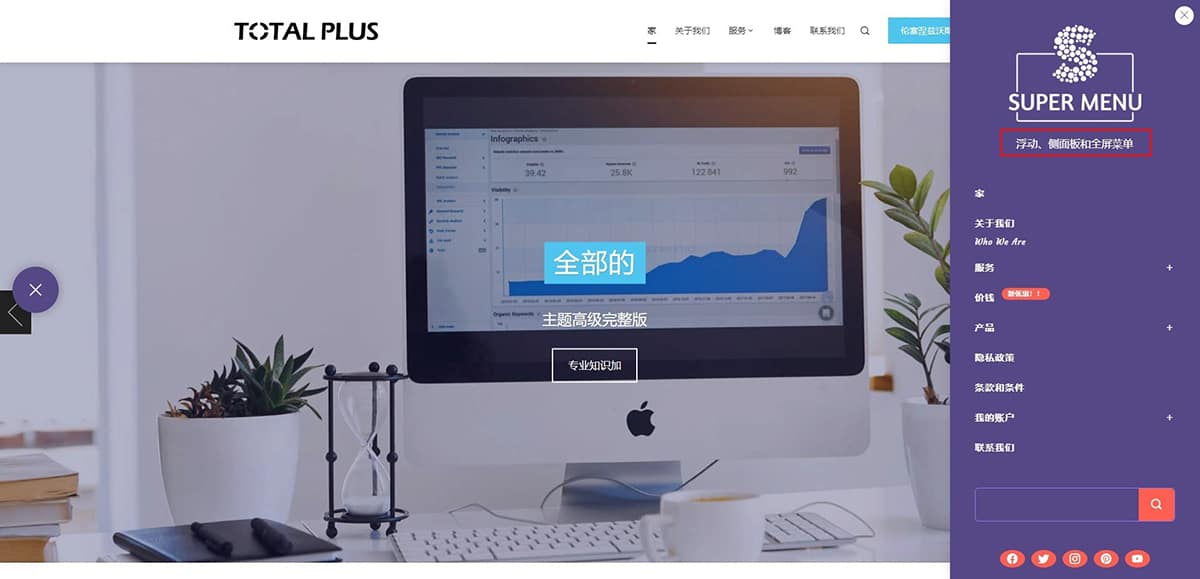
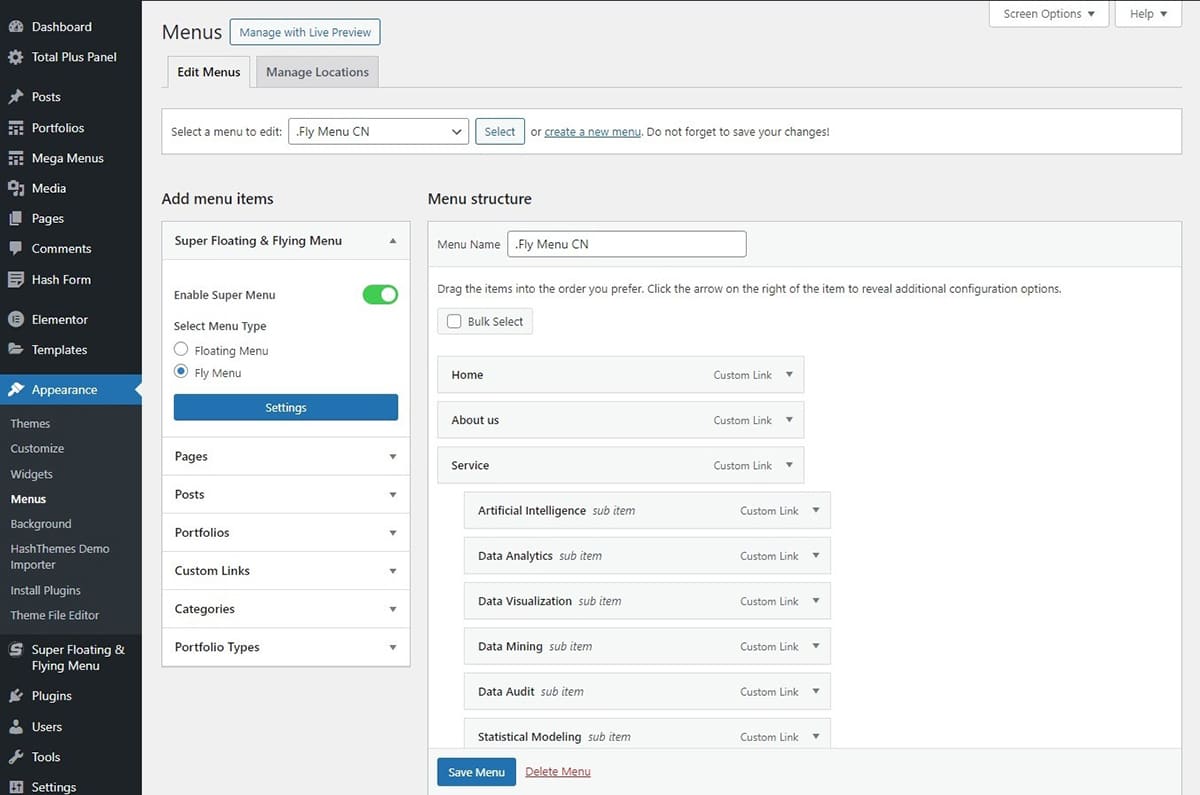
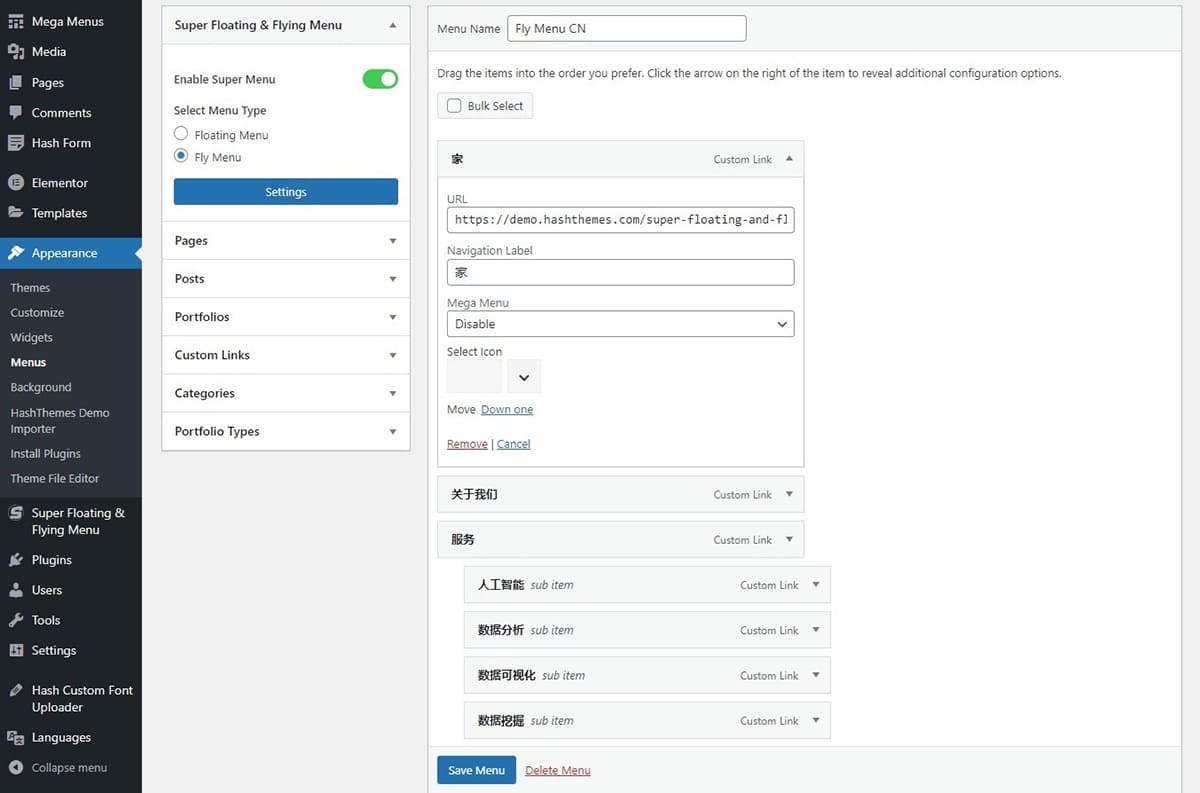
Let’s begin by demonstrating how to change the Super Fly Menu to another language. For our demonstration, we’ll switch the menu to Chinese. To change the menu :
- Click on the Create New Menu link.
- Provide a title for your menu. Since we’re changing the menu to Chinese, let’s name it Fly Menu CN.
Note: To reduce the time needed to create a new menu, you can simply export the menu from the previously created one and import it into this menu. To export the menu that you created recently:
- Go to Super Floating and Fly Menu > Settings > Import/ Export tab.
- Export the English menu you’ve just made. Next, import this menu into the recently created Chinese menu.
- After you have successfully imported the menu all the menu items will appear without having to create a menu again.
Now, let’s change the language to Chinese.
To translate each fly menu item, you’ll need to manually adjust the language settings for each one. If you’re unsure about the translation, you can use Google Translate to help clarify any confusion.
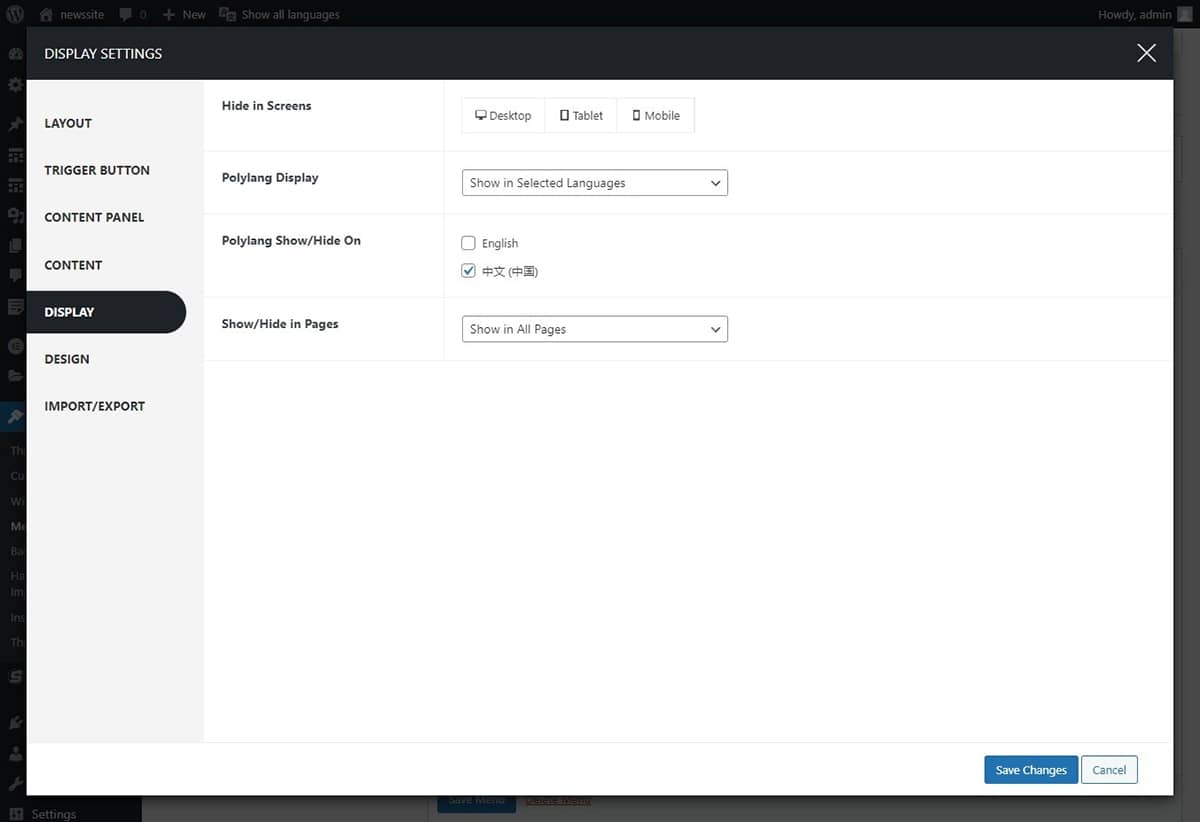
To make sure that the Super Fly Menu appears in the language that you have translated follow these steps:
- Click on Super Floating Menu > Settings > Display tab.
- In the Polylang display section, select Show in selected languages. After that check mark on Chinese language.
- Click on Save Changes.
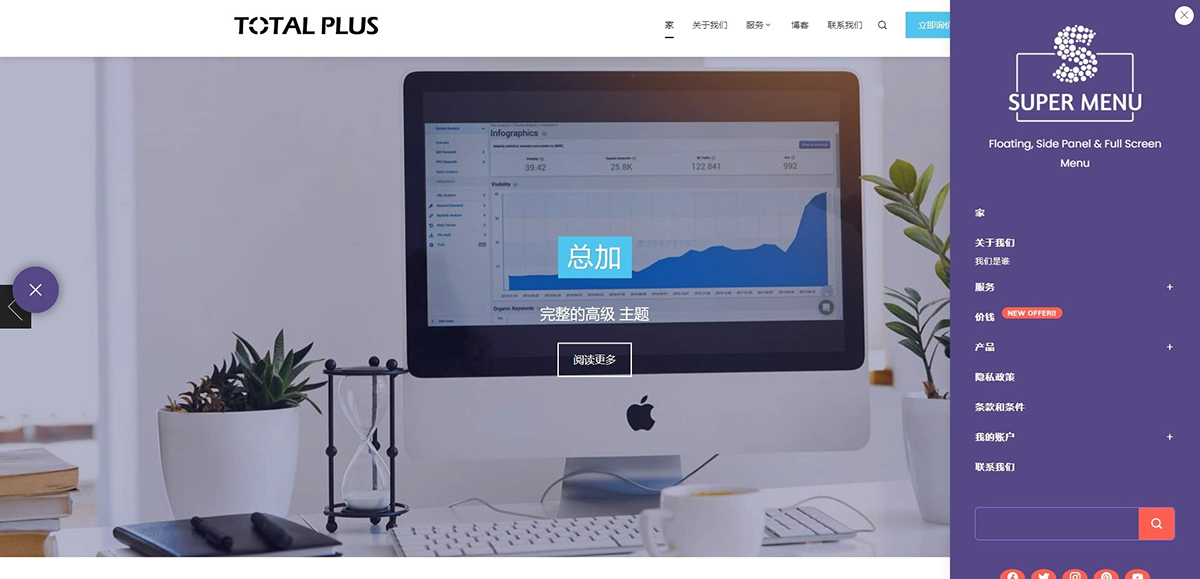
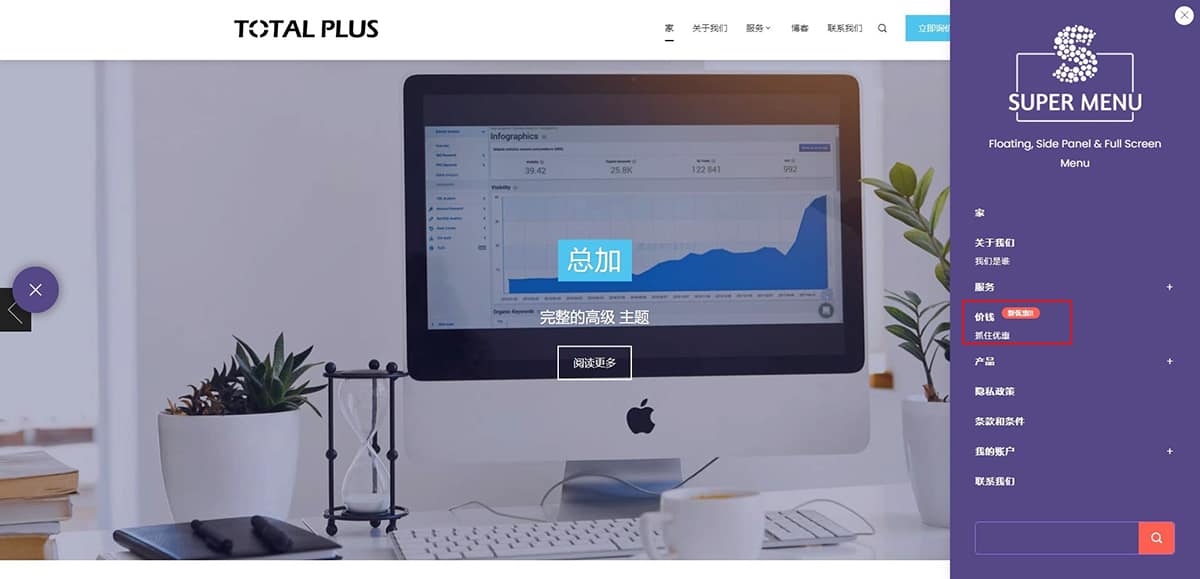
Let’s have a look on how the Super Fly Menu looks on your website.
Configure Adding Additional Description
Additionally, to make adjustments to the translated menu, you can include more content, enhancing clarity and understanding. Follow these steps:
- Click on the menu that you want to extra information to. On the right side, you will notice Super Menu settings.
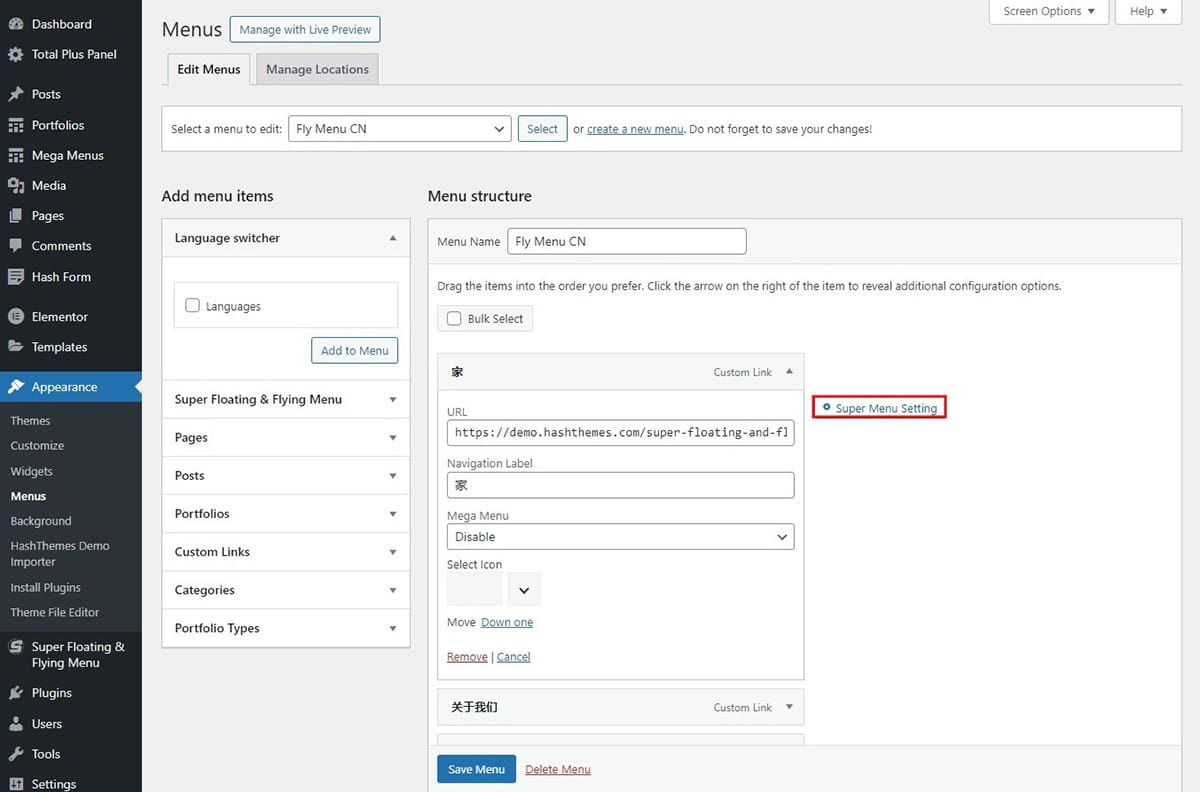
- When you access the Super Menu settings, a pop up will appear with the additional changes that you can make to the particular menu.
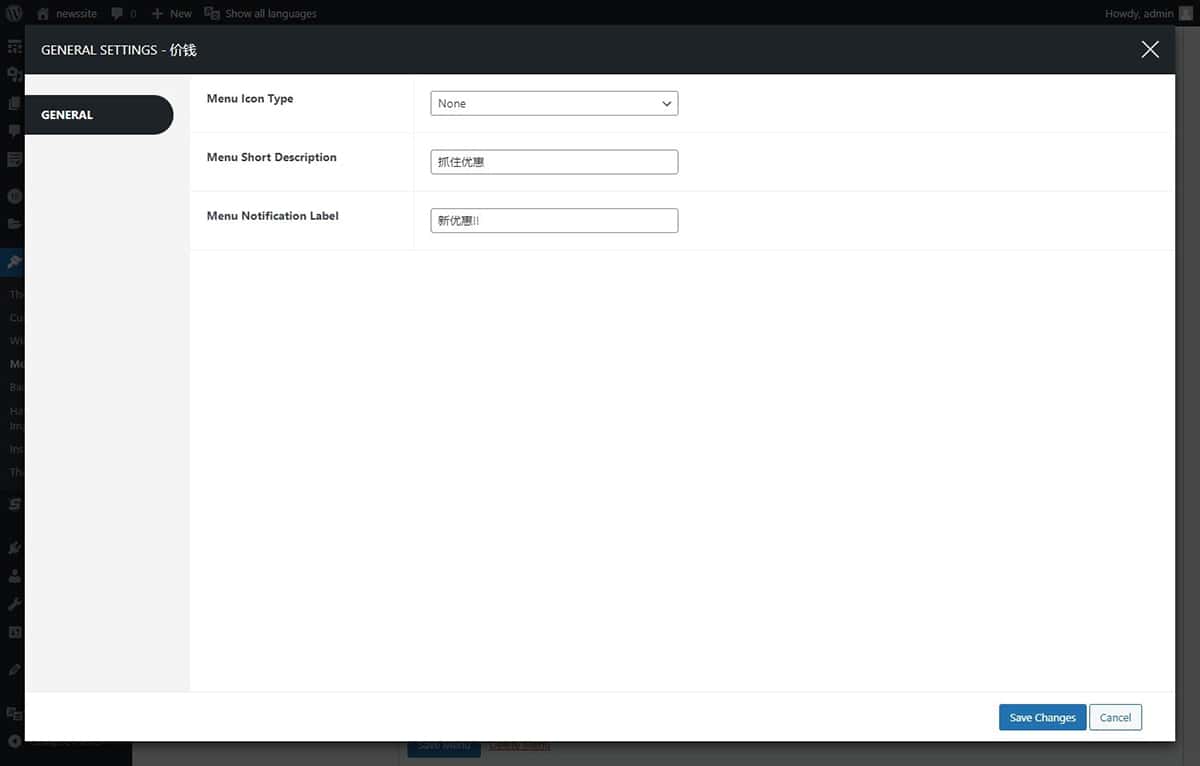
The short description of the menu you’ve added is displayed to make sure that the users know more about the menu and the menu notification label appears at the top of the menu. Let’s have a look at the changes.
Header Content Settings
To add contents in the header and footer of the Fly menu follow these simple steps:
- Go to Super Floating and Fly Menu > Settings > Content tab.
- In the Additional Header text section, you have the option to translate the header text into the language you’ve selected. This will replace the previously displayed header text.
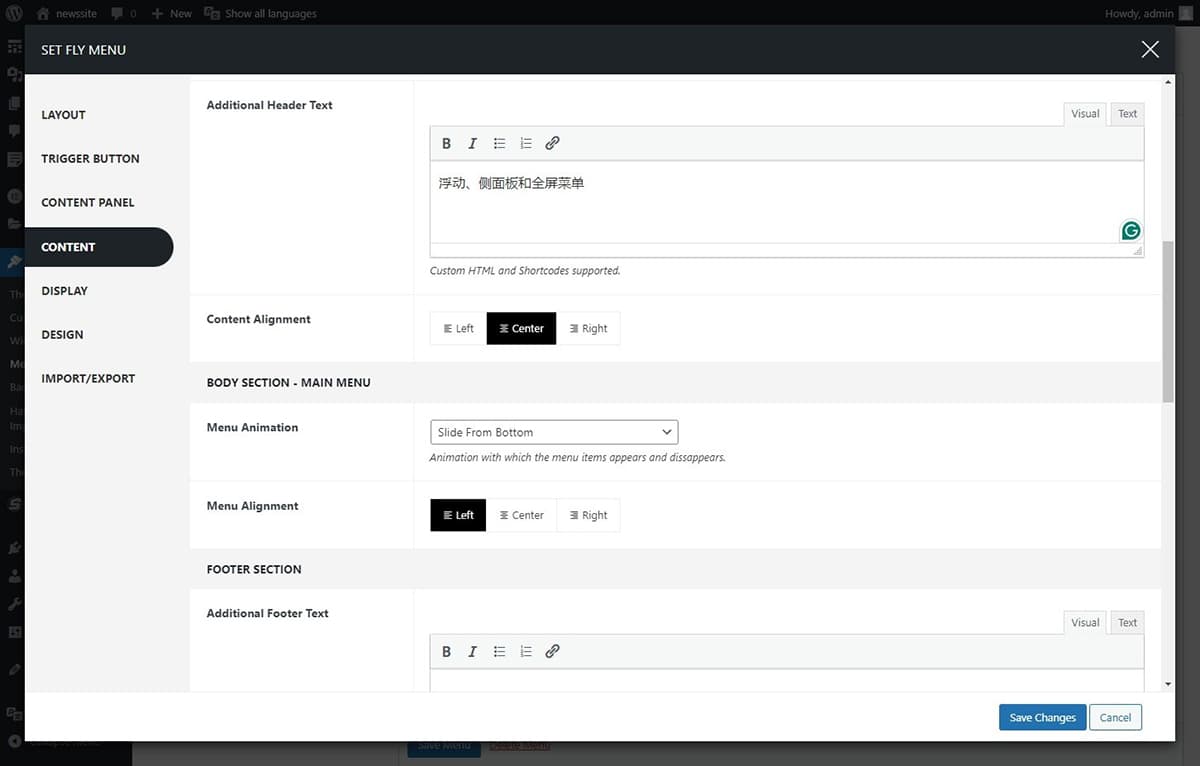
Furthermore, apart from the header text, you can select from a range of animations and customize the footer text, along with several other configuration options.
Let’s have a look at the menu after you have added the additional header text.