
In this article, we will discuss a step by step tutorial to translate WordPress theme into a local language. This will allow you to translate any WordPress products (themes and plugins) to your native language for yourself or your clients. It will localize the products and help your non-English users to know the options available on the theme.
The plugin that we are going to use for the translation process is Loco Translate. It is a free WordPress plugin that provides a simple way to translate the WordPress themes and plugins into the native language directly from the dashboard.
Here are some of the key features of Loco Translation:
- Inbuilt translation editor
- Integrated with automatic translation APIs
- Create and update language files directly
- Extracts translatable strings from the source codes
- Native MO file compilation
- Supports PO features
- PO source view with clickable source code reference
- Configurable PO files
- Inbuilt WordPress locale codes
- Protected language directory to save the custom translation
Table of Contents
Translate WordPress Theme Using Loco Translation Plugin
Now let’s get this step by step tutorial started and translate your WordPress theme using the Loco Translate plugin.
Step 1: Installation and Activation
The first thing you need to do is install and activate the Loco Translate plugin on your WordPress website. (If you have already installed the plugin, you can skip this step and directly go to “Setting Up Default Language” step)
The plugin is available on the WordPress repository and can be downloaded for free.
Just go to Plugins > Add New and search for “Loco Translate“.
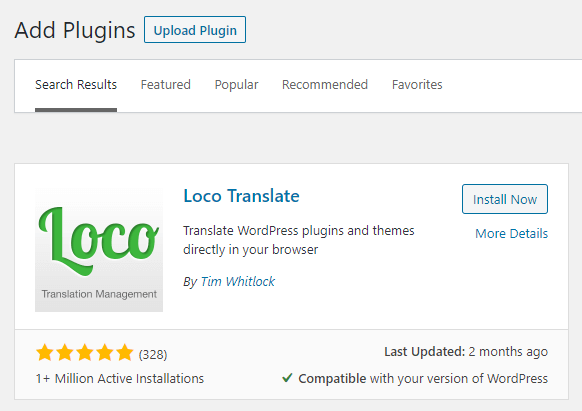
Then, click on the “Install Now” button to install the plugin. Once installed, click on the Activate button that appears.
Step 2: Setting Up Default Website Language:
Now set the default website language into your native language from Settings > General. There, scroll down the bottom and choose the language from the dropdown menu available in Site Language.
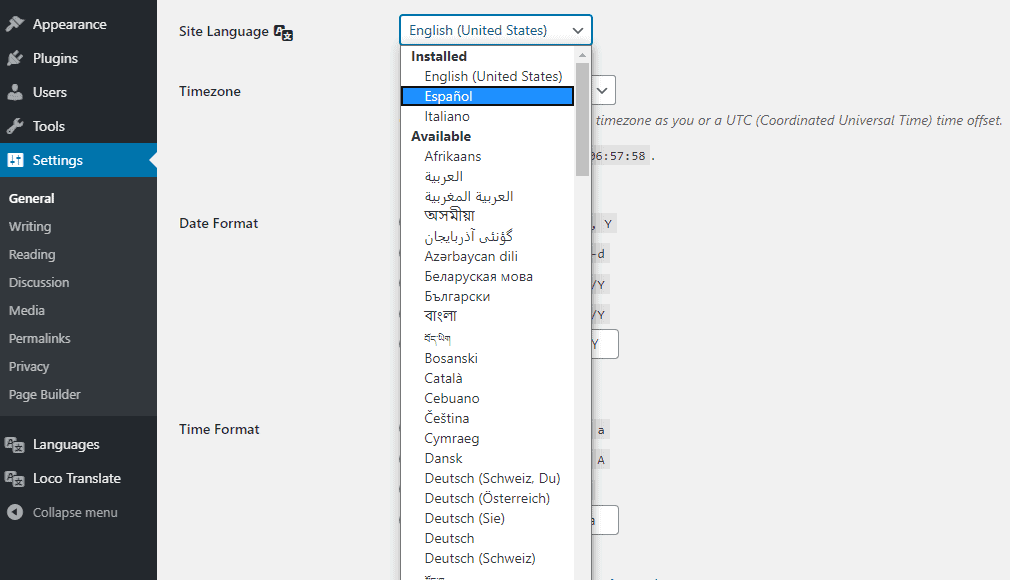
In this article, we are going to translate into the Spanish language. So, select Espanol in the drop-down and click on Save Changes to save.
Step 3: Translating Theme String
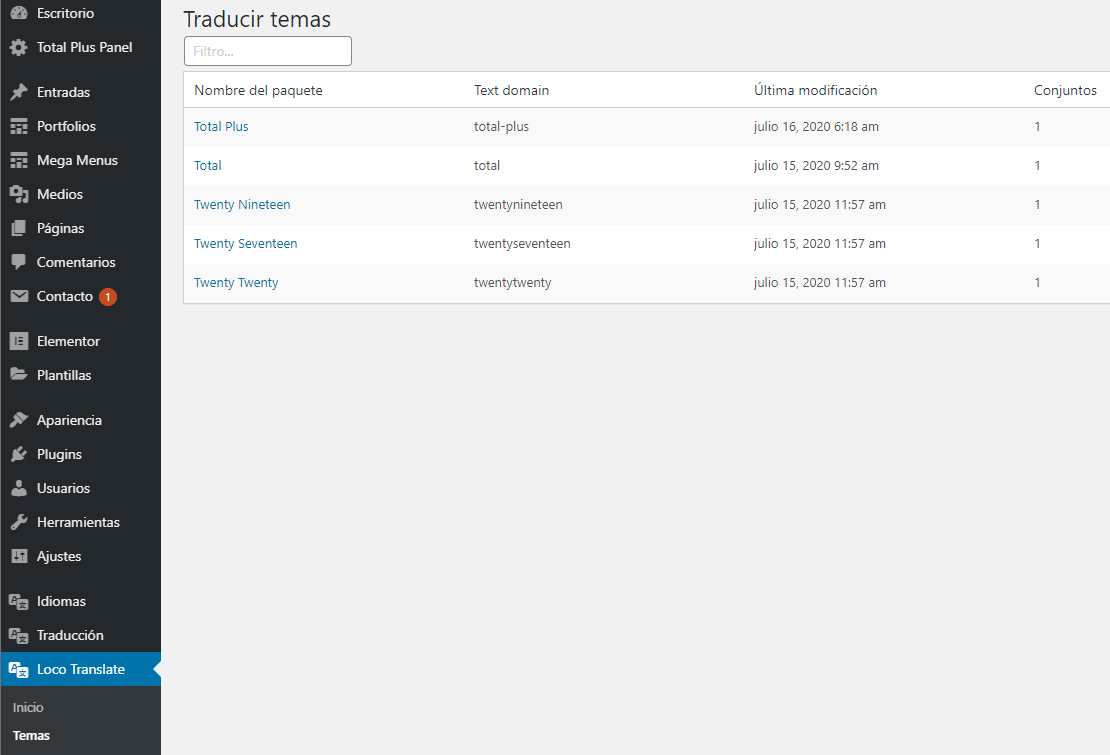
Once, you have chosen the native language of your website, go to Loco Translate > Themes to pick the theme of your website.
Here, we will choose the Viral News WordPress Theme. It is a free WordPress theme that comes with clean design and highly customizable options to build online newspapers, magazines, news portals, editorials, or any other publishing website.
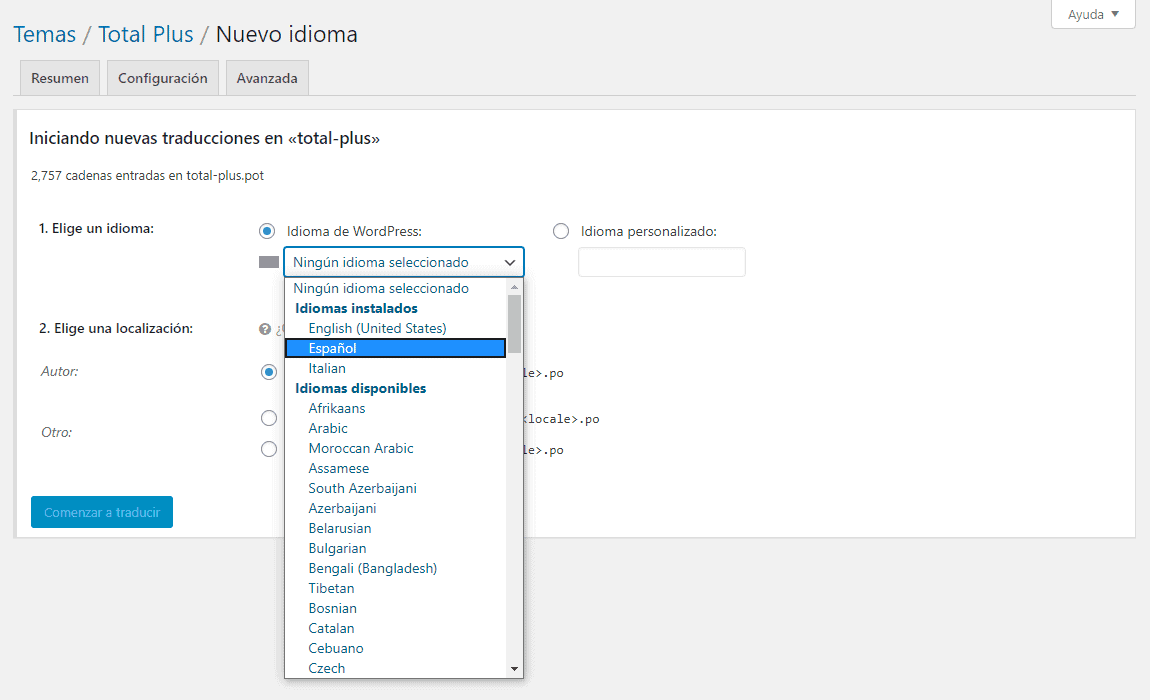
Step 4: Adding a New Language
Once done, you can see a page like the one in the screenshot.
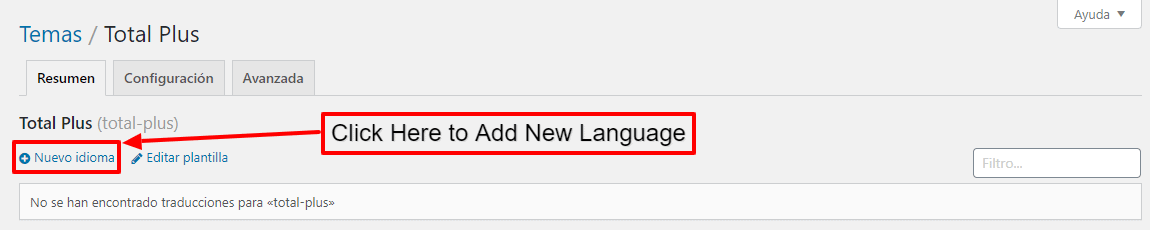
Click on New language and select your native language. Then, click to “Start Translating” button to start the translation.
Step 5: Translation
You will land to the editor of the plugin where you can find lots of information.
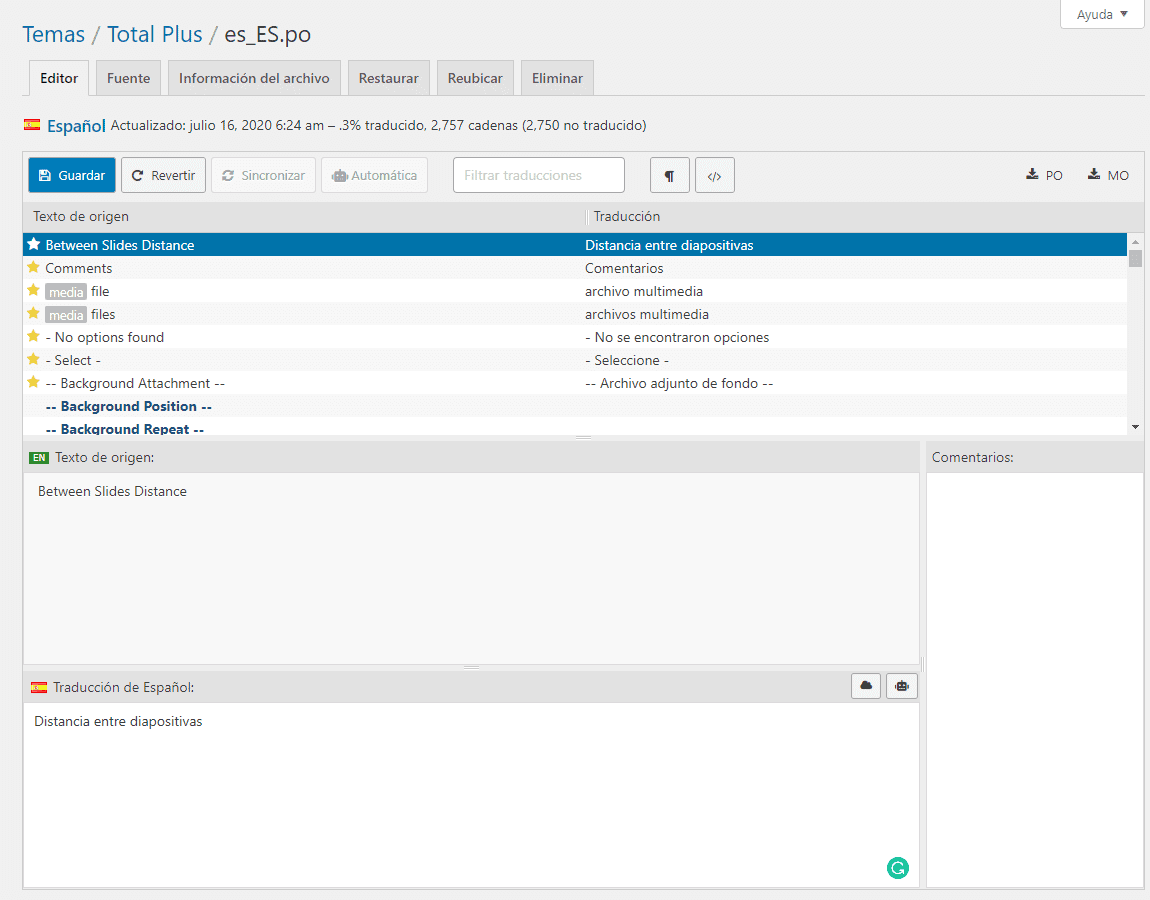
To start the translation, click on the word and phrase that you would like to translate.
The word/phrase that you click will be entered in EN Source text.
Enter the correct translation of the word/phrase. Each translation will be added to the source text.
If you don’t know the correct translation of the world, you can take help from Google Translate to find it out.
A star will appear on each of the translations indicating that translation has not yet been saved.
To save the translation, click on the Save button to save the translation.