
Are you planning to move your WordPress website to a new hosting or to a new server? The biggest risk you might face while doing so is data loss and downtime. Both of these will make your website temporarily unavailable to your users and search engines which might result in loss of sales and search engine rankings. So, to prevent this you might think of creating back up of all the data of your website and performing the migration whenever it’s required.
Here, in this article, we will provide a short tutorial to show you how to migrate WordPress website using All in One Migration plugin. It is a free WordPress plugin that lets you back up all the data (database, media files, plugins, and themes) of your website and transfer it to another website.
So, let’s begin:
Table of Contents
STEP 1: Installation and Activation
Download the All in One Migration plugin from the WordPress.org repository for free of cost. Then, install and activate it on your WordPress website.

STEP 2: Export
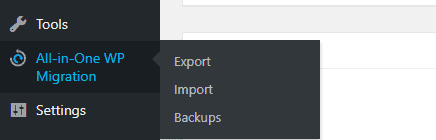
After you have successfully activated the plugin you will see All-In-One Migration on your WordPress website. Click on it.
STEP 3: Export File
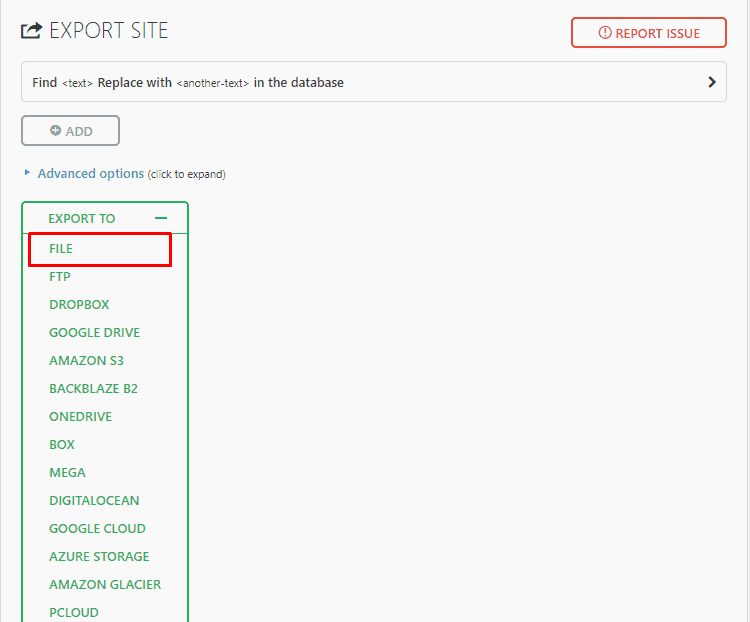
You will land to the Export page of the plugin. Here, hover over Export To-, and select the File option.
STEP 4: Download Archive Files
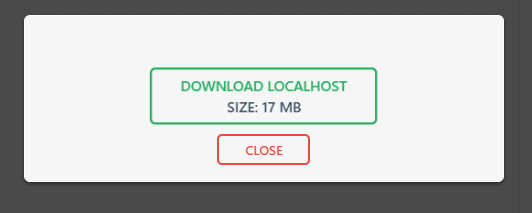
A popup will appear that will archive your files. After it is completed, click on the button of the popup window to download your file.
STEP 5: Install All in One Migration in New WordPress
Repeat Step 1 and 2 to install All In One Migration plugin on your new WordPress.
STEP 6: Import From
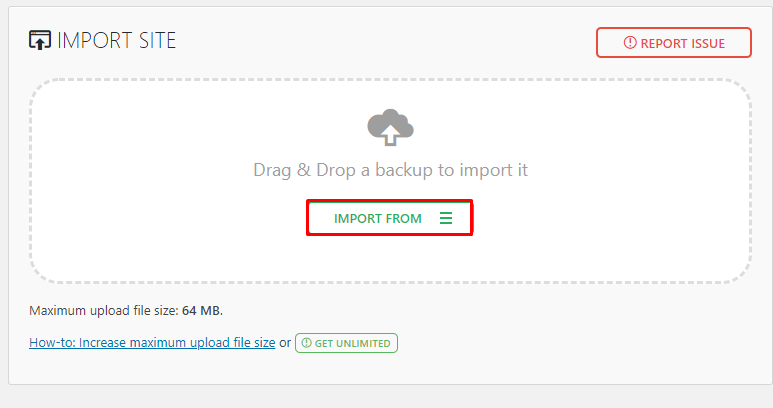
On the new WordPress website, go to All-In-Migration > Import to transfer the data from your old website.
STEP 7: Import Completed
Drag and drop the .wpress file that you have downloaded from your original website to start the import.

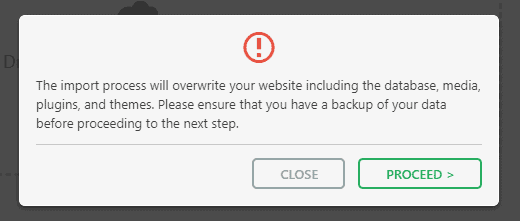
STEP 8: Proceed Import
Once the file is successfully imported click on “Proceed”.
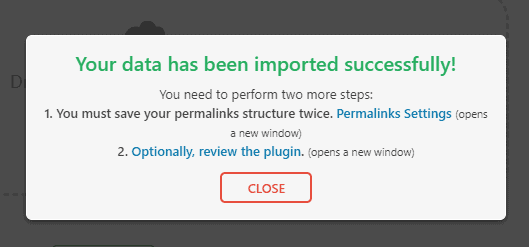
STEP 9: Import Successful
Then, you will receive a confirmation message that your import is successful. Login out of your dashboard and then login in back.
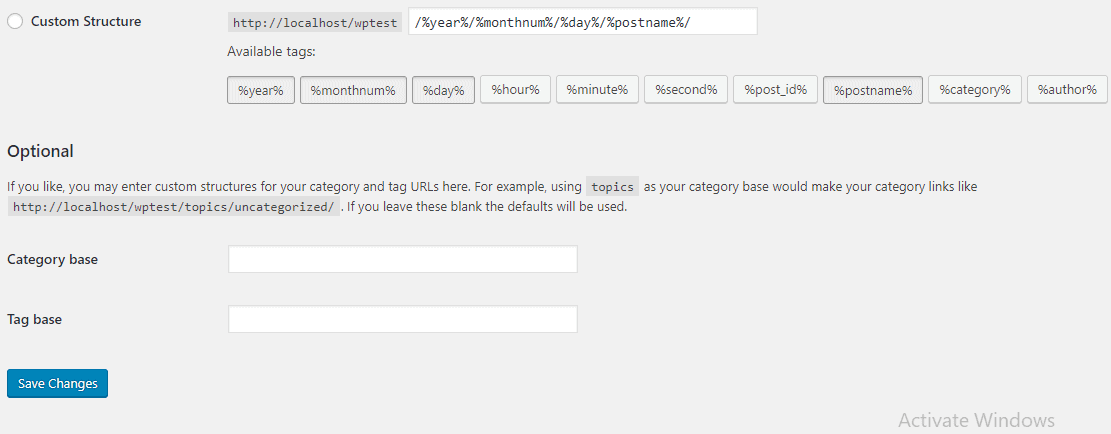
STEP 10: Save Permalinks
Then, go to Settings > Permalinks and then click on “Save Changes” to save the permalinks of your website.
STEP 11: Checking
That it! Check your new website to make sure everything is correct or not.